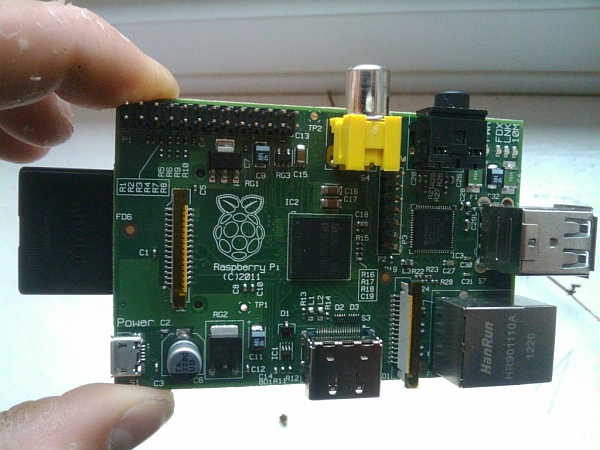
In this instructable I will show you how to use a cheap PICAXE micro-controller as a multiple channel analogue to digital converter. We will be using I2C to access the PICAXE, which will be writing the adc values into the memory registers.
The Raspberry Pi does not have a built in ADC, which is unhelpful if you need to read any kind of analogue value, such as a variable resistor position or a light level etc. PICAXE is a line of cheap microcontrollers, designed to be easy to use for school children. This means they are easy to use, and you may have one lying in a draw. This instructable will show you how to use one as an ADC, but by writing values to it, you could conceivably use one as a port expander at the same time.
Step 1: Set Up Pi
You will need to set up the pi for i2c for this instructable, which is explained in another of my instructables, here: Set up i2c . You need to get up to the point of running i2cdetect.
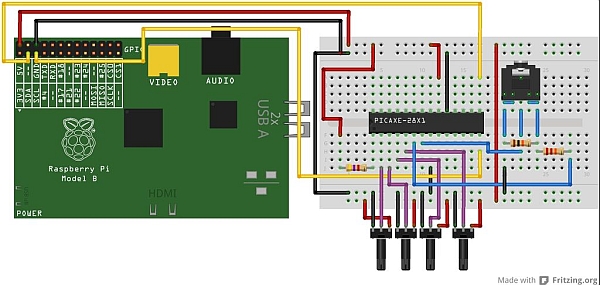
Step 2: Circuit
WARNING: I will be connecting 5V logic to the Pi 3.3V pins. This has caused no damage, but I am not responsible if it breaks yours.
Only certain PICAXEs can act as an I2C slave, in this case I am using a 28X1. You need to build the basic operating circuit, as shown below.
For more detail: PICAXE Raspberry Pi ADC


