
| Hardware components: | ||||||
 |
|
× | 1 | |||
 |
|
× | 1 | |||
STORY
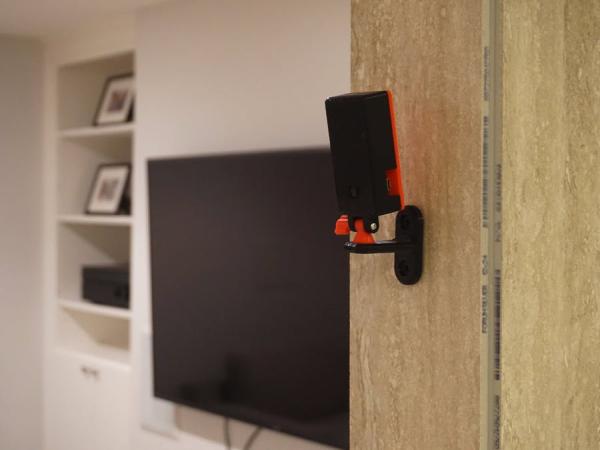
Pigeon is a simple cloud home surveillance camera project that uses the new Raspberry Pi Zero W single board computer ($10). It also uses a custom designed 3D printed enclosure that fits the board and the camera along with a wall mount. The software should work with any Raspberry PI version, but the 3D design is made specifically for the PI Zero W platform.
The goal of this project is to provide an easy way to setup a basic (yet functional) hackable cloud camera at the lowest possible cost.
Features
- Motion detection
- Integrated with Dropbox for motion detected clips storage (MP4 format)
- Simple step-by-step installation wizard
- Live streaming in the desktop/mobile browser with remote access capabilities
- Authentication for live stream visualization
- 3D printed enclosure
- Automatically deletes locally recorded clips after uploading to Dropbox
Step 1: Hardware and Components
You will need:
- (optional) 3D Printed enclosure. STL files and instructions available on ThingiVerse
- A Rasberry Pi Zero W running Raspbian and connected to the internet.
- Raspberry Pi camera with cable
- A micro-USB power cable
Step 2: Software Installation
Connect to your Raspberry PI using SSH or using a monitor. Make sure you have the Raspberry PI camera already working, You can test using the following command:
raspistill -o cam.jpg
If camera is not working, make sure it's activated in the setup (option 5):
sudo raspi-config
If you have problems, check https://www.raspberrypi.org/documentation/configu…
Now, clone our repository using git (recommended) in the root of your Raspberry PI home directory:
cd /home/pi
git clone https://github.com/geraldoramos/pigeon.git
cd pigeon
When ready, give execution permission to the setup script and run it:
chmod +x pigeon_install.sh
./pigeon_install.sh
The installation should take about 10-15 minutes and inputs from you will be necessary towards the process (ex: Dropbox configuration). You can visit this Github Repo to report any issues and check for updates.
Step 3: After Install
After the installation is completed, you will be able to watch the camera live feed by accessing:
http://[PI-ADDRESS]:[8099]
If you want to setup remote access, make sure to setup port forwarding in your modem admin panel (port 8099 to your Raspberry IP.)
If everything went fine, you will start seeing MP4 clips being saved on your Dropbox folder when motion events are triggered.
If you want to start at boot, edit the rc.local file as following:
sudo nano /etc/rc.local
Add the following command below the comment, but leave the line exit 0 at the end, then save the file and exit:
motion -c /home/pi/pigeon/pigeon.conf
To finalize, make sure you are using the right timezone, so the camera clips date will make sense to you.
Read More: Pigeon: A 3D-Printed, Pi Zero W-Powered Cloud Camera