Hello,
In this instruct able, I will be showing you how to make a raspberry pi airplay server.To start off, you will need to get a raspberry pi. The model A, B or B+ will work.To allow the raspberry pi to run, you will need to format an SD card. First of all go to www.raspberrypi.org and download the ‘Openelec' image as the zip file. If you are using mac, you will need to download some free formatting software called apple pi baker . Link: http://www.tweaking4all.com/hardware/raspberry-pi/macosx-apple-pi-baker/ You will want to download the latest or recommended version. When you open the program it will ask you for an admin password, for this just type on the password that you use to log on to your computer.
Step 1: Setting up the Pi
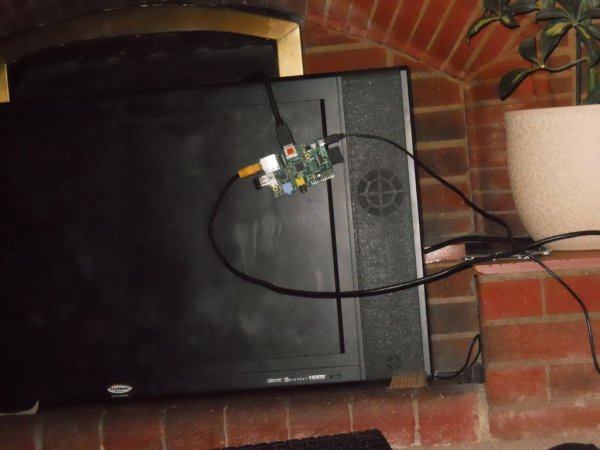
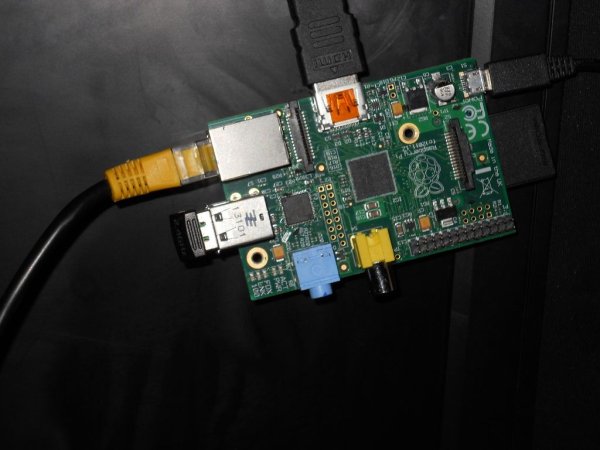
Now you have installed an operating system, plug the SD card into the raspberry pi and connect an ethernet cable, HDMI (or composite) (just for now), and power. Turn on the pi and monitor and proceed through the setup guide. Once that has finished. go to System, Settings, Services then airplay and make sure the circle is blue next to ‘Allow Kodi to receive airplay content'. Once you have done this, watch the quick video to learn how to connect your apple product to the server
Step 2: Prepare the enclosure
Once the raspberry pi has been set up, you will need to prepare an enclosure. I have gone for a black ABS enclosure which I bought from rapid. (Link: http://www.rapidonline.com/design-technology/abs-c… ). To drill the holes, I started with a smaller bit then swapped it out for a larger sized bit. I repeated this for the audio jack, the ethernet, the power and optimal HDMI. As you can see, the finished product looks very satisfying.
For more detail: PiPlay a raspberry pi aiplay server


