
I recently purchased a Cisco Catalyst 3560 48 port PoE Switch and soon realized that I didn't need 48 ports. I soon started thinking of ways of using that power for other needs like charging phones or running devices. It then hit me that I could run a Raspberry Pi off PoE by use of a transformer. This Instructable is my first one and I wanted to share the amazing abilities of running one network cable to a Raspberry Pi and have it power and have data all within 300 feet of it's source. 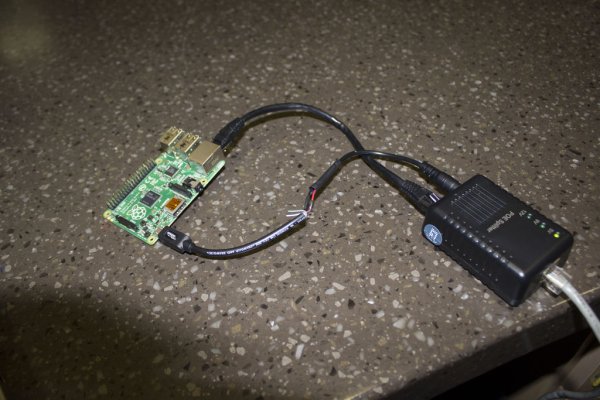
Step 1: Order your supplies
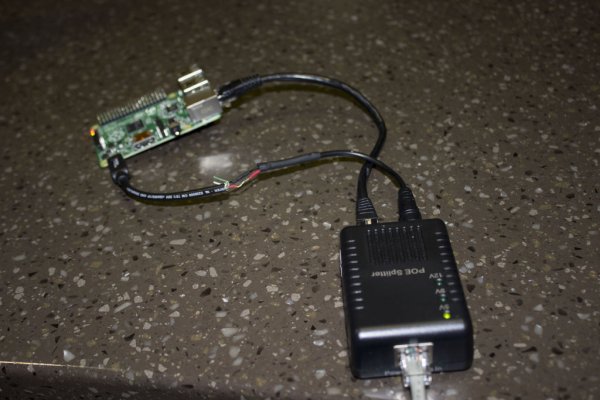
In my quest for this I went on Amazon and found this Level1 PoE splitter designed for non-PoE enabled IP Cameras. I also noticed that it was switchable between 5 Volts, 9 Volts, and 12 Volts.
According to the Specifications I found online, this model could handle up to 2 Amps on 5 Volts. This is the same power that my phone power supply puts out and I usually use that for my Pi.
For Testing (so I don't destroy my fancy Switch), I am using a PoE Injector that follows the 802.3af IEEE standard which my switch and the Splitter are also designed to use. Be aware, Cisco did come out with a standard before IEEE created the 802.3af standard so be aware we want IEEE, NOT Cisco Pre-Standard!
Here's the list of supplies:
- Raspberry Pi (Any model with Network and Micro Power input)
- PoE Splitter (Here's Mine)
- (Optional) PoE Injector
- Destroyable Micro USB Cable
- Solder
- Shrink Tubing
Tools
-
- Soldering Iron
- Wire Strippers
Step 2: Cut and Solder Your Cables
The Splitter comes with both a short Ethernet Cable and Power cable with different tips. I used a different cable with the same barrel plug but you can use the provided cable the splitter.
Plug in the provided Ethernet cable that way you can align the length of power cable with Ethernet.
Wires go to the same color on both cables, so Red goes to Red and Black goes to black (and we only need those two for power)
Strip ends of wires and Solder your cables. Test before Heat Shrinking the tubes to check for connectivity.
(I apologize, I don't have a picture of my solder joints because I actually thought to do this Instructable after I did the solder joint)
For more detail: Power over Ethernet for Raspberry Pi