
Finally I got my first test with Hatalógico and it looks promising: just out of the box PWM working. That means servos working right in the same platform as a powerful linux board! If you don't know the Hatalógico board for Raspberry Pi, go and check it here, there are 3 days left to get it at a special price and features.
So these here are my steps to get the Hatalógico working. I'm new to Raspberry Pi so I had to search documentation online, but in some hours I had everything working plus more new knowledge to keep going (see video at the bottom) 😉
Let's see the board first, with all the headers soldered already. The main header (that goes from Raspberry Pi to the Hatalogico) came with the board. The other I had in my toolbox so it was easy to do.
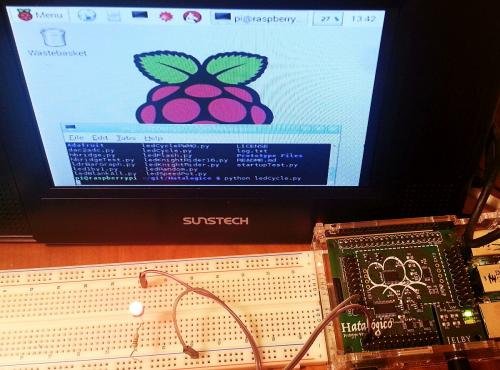
 Then I added a small display with loudspeakers to test the Raspberry Pi.
(Yes, I can handle the Raspberry Pi with SSH, and I do, but I like having my laptop screen free to do other things while testing).
Next step, testing a LED attached to PWM0 output from Hatalógico. It works like a charm after some “git” installing, as detailed in the attached file to this article.
For more detail: PWMcontrol on Raspberry Pi: installation and first test on Hatalógico board