
This guide will show you how to assemble the Raspberry Pi 4/3 Camera Case . All you'll need is a simple cross-head screwdriver (If you have
The Pi Hut
This guide will show you how to assemble the Raspberry Pi 4/3 Camera Case . All you’ll need is a simple cross-head screwdriver (If you have the Raspberry Pi Zero version of this case you’ll want this guide instead).
Step 1 – We include side panels for both the Raspberry Pi 4 and older Raspberry Pi 3 models. Select the sides that are correct for your Raspberry Pi and snap the 4 panels out of their holders. Don’t forget to peel off the protective plastic covering from all pieces.
Step 2 – We’ll get the fiddly part out of the way, secure the clear lens protector into place with the M2 bolts and four nuts. These nuts will double up as a spacer for your camera board to sit on.
Step 3 – place your Raspberry Pi Camera on top and lock into place with another 4 nuts. Don’t worry if you have left-overs, we included extras in your pack of parts.
Step 4 – Use 4 M2.5 screws to secure the smaller M/F standoffs to the base layer of the case. (Important! If you’re mounting this case to a wall using one of our wall mounting brackets you’ll want to quickly check out this guide)
Step 5 – Add your chosen Raspberry Pi model and follow up with the tall F/F standoffs.
Step 6 – Now is a good time to connect your Raspberry Pi camera ribbon cable, make sure you have it connected the right way round.
Step 7 – Pit stop! Here’s a handy photo to show you how the side panels will slot together. Each panel with have a slightly bumpy set of feet (from where we snapped them out of the panels), fear not – these go into the base so won’t be seen.
Step 8 – Slot your side panels into place one by one. If the USB side panel is tight, just loosen the spacers a little to get the panel in place, then tighten again.
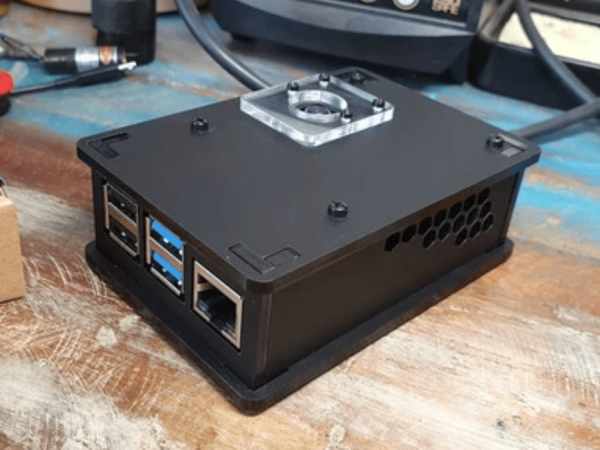
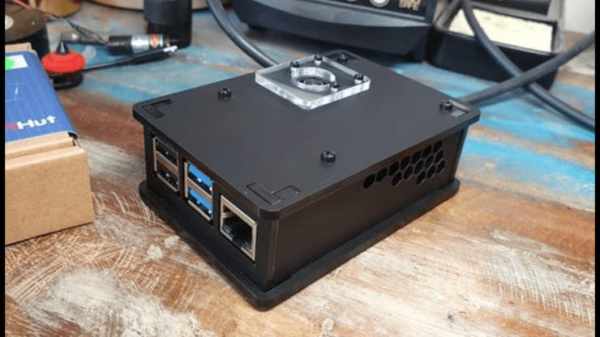
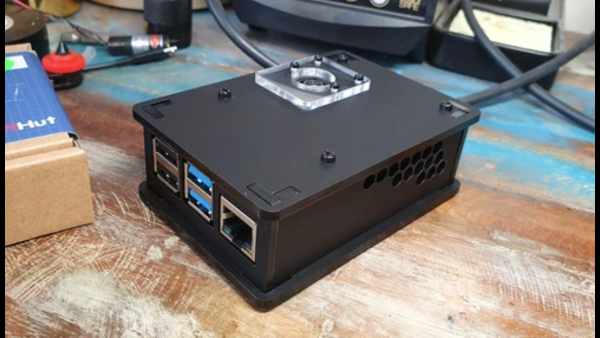
Step 9 – Now add the lid into place and secure with the remaining two screws
Schematics
Code
This guide will show you how to assemble the Raspberry Pi 4/3 Camera Case . All you'll need is a simple cross-head screwdriver (If you have the Raspberry Pi Zero version of this case you'll want this guide instead).