
After waiting several months, my Raspberry Pi finally arrived. As it comes quite naked, you need some accessories to use it.
First you need a SDCard to store your operating system, then you need some connection to a display, if you use it for penetration testing like I do, you may want a WiFi and a Bluetooth dongle and finally you have to connect a keyboard and a mouse. So as there are only two USB ports you'll need an USB hub too. I don't want to carry all those parts flying around in my messenger bag, so I thought it'd be nice if I had a little box for all that parts. What's better than a classic ALTOIDS tin?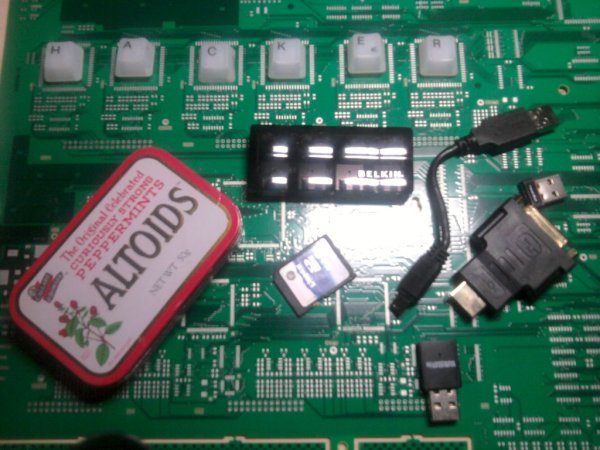
Step 1: Parts
First I grabbed all the stuff I wanted to have in the tin:
– HDMI to DVI adapter
– SDCard(s), maybe you want different images
– WiFi dongle
– Bluetooth dongle
– USB hub and cable
Step 2: Getting all the part into the tiny box
The dimensions of an ALTOID are limited, so I tried several layouts. After a few tries, everything fitted. Thanks to Tetris… 😉
As you can see you'll have two layers. The base layer contains everything besides the hub and the cable, which will be the second floor. Use a pencil to mark the positions of the parts.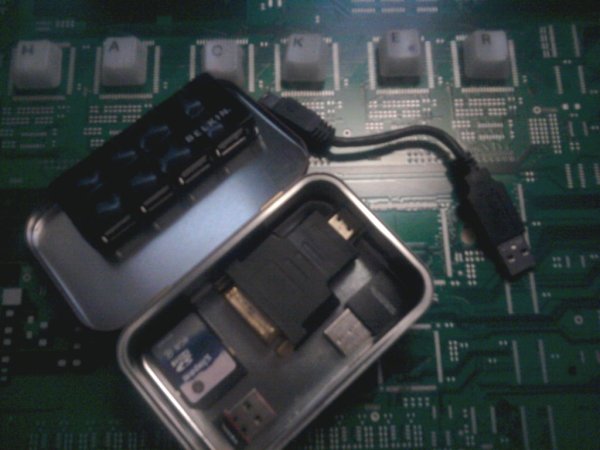
Step 3: Filling the space
I don't want parts flying around o i grabbed some foam rubber that was lying around. I cutted it to the shapes of the parts.
You can use a scissor, a really sharp knife and the lucky ones of you may have a laser cutter for this. You can do this much better, if you spend more time on it, but you see, even if you just spend a few minutes it's quite ok. I glued the foam rubber in the box, so it stays in place.
For more detail: Raspberry Pi accessories tin