
Follow this instructable to get your PROTA OS up and running on your Raspberry Pi without pulling too much hair.
NOTE for your understanding
PROTA OS is an alternative, headless-oriented OS for Raspberry Pi for people like me who seek I-just-want-to-plug-and-use. Burning the image, I’d say, is the least attractive part of the stage but once past that, I find myself toying with apps and mingling those to make serial execution of my tasks and choirs when I need it on where I need it. Automation finally smells like roses with just a few clicks.
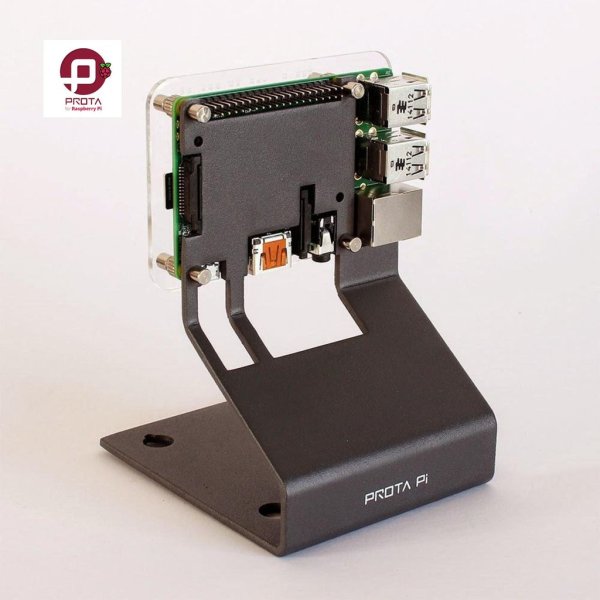
Step 1: Prepare your parts
Quantities and parts
- 1 Raspberry Pi Model B or B+ (check if it’s not a defect)
- 1 SD card or microSD card 8GB and over (recommend Samsung EVO UHS Class10 for speed)
- 1 microUSB type power adapter supporting 5V 2A and over or built for Raspberry Pi
- 1 LAN cable
- 1 SD or microSD Memory Card Read for burning image

Step 2: Download the PROTA OS image

Google your way and find the OS image. You can’t miss it.
If you found the right venue, now it’s matter of your taste. Torrent or ZIP, I know it’s a tough one, but you’ll have to choose one of the two. Download may take awhile, so don’t forget to stop by at Starbucks. There’s a long night waiting ahead of you. If you choose to sit and stare as it download, I mean.
This's the fastest route to download if you prefer to save time.
Where-can-I-download link
Step 3: Burn the OS image on SD or microSD card
Choose the right burner for your current OS. Depends on your system, you need to pay closer attention to this details unless you know your way around this.
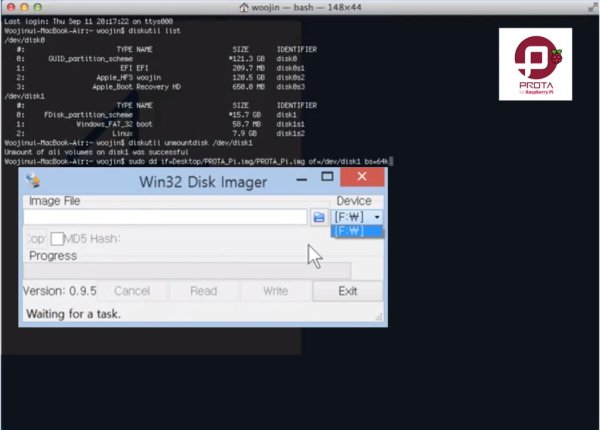
If you’re a Linux or Mac user,
use Terminal and type in the following command line to burn your image.
diskutil list
diskutil unmountDisk /dev/diskN
dd if=myPartitionImage.dd of=/dev/diskNsP bs=128k
.
If you’re a Windows user,
use Win32 Disk Imager.
- Find the PROTA Pi image and set its path of Image File.
- Click Write.
- Confirm to execute

Step 4: Basic 3-step to run PROTA OS

Now, it’s the moment of truth.
After burning the image, all you have to do is follow the above steps.
NOTE for troubleshooting
Do I need to hook up a mouse and keyboard on Raspberry Pi to control the device?
Connecting HDMI cable from your Raspberry Pi to your display will show you the guide. However, PROTA is a server OS with Web UI for controlling and monitoring your system. Open up a HTML5-supported web browser from one of your smartphones or notebooks and access myprota.me. Make sure your devices and PROTA are on the same network.
If no PROTA shows up on myprota.me, what should I do?
You must make sure your devices and PROTA are on the same network. If you have a multi-tiers of network, check if your devices and PROTA are on different networks. There's also a possibility that Raspberry Pi hardware may have defect in ethernet port or not properly connected. Please double check if this is not the case.
If above isn’t enough, use comments below or leave a thread on the PROTA forum.
Step 5: Finale
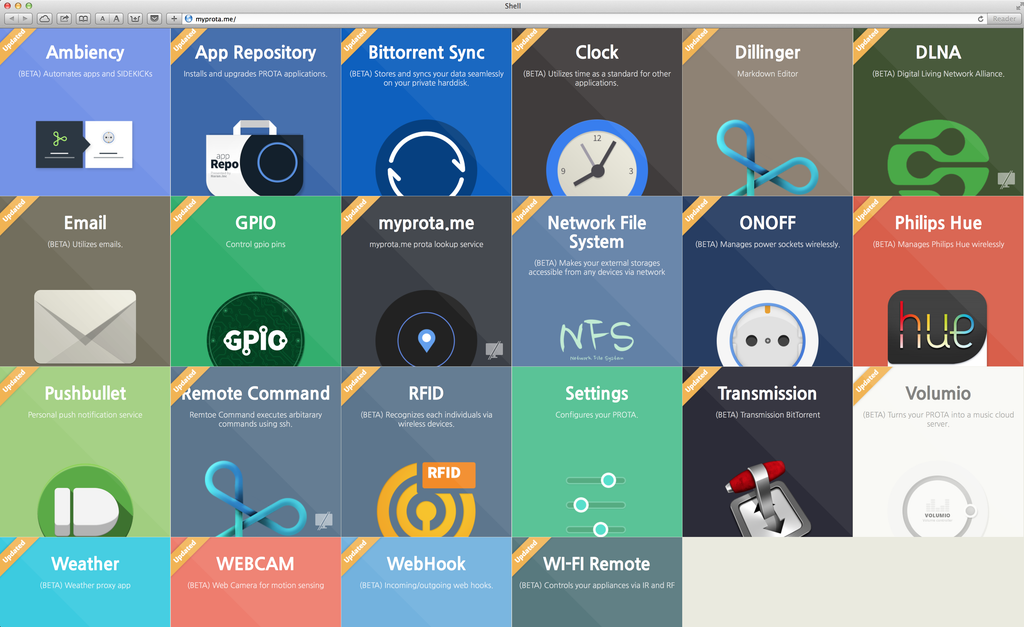
Why all the trouble? This’s the payoff.
- It’s the kind of apps I can download and install with a single click: Volumio, BitTorrent Sync,
- It’s the sort of things I can control: IR machines like TV, AC, fans, or robot vacuums, RF machines like ONOFF power sockets, WiFi machines like Philips Hue, and last but not least GPIO.
- It’s the web services I can call with REST APIs: Evernote, Salesforce, Twitters, and much more.
I can inter-program them all like one software but with a mouse or touch all on my Raspberry Pi.
Source: Raspberry Pi B & B+ boot SD card for PROTA OS (HTML5 UI)