
Arduino has multiple shields and multiple expansion boards, the shields make prototyping with the Arduino a lot easier. A lot of people design custom shields to match their requirements. But in a raspberry pi has a very few number of shields, and a raspberry pi is a powerful device at a cheaper cost and enables easy prototyping. So I decided to design a shield to make the projects much easier for the raspberry pi.
So lets get started…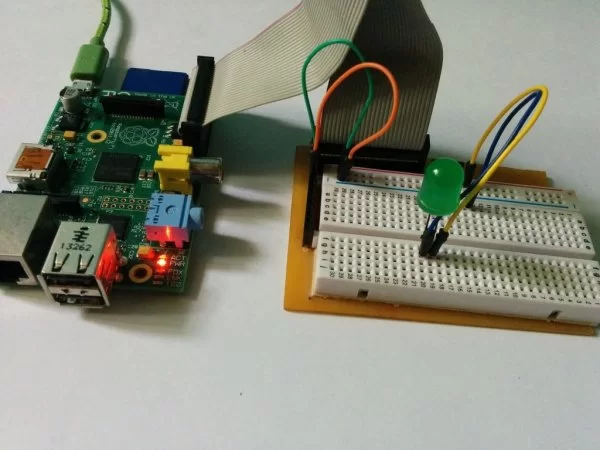
Step 1: Tools and Components
All that you need for this instructable is as follows –
- Raspberry Pi
- GPIO Ribbon Cable
- Breadboard
- Header pins
- Soldering Iron
Step 2: Circuit
To start of with, you need to design the PCB the PCB layout can be found in the attachments, you can make changes to it if you don't like my layout of pins. Solder the header pins on to the board and stick the breadboard on to the board with some double sided tape.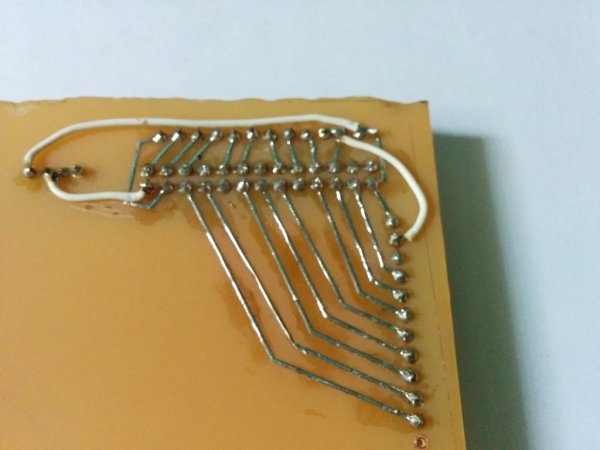
Step 3: Getting started
If you followed my layout you should have the power pins in the start of the row of header pins you can attach the ribbon cable and check if you are getting a voltage supply, make sure you write down your pin schematic for reference when you type in some code in the Raspberry Pi.
In the future tutorials I will demonstrate projects using this shield.
For more detail: Raspberry Pi Breadboard Shield