
I made this case before my school offered 3d printing but i still decided to post it anyway.
Step 1: Materials
These are the materials youll need
.• A block of wood
• Acrylic
• Raspberry pi
• Screws
• Nuts
• Spacers
Tools
• Caliper
• Screwdriver
Not shown
• Drill
• Router
• Knife
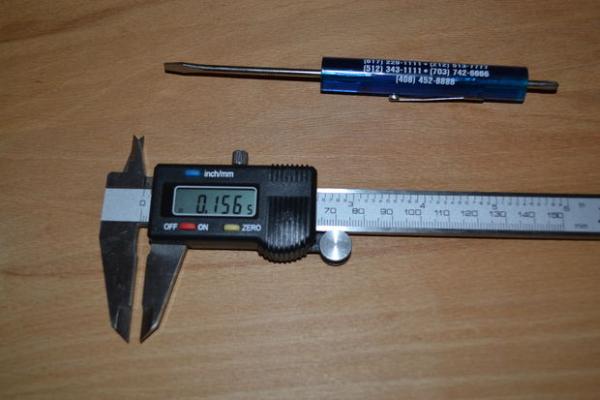
Step 2: Drilling
Drill 4 holes in the block try to be a straight as possible as shown above is the hole size
Step 3: Making the hole
use you router and cut a space for the RPI to fit then try it out
Step 4: Cut the acrylic
Sorry for no picture but i cut the acrylic to to the bottom for the same size
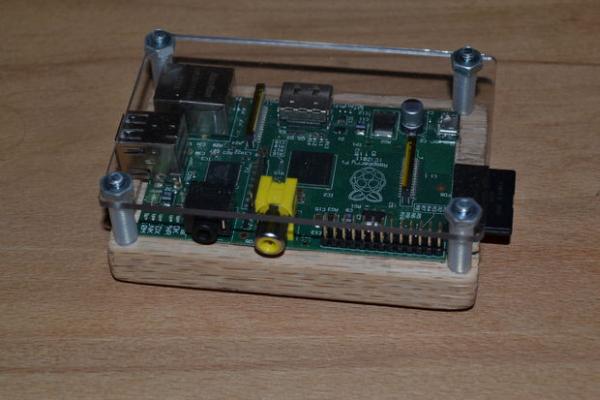
Step 5: Put it together
Just put the crew in the holes put the raspberry pi add the space put on the acrylic and use the nuts to tighten it
For more detail: Raspberry Pi Case