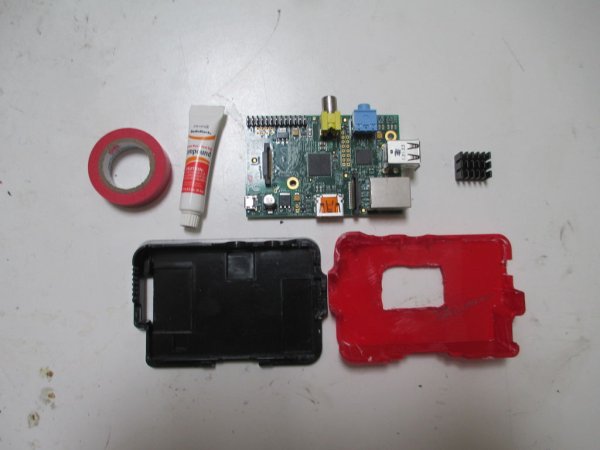
The purpose of this mod is to create a case for the Raspberry Pi, based on Adafruit's case created by Mike Doell. It will have a better airflow and be easily identifiable by color.
For this project you'll need:
- Heatsink
- Heatsink compound
- A Mike Doell case from Adafruit
- A Raspberry Pi Model B (Rev 1 or 2)
- Tape (optional)
- Paint
Along with a few tools:
- Heat tool (or soldering iron with replaceable tip)
- Blade tip for heat tool
- Sandpaper
- Small, sharp hacksaw/jigsaw
Step 1: Cut the Case
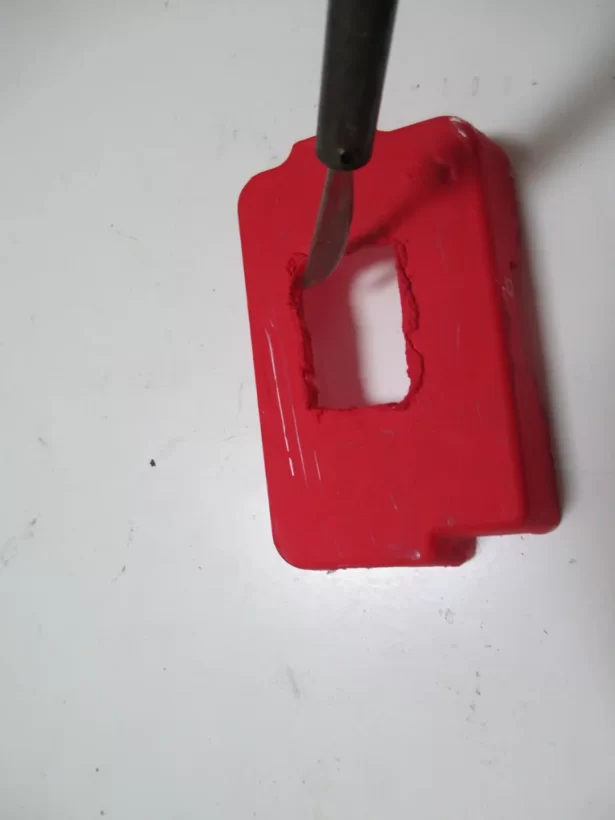
Wait for the iron to heat up. Score some lines in the center of the case in a rough square (for reference) and push the iron through the plastic. This will be hard and may take a while; be patient.
Cut around the lines you scored, so that it looks like the picture. Then use the sand paper to sand down the edges.
You can paint the case now if you like, or wait until after cutting the second hole. If you wanted to do this, please wait for the paint to dry before moving on.
Step 2: Cut the Airhole
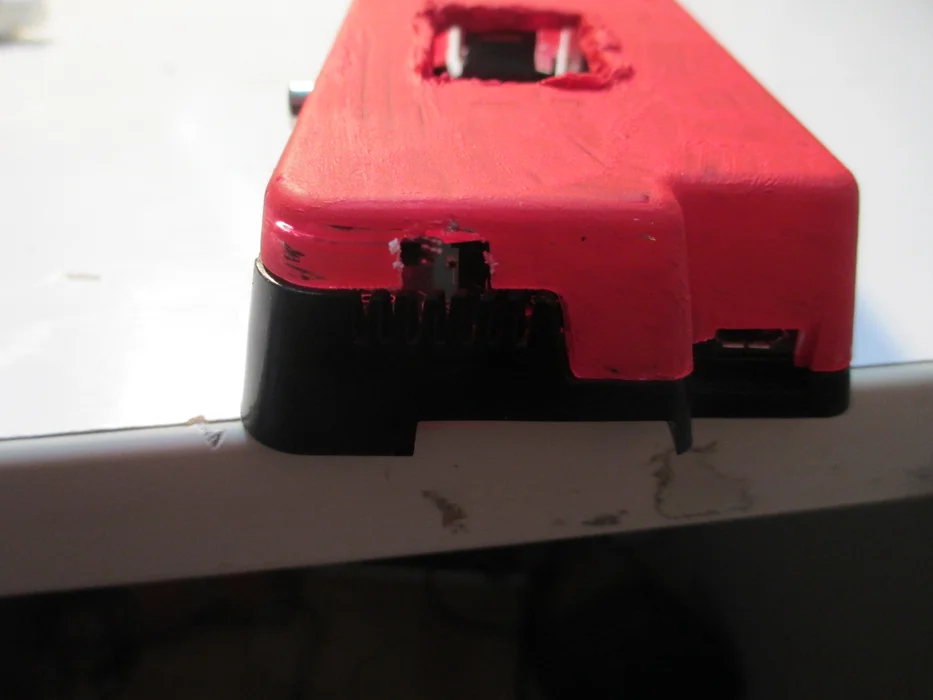
Find the area that the hole is cut in the picture. Using the saw, cut two slits into the plastic and then pry out the flap of plastic with the pliers.
This hole allows better in intake to flow over the heatsink. If you use a fan, position it to blow in here.
Step 3: Paint!
If you haven't already, paint the case. Paint the outside rather than the inside, and make sure not to pain the edges than interface with the bottom of the case. They need to be smooth and uniform.
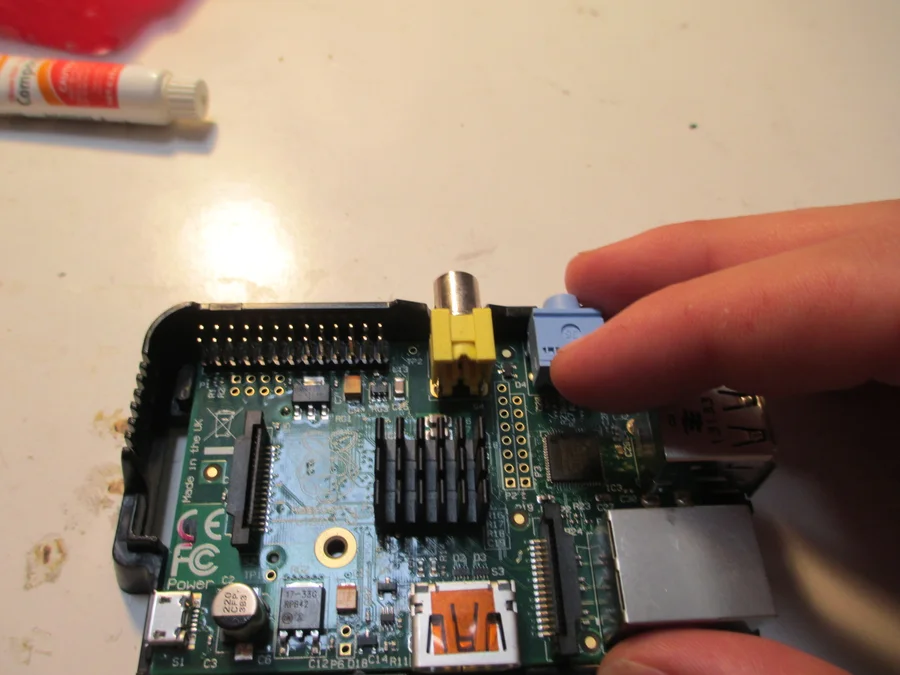
Step 4: Add the Thermal Compound and a Heatsink
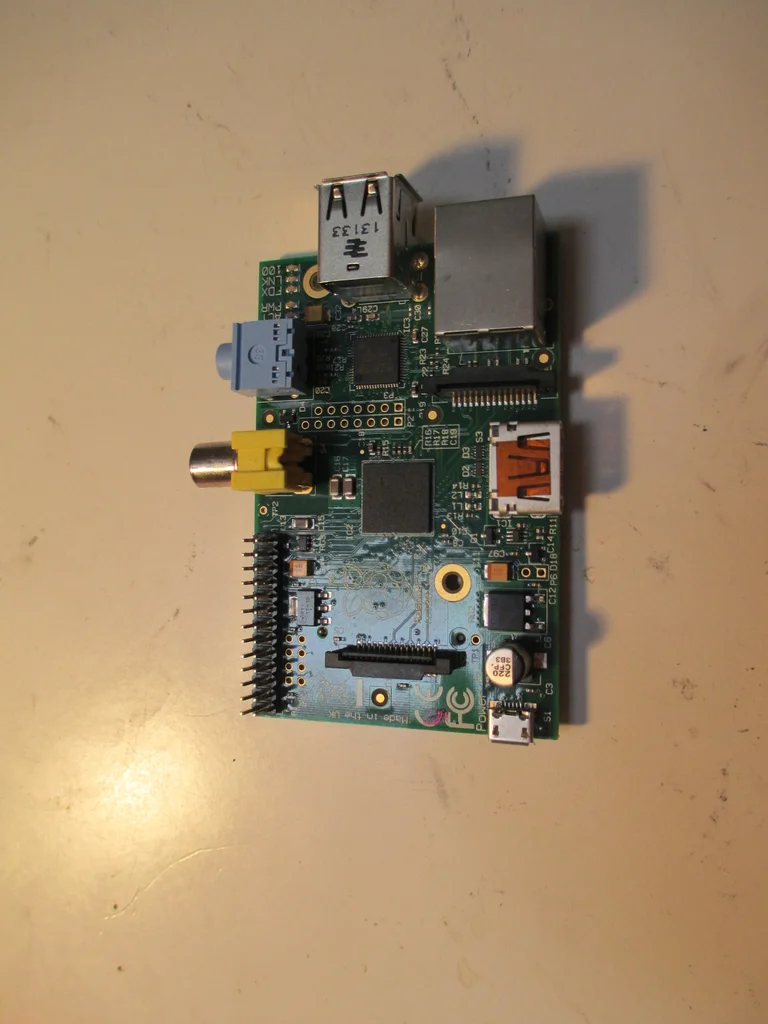
Find the Broadcom CPU on your board. It's the large black chip in the center.
Place a tiny dollop of thermal compound. Then the heatsink on the CPU. Be sure to move the heatsink around a bit to spread the compound out evenly.
Step 5: Seat the Board
Place the board into the case bottom. Make sure the pins line up, as in the picture. Then, snap the top of the case on. You now have a colored and easily identifiable case. Just make sure to change the hostname to something recognizable: for example RPI_RED or RasPiServRed


