
Project Difficulty: Easy
Project Time: Less than 5 minutes
Materials Needed:
- Thermal compound
- Small heat sink (I got mine form an on-board graphics processor on an old computer)
Tools Needed:
- Hack saw (With metal cutting blade)
- Vice
- File (Optional)
- Screw Driver (Optional)
- Knife (Optional)


Step 1: Getting your heat sink
. You can find heat sinks that are 1/2 in x 1/2 in or larger.
• Old computers (on the on-board graphics processor)
• Old video game consoles
• Old power supplies
. Remove the heat sink with a screw driver or by hand
Step 2: Cut #1
1. Clean off bottom of heat sink with knife or file
2. Find the best place to cut
• 4×3 prongs was the perfect size on my heat sink (may be different for you)
• Pick a spot with no bent prongs just so it looks nice
3. Place heat sink in vice and make your cut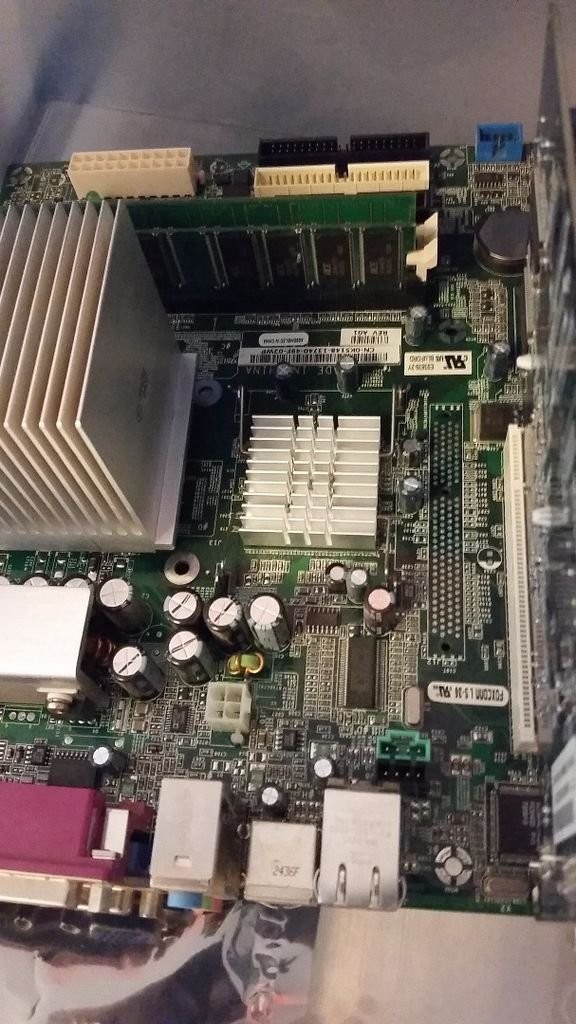
Step 3: Cut #2
- Find the best spot for your second cut
- Some pins may bend while cutting, but it is alright
- Place in vice again and cut
Step 4: Cut #3 (Optional)
- You can cut the prongs of your heat sink off so it doesn't stick out from the Pi so much
- Place in vice and cut the prongs about 1/4 in
For more detail: Raspberry Pi Heat Sink