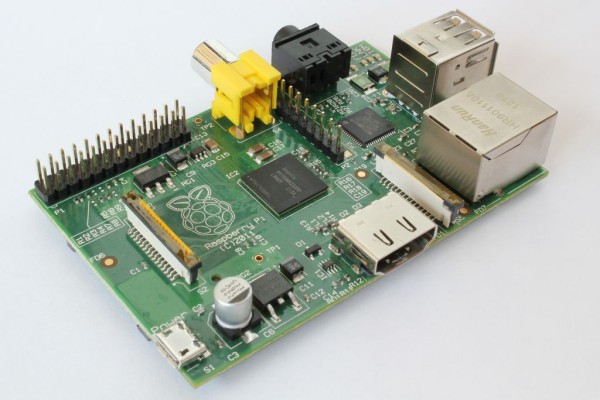
Hey. In this instructable I will be showing you how to make a raspberry pi media server using MiniDLNA. This will allow you to stream your photos, videos and music around your network. This is my first instructable so sorry if it isn't very good.
In this instructable I will not be showing you how to setup a Raspberry Pi and install the OS I will just be showing you how to setup the media server. But if anyone wants a tutorial on how to setup a Raspberry Pi I will try and make one.
Step 1: What you will need
For this instructable you will need:
- Raspberry pi (I'm using a model B)
- Another computer if you want to SSH into your pi
- Hard drive with your media
- SD card for the raspberry pi operating system
- Raspberry pi wifi dongle (you can also use Ethernet)\
- A power supply for the raspberry pi (a minimum of 1 AMP and 5 Volts for the Raspberry Pi model B)
- A powered USB hub
Step 2: Updating and Installing
To begin we can SSH into our raspberry pi by using a program like putty. After we have done this I recommend updating and upgrading your raspberry pi. You can do this by using the following commands.
sudo apt-get update

sudo apt-get upgrade
Once this is finished we can install the media server software. Use the next command to do this.
sudo apt-get install minidlna
After you enter this command you will probably be asking if you want to continue. Just press y and then enter. Once that has finished installing it is time for the next step.
Step 3: Connecting the hard drive
Before we can start our media server we need some media of course. So what we are going to do is make it so that our media hard drive is mounted on start-up.
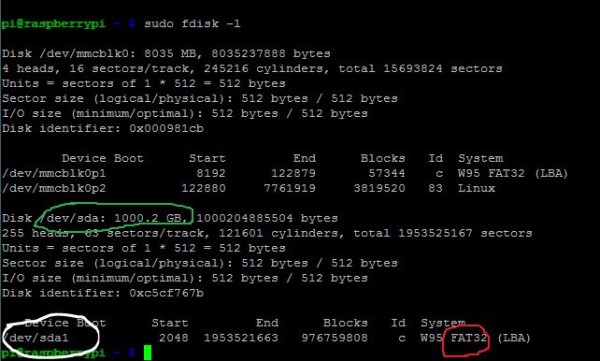
To do this the first thing we need to do is plug in our media drive. Make sure you plug it into the powered USB hub and not directly into the raspberry pi because sometimes that can cause problems. Once you have done this we need to go back to putty or whatever SSH client you are using and type in:
sudo fdisk -l
For more detail: Raspberry Pi Media Server – MiniDLNA


