
Step 1: Materials
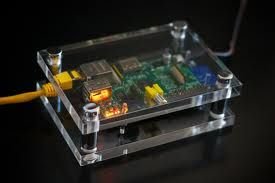
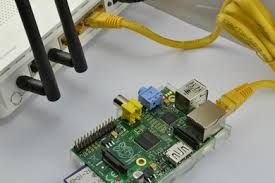
Raspberry Pi: Model B
USB Power Adapter
Ethernet Cable
SD Card(At least 4GB)
 Soft-float Debian “wheezy”( Can be found here: http://www.raspberrypi.org/downloads )
Imaging software (ex: Win32DiskImager: http://sourceforge.net/projects/win32diskimager )
SSH Client ( ex: Putty: http://www.chiark.greenend.org.uk/~sgtatham/putty/download.html )
Step 2: Development Environment
Additional wired Internet connection
Extra USB Keyboard
Monitor (with HDMI port, or adapter)
HDMI cable (and adapter, if necessary)
Step 3: Download and Burn Linux Distribution Image to SD Card
Linux distribution used: 2013-05-29-wheezy-armel
Obtain imaging software that will support SD cards
Ex: Win32DiskImager, http://sourceforge.net/projects/win32diskimager/
Burn an image of the linux distribution to SD card:
1. Open Win32 Disk Imager
2. Click on Directory icon and navigate to downloaded and unzipped image (.IMG) and select ‘Write’ … confirm “Yes” when prompted
3. When complete, a window will pop up saying “Write Successful”. Click OK. Click Exit.
4. Remove SD card.