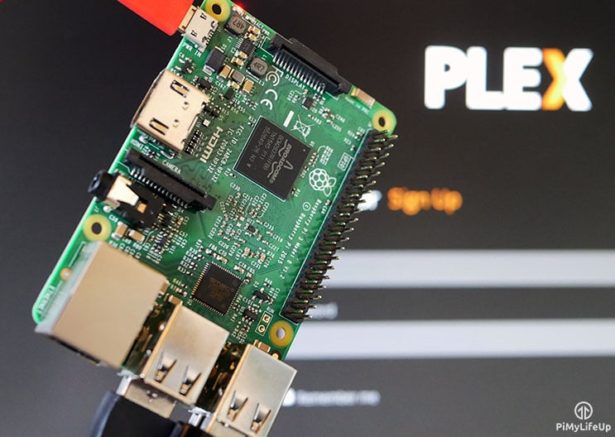
In this tutorial I go through all the steps to getting your very own Raspberry Pi plex server up and running. This is perfect for anyone who wants to have a media server that can be accessed by anyone within a household. You can also set it up to be accessed outside your local network.
Plex is a client server setup where the client simply streams data from the plex media server. This means you can have all your movies, music and photos located on the one device, the server. In this case we will be using the Raspberry Pi. You can then have multiple clients connect to the same server. This is great as you don’t need have multiple copies of the same media across several devices.
The plex client is supported on a ton of devices including Windows, Apple, Android, Amazon FireTV, Chromecast, Xbox, PlayStation, Linux and so many more. It really is an amazing home media solution.
If you just want a single client without the whole server setup then something like the Raspberry Pi XBMC (Kodi) media centre might interest you more.
If you want to hear me go through all the steps, then you can find the video below. If you do like the video and would love to stay up to date, then please make sure you subscribe!
Equipment
You will need the following equipment to be able to complete this Raspberry Pi Plex server tutorial.
Recommended:
Raspberry Pi 2 or 3
Ethernet Cord or Wifi dongle (Best to stick with Ethernet for a media server though)
Optional:
External Hard drive or USB Drive (For storing movies, music & photos)
NOTE: This will not work at all on older versions of the Pi. Only Raspberry Pi 2 or later will work.
For more detail: Raspberry Pi Plex Server: Setup Your Very Own Media Server


