
Today I will show you how to make a portable and compact raspberry pi portable computer. All pictures were taken with my new Oneplus One phone so all of the pictures should be clearer than in my older photos that were taken with an iphone 4s. My raspberry pi portable does Not have a touchscreen. If you would like a touchscreen just use an lcd fron adafruit: http://www.adafruit.com/product/1601 . If you would like to add a battery you can. I just didn't have a big enough battery for this project.One of my next projects will be a 3D printer and once all of my parts come from aliexpress I will write an instructable about it!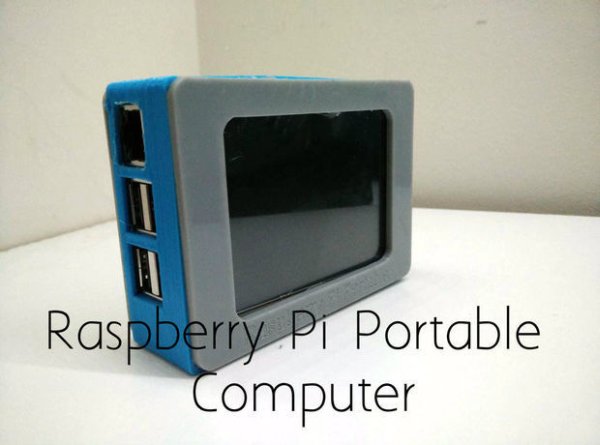
Step 1: Parts and Tools
Here are the parts and tools you will need to make this instructable:
Raspberry pi model b+ or raspberry pi 2
3.5 inch car backup monitor
Small sheet of acrylic
Wire
Solder and soldering iron
Filament and 3d printer
Laser cutter
JB weld or hot glue to seal the project
DC power cable and Jack
SD Card 4GB or more
Step 2: Download and Print Files
3D print this case and laser cut these files:
http://www.thingiverse.com/thing:691328
*You may need to use netfabb or some other 3d file fixer.
Step 3: Flash Image to SD Card
Flash raspbian, pidora, NOOBS or your favourite raspberry pi image to a micro SD card. Use this tutorial to flash the image: http://www.instructables.com/id/Ultimate-Raspberry…
This tutorial is great and I have used it. If you have a mac you can use a really easy route and download apple pi baker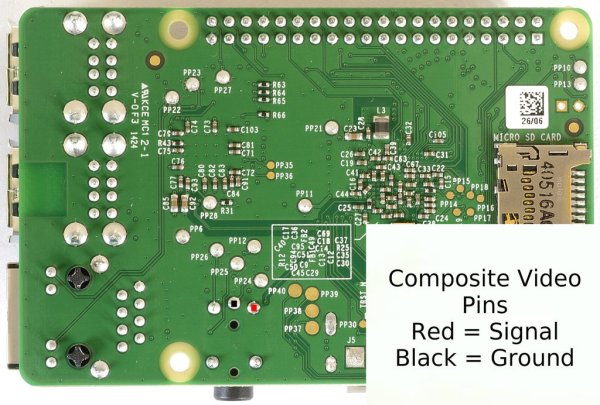
Step 4: Take Apart Backup Monitor
Take all of the screws off of the backup monitor. Then remove the front and back of the case and you should be left with the display and driver board. There should be a connector on the board that goes to the composite input. On the connector the yellow wire is signal and the black is ground. So using that, cut the cable in half.
Step 5: Wire LCD to Raspberry Pi
Wire the yellow wire to the signal pin on the raspberry pi (See dots on the headphone jack in the picture) and the black wire to ground. You should have a video connection with the raspberry pi now.
For more detail: Raspberry Pi Portable