Getting accurate weather data is crucial for many people but most of such data available on the internet are may not be accurate especially when it comes to rain. It is therefore necessary for them to have a local source of accurate weather data. Storing and analyzing of this data over some period will be very helpful for them. Raspberry Pi weather station then becomes a very useful and interesting project.
Raspberry Pi
Raspberry Pi is known to many as a credit card sized computer initially built to teach computing in schools. It is though not just another computer. It can interact with the external physical environment with the help of sensors. This feature of the Pi is what we will exploit in building our own weather station.
Weather Information
In this weather station project we will deal with two key parameters in weather data – humidity and temperature.
Requirements of Raspberry-pi Weather Station.
- Raspberry Pi model B
- Adafruit Pi Cobbler breakout kit
- Connecting wires
- Half sized breadboard
- DHT22
- 4.7 k Ohm resistor
The DHT22 Sensor

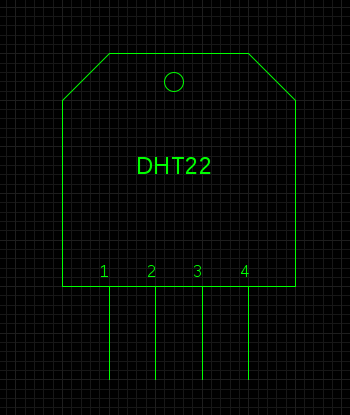
The DHT22 sensor measures temperature and humidity, the two parameters we use in this weather station project. It uses polymer humidity capacitor for measuring humidity and the DS18B20 temperature sensor for measuring temperature. It has four pins numbered 1,2,3,4 in the pin diagram which are VDD (power supply), DATA (Sensor values), NULL (No connection) and GND (Ground). The data comprises of integral and decimal parts of both humidity and temperature values. The power supply must provide a voltage between 3.6 and 6 Volts. It can measure humidity in the full range of 0-100%RH and temperature between -40 and 125 degrees Celsius.
Steps for building your own Raspberry Pi Weather Station
Step 1:- Setting up the Pi
To set up the Pi you need to install an operating system, update the packages, and upgrade the operating system. Then, you may enable Wi-Fi and SSH and access Raspberry Pi from your PC. All the information you need can be found in the link below. Keep note of your Raspberry Pi IP address that you can get using the ‘ifconfig’ command.
https://www.mepits.com/project/228/DIY-Projects/How-to-make-a-Raspberry-Pi-Web-Server
Step 2:- Making your own WordPress site
We can create a wordpress site to which we will upload our weather data so that it can be accessed on other devices like a smartphone. You will need to configure your Pi as a web server first. The above tutorial explains how to set up your own web server using Raspberry Pi. It mentions that the content of your website is displayed on /var/www. Change directory to enter the folder.
For more detail: Raspberry Pi projects:Raspberry Pi Weather Station

