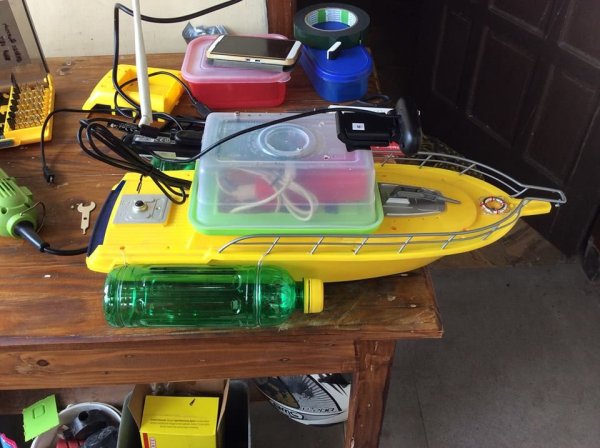
Raspberry pi roboat is an internet controlled water robot using an RC boat as it chassis. This will be use to check an unreachable sewer by giving a live picture stream to the web browser.
This thing is also could be another option to learn robotics with the raspberry pi because this robot was built on a basic simple python code using webiopi framework.
There is already an instructables about raspberry pi and boat:
http://www.instructables.com/id/Making-an-autonomo…
this robot will another version of it and will have manual control
Step 1: Parts & Tools
- Raspberry Pi (any model will do just fine)
- L298n Motor Driver module
- USB Wifi TP Link
- RC boat
- Battery Pack
- USB Power Bank
- USB Webcam Logitech c170/Raspberry Pi camera
- PerfBoard/Stripboard
- 4 bright white LED
- 330 ohm resistor
- BC547 transistor
- Cables
- 2 Used Plastic Bottle
- Plastic Box/project box
- bolt and nuts
Tools
- Solder
- Soldering iron
- Wire Striper
- Scissor
- screwdriver
Step 2: Disassemble RC Boat
For this project I used A cheap RC boat from the local toy store. Fortunately the RC boat has a big body and dual motor attached to it. The dual motor is great because it will give the boat a more precise driving control.
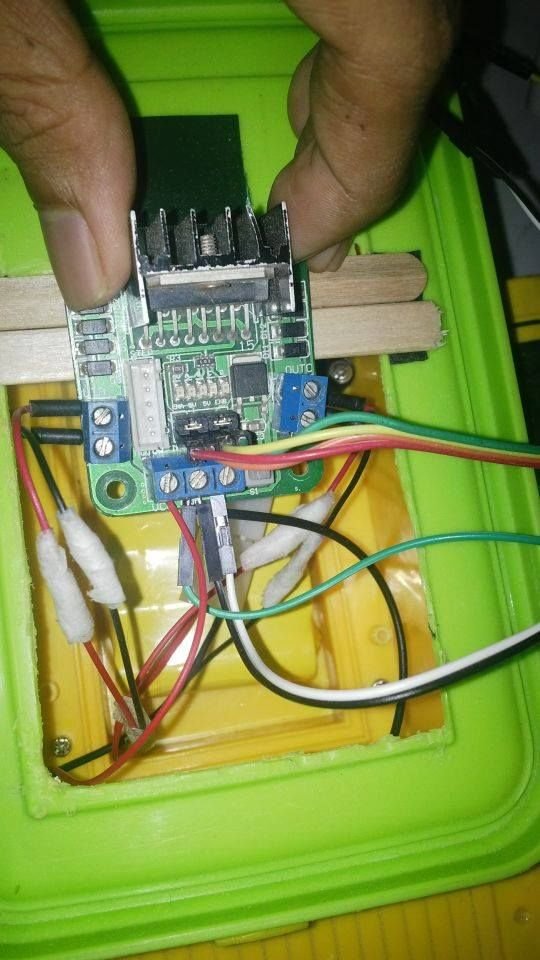
The boat itself already have a motor driver but after test it for a while there were some disconnected line on the PCB So I decide to cut the wire from the motor DC to motor drive and replace it with a L298n motor Driver module. After cutting the wire, solder the cable from motor DC to the jumper wire so it can make an easier connection to L298n module.
Pick up 4 female to female jumper cable and plug it in to IN1, IN2, IN3, IN4 in the L298n module. now save this part and we will continue the raspberry pi part
Step 3: Raspberry Pi setup
Make sure the sd card are already installed with raspbian, if dont you know how to make a raspbian sd card you can search it in instructables. or use this one:
http://www.instructables.com/id/Getting-started-wi…
Plug the USB wifi and USB Camera to the USB port on the raspberry pi. Then boot it up until you get to the linux terminal.
Set Raspberry Pi network by openig wpa_supplicant.conf data using this command
pi@raspberry$ sudo nano /etc/wpa_supplicant/wpa_supplicant.conf
change the SSID and wpa-psk with the wifi setup used at your house. then save it. when its done restart the pi and if the LED on the USB wifi that means the wifi connection is a success
- Install MJPG-Streamer
For more detail: Raspberry Pi Roboat


