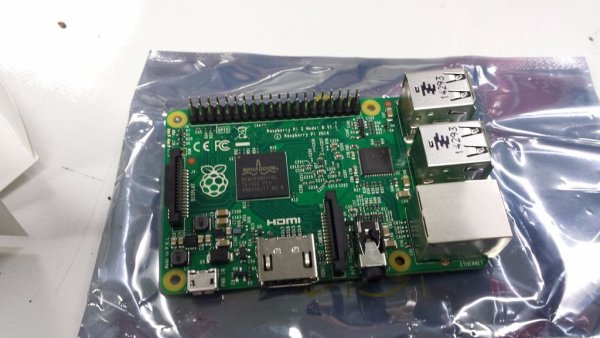
This project will show the reader how to setup and customize a timelapse application using a Raspberry Pi, Model B and a RasPi Camera. The timelaplse can be customized to take pictures as fast as 1 per second or any time slower to once per year.
Materials:
Raspberry Pi (any Model B)
Raspberry Pi Camera
Power Supply for RasPi
Optional:
Case for Raspberry Pi and Camera
Setup:
KB/Mouse/Monitor
Step 1: Setup RasPi
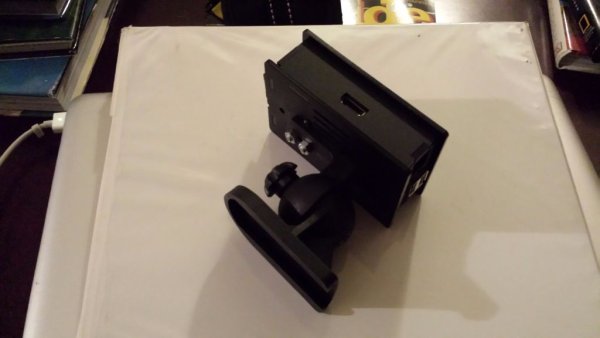
If you have a case for your RasPi assemble your system.
1. Attach Camera to case in appropriate location as shown in the picture.
2. Assemble & attach RasPi to case.
3. Attach Camera To RasPi using the provided Ribbon cable as shown.
4. Close case and connect KB/Mouse/Monitor.
Step 2: Preparation of RasPi for use with Camera
This step will be a little vague and point to appropriate resources as every user will have different preferences.
You can always use a pre-installed image that can be purchased from many of the RasPi Kit vendors but the basics of getting your Raspberry Pi installed if you are doing your own installation are below.
Install your OS on the Raspberry Pi Model B by first downloading the image you want to install.
https://www.raspberrypi.org/downloads/
If you download an single image file then you need to follow the image installation instructions:
https://www.raspberrypi.org/documentation/installa…
If you download the Noobs installation it is actually a bunch of files in a Zip file, unzip the file once you download it and look for an INSTRUCTIONS-README.txt file for how to do the installation.
Once your OS installation is complete follow the instructions for configuring the RasPi Camera:
https://www.raspberrypi.org/help/camera-module-set…
There is a lot of documentation available on the Raspberry Pi webpage in the help tab seen below.
https://www.raspberrypi.org/help/
Step 3: Test your camera
The RasPi camera is activated with the raspistill program, if you issue
/usr/bin/raspistill -?
It will give you a full listing of all of the camera options which you can test and use as needed by modifying the scripts. For this exercise we are assuming the camera will be taking pictures in a well lighted area that doesn't require any special settings. Running the test you can verify that the images come out correct before taking a full time-lapse.
To test the camera, from the command line issue:
/usr/bin/raspistill -o test.jpg
This will take an image and put it in the current directory, simply open the file to check that the image is as expected.
For more detail: Raspberry Pi Timelapse


