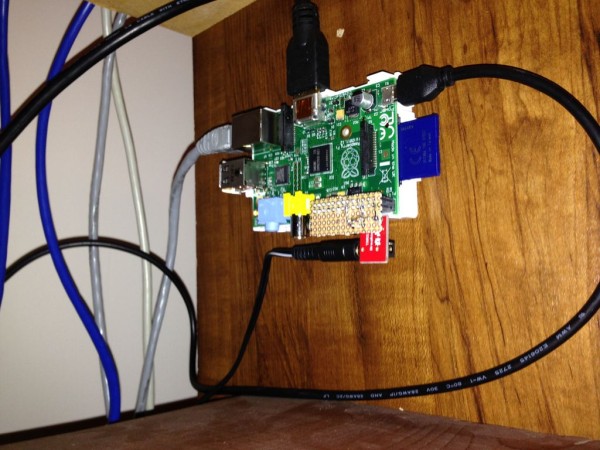
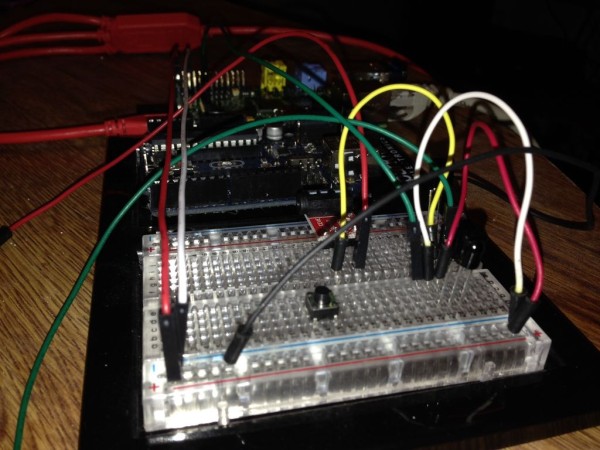
In this tutorial I hope to convince you that this is the ultimate universal remote built using a raspberry pi.
LIRC is the perfect for this job. It simplifies many of the more difficult tasks that we need to accomplish.
Step 1: Parts
1 x Raspberry Pi (https://www.sparkfun.com/products/11546)
1 x IR Emmitter (http://www.amazon.com/gp/product/B005BJFDL6/ref=oh…
1 x Audio Breakout Board (https://www.sparkfun.com/products/11570
1 x IR sensor (https://www.sparkfun.com/products/10266)
1 x 2N3906 (https://www.sparkfun.com/products/522)
1 x Female Headers (https://www.sparkfun.com/products/115)
1 x Make Headers (https://www.sparkfun.com/products/116)
1 x Perf Board
Step 2: Setting up the Software
There are a lot of steps in this that I will try to explain.
(Most of this step is from: http://alexba.in/blog/2013/01/06/setting-up-lirc-on-the-raspberrypi/ )
For the sake of this tutorial i'm assuming this is on a clean Raspbian image.
Install LAMP
Install LIRC
Set up the GPIO pins (remember this for later if you want to use other pins)
Add these 2 lines to the bottom of the file
(CONTROL + C will save and exit)
Configure the hardware file.
Erase the contents and paste this file
########################################################
# /etc/lirc/hardware.conf
#
# Arguments which will be used when launching lircd
LIRCD_ARGS=”–uinput”
# Don't start lircmd even if there seems to be a good config file
# START_LIRCMD=false
# Don't start irexec, even if a good config file seems to exist.
# START_IREXEC=false
# Try to load appropriate kernel modules
LOAD_MODULES=true
# Run “lircd –driver=help” for a list of supported drivers.
DRIVER=”default”
# usually /dev/lirc0 is the correct setting for systems using udev
DEVICE=”/dev/lirc0″
MODULES=”lirc_rpi”
# Default configuration files for your hardware if any
LIRCD_CONF=””
LIRCMD_CONF=””
########################################################
Reboot the Pi
Step 3: Making LIRC files
Wire the IR sensor to the PI with the 3 Pin to the same GPIO In pin that you defined in step 2 in the /etc/modules file
Run the command and press remote buttons at the sensor and you should get some feedback
(CONTROL + C to stop)
Next we run the fallowing command wile in the pi directory to record the remote commands
Fallow the instructions provided
When it asks for key names you must use the predefined names. To get the names I like to open a new window and run the command.
Once you have finished recording, open out.conf
copy from “begin remote” all the way to “end remote” and open /etc/lirc/lircd.conf
Erase the content and paste the code and save.
Assign a name to the remote by replacing the line in the .conf that has a file path after NAME:
Repeat this for all the remotes you want to use
Reboot the Pi
For more detail: Raspberry Pi Universal Remote


