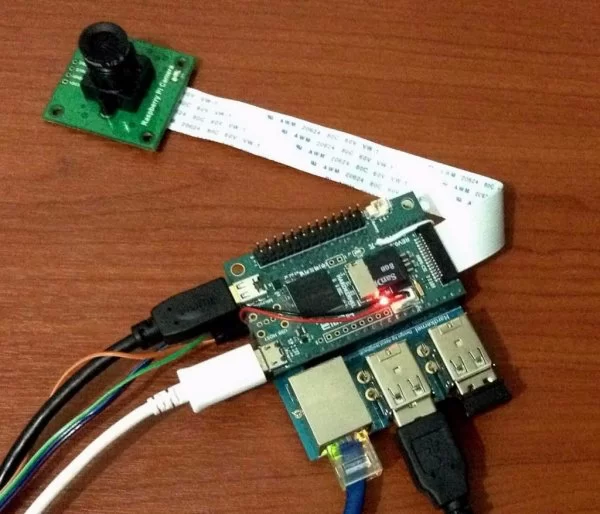
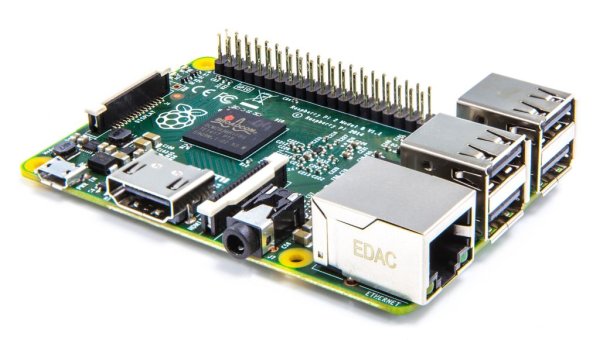
This instructable will show how to stream a Raspicam to a web using a Raspberry Pi and the UV4L driver.
Step 1: Material
– Raspberry Pi or Odroid-W Running Raspbian
– Raspicam
– Router
– Ethernet Cable
Step 2: Enable Raspicam
Before starting to configure the Raspberry, you'll need to enable the Raspicam CSI port and expand the root filesystem.
First, connect the Raspicam and the Raspberry to a router using an Ethernet cable.
Then, power the Raspberry
Open the terminal and run:
$sudo raspi-config
Select “Enable Camera” and then “Enable”
Select “Expand Filesystem”
Step 3: Installing Raspicam driver
To install the uv4l driver, open the terminal and run the following commands:
$ wget http://www.linux-projects.org/listing/uv4l_repo/lrkey.asc && sudo apt-key add ./lrkey.asc
Add the following line to the file /etc/apt/sources.list :
$sudo nano /etc/apt/sources.list
deb http://www.linux-projects.org/listing/uv4l_repo/raspbian/ wheezy main
$ sudo apt-get update
$ sudo apt-get upgrade
$ sudo apt-get install uv4l uv4l-raspicam
$ sudo apt-get install uv4l-raspicam-extras
$ sudo apt-get install uv4l-server
$ sudo apt-get install uv4l-uvc
$ sudo apt-get install uv4l-xscreen
$ sudo apt-get install uv4l-mjpegstream
$ sudo reboot
Step 4: Start the streaming server
Open the terminal and run the following commands:
$sudo pkill uv4l (Optional)
$sudo uv4l -nopreview –auto-video_nr –driver raspicam –encoding mjpeg –width 640 –height 480 –framerate 20 –server-option ‘–port=9090' –server-option ‘–max-queued-connections=30' –server-option ‘–max-streams=25' –server-option ‘–max-threads=29'
Notes:
The –port=9090 is the local IP port. You can use any port you like.
The –max-streams=25 is the maximum simultaneous streams.
For more detail: Raspberry Pi Video Streaming


