This tutorial will describe how to install and set up a light web server on Raspberry Pi that supports PHP and MySql.
Apache is the most widely used server, but Raspberry has limited resources so it is better to opt for a system that uses less resources.
There are many alternatives to Apache, in this tutorial we chose nginx.
nginx [engine x] is an HTTP and reverse proxy server, as well as a mail proxy server, written by Igor Sysoev. For a long time, it has been running on many heavily loaded Russian sites including Yandex, Mail.Ru, VK, and Rambler.
First you need to update the packages with
sudo apt-get update
sudo apt-get upgrade
Step 1: Nginx
nginx
Install nginx
sudo apt-get install nginx
create the folder
sudo mkdir /var/www
Edit the configuration file as follows
sudo nano /etc/nginx/sites-available/default
# Please see /usr/share/doc/nginx-doc/examples/ for more detailed examples.
##

server {
        #listen   80; ## listen for ipv4; this line is default and implied
        #listen   [::]:80 default_server ipv6only=on; ## listen for ipv6
        listen 80;
        server_name $domain_name;
        root /var/www;
        index index.html index.htm;
        access_log /var/log/nginx/access.log;
        error_log /var/log/nginx/error.log;


        # Make site accessible from http://localhost/
        server_name localhost;

        location /
Create a file
sudo nano /var/www/index.html
with this content
<!DOCTYPE html PUBLIC "-//W3C//DTD HTML+RDFa 1.1//EN">
<html>
<head>
<meta http-equiv="Content-Type" content="text/html; charset=utf-8">
<title>Raspberry Web Server</title>
</head>
<body>
<p><h1 align="center">Welcome,<br />... your Raspberry Web Server is ready!! </h1>
<p align="center"><img alt="" src="https://www.emmeshop.eu/blog/sites/files/image/u1/raspberry-pi.png" style="height:300px; width:250px"></p>
</p>
<p align="center"><img src="https://www.emmeshop.eu/blog/themes/bartik/Logo-Emmeshop.png" alt="Home"></p>
<p align="center">Emmeshop Electronics --- www.emmeshop.eu </p>
<p align="center"> </p>
</body>
</html>
restart nginx
sudo service nginx restart
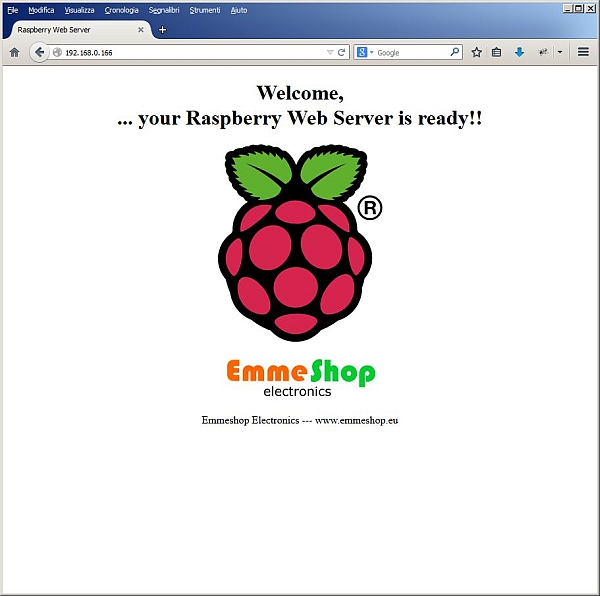
Open your browser with Raspberry Pi address, in this case http://192.168.0.166, you can see nginx home page.
Step 2: PHP
PHP
PHP is a popular general-purpose scripting language that is especially suited to web development. Fast, flexible and pragmatic, PHP powers everything from your blog to the most popular websites in the world.
nginx uses php-fpm to execute PHP programs.
So the next step is to install php-fpm as well as php-apc. The latter is a PHP extension for accelerating PHP performance.
sudo apt-get install php5-fpm php-apc
Edit nginx config file
sudo nano /etc/nginx/sites-available/default
server {
          #listen   80; ## listen for ipv4; this line is default and implied
          #listen   [::]:80 default_server ipv6only=on; ## listen for ipv6
          listen 80;
          server_name $domain_name;
          root /var/www;
          index index.html index.htm;
          access_log /var/log/nginx/access.log;
          error_log /var/log/nginx/error.log;

          location ~\.php$ {
                  fastcgi_pass unix:/var/run/php5-fpm.sock;
                  fastcgi_split_path_info ^(.+\.php)(/.*)$;
                  fastcgi_index index.php;
                  fastcgi_param SCRIPT_FILENAME $document_root$fastcgi_script_name;
                  fastcgi_param HTTPS off;
                  try_files $uri =404;
                  include fastcgi_params;
          }

          # Make site accessible from  http://localhost/

          server_name localhost;

          location /
Create a file to test Php
sudo nano /var/www/info.php
with this content
<? php
phpinfo();
?>
Restart the server
sudo service nginx restart
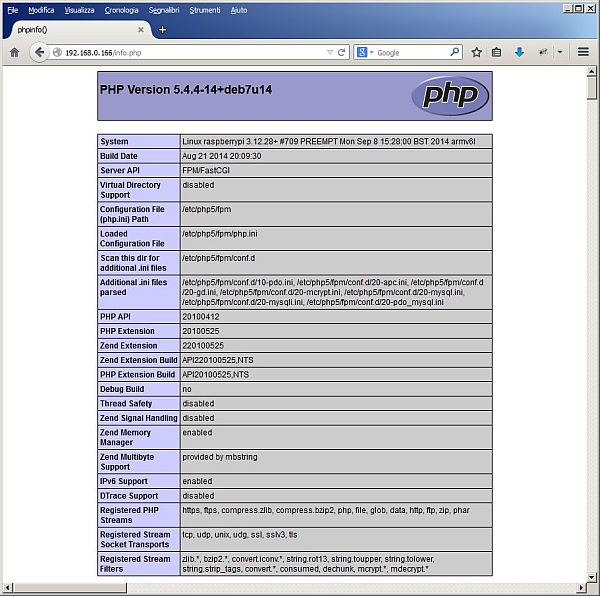
and test in your browser
For more detail: Raspberry Pi Web Server — Nginx – PHP – MySql


