Introduction
Do your neighbors leech off your wifi?
Got a raspberry pi?
We're going to build a wifi router that redirects users to a website of our choice regardless of what URL they request. In our case, we're going to redirrect users to People of Walmart . This instructable is loosely based on Adafruit's Raspberry Pi wifi router howto and this tutorial on using iptables to prank wifi users.
Step 1: Materials:
For this instructable you will need:
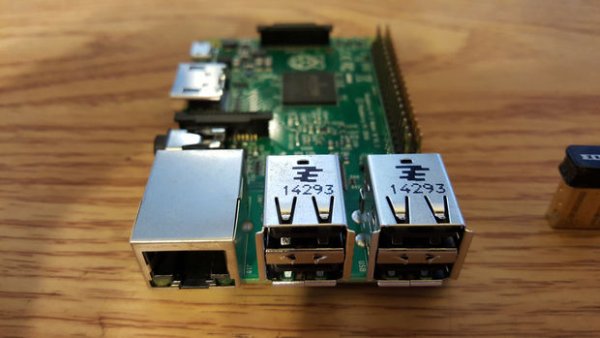
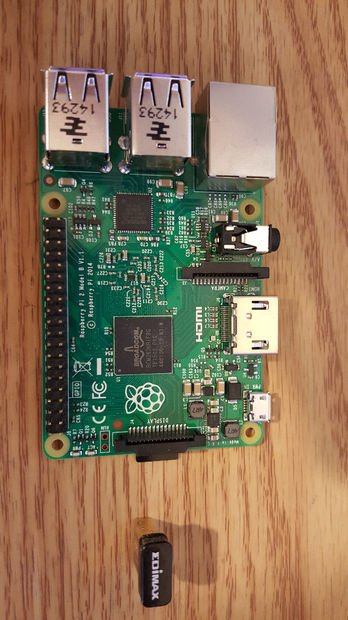
1. Raspberry pi. I used a Pi 2 model B but any model should be fine.
2. USB WIFI adapter.
3. SD card with Raspbian. If you've never installed Raspbian before, this howto will show you how to get started.
4. A wired internet connection.
5. A monitor and keyboard for the pi. When doing networking stuff it's best to work from the Pi's console.
Step 2: Boot up and Install Packages
After you boot up your pi and log in to the console, we're going to install a DHCP server package and an access point package.
sudo apt-get update
sudo apt-get install hostpad
sudo apt-get install isc-dhcp-server<br>
Step 3: Set up the wireless interface
Next we'll give our wireless interface a static ip address. I used 10.0.50.* as my block of addresses but you can use any non publicly routed subnet you'd like.
Open up the interfaces file
sudo nano /etc/network/interfaces<br>
At the bottom of the file add this:
iface wlan0 inet static
	address 10.0.50.1
	netmask 255.255.255.0
Now save the file and exit. After you've exited reboot the pi by pressing alt-ctrl-delete
Step 4: Set up dhcp
Now we'll set up the DHCP server to assign IP addresses when users connect to the pi.
We're going to back up the existing dhcpd.conf file and create our own.
sudo mv /etc/dhcp/dhcp.conf /etc/dhcp/dhcp.conf.old
sudo nano /etc/dhcp/dhcpd.conf
Type the following into the file
authoritative;

subnet 10.0.50.0 netmask 255.255.255.0 {
	range 10.0.50.10 10.0.50.100;
	option broadcast-address 10.0.50.255;
	option routers 10.0.50.1;
	default-lease-time 600;
	max-lease-time 7200;
	option domain-name "local";
	option domain-name-servers 8.8.8.8, 8.8.4.4;
}
Next we'll tell the dhcp server to listen on our wireless interface by opening this file:
sudo nano /etc/default/isc-dhcp-server
Find this line:
INTERFACES=""
and change it to
INTERFACES="wlan0"
Save then close the file.
Step 5: Set up hostapd
Hostapd let's your Pi act as a wifi access point. We'll configure it by creating a new configuration file.
sudo nano /etc/hostapd/hostapd.conf
Enter this into the configuration file. Substitute “MyPrankWIFI” with whatever you want to name your access point
interface=wlan0
driver=rtl1871xdrv
ssid=MyPrankWIFI
hw_mode=g
macaddr_acl=0
auth_algs=1
ignore_broadcast_ssid=0
Open up the defaults file for hostapd
sudo nano /etc/default/hostapd
Find this line
#DAEMON_CONF=""
and change it to
DAEMON_CONF="/etc/hostapd/hostapd.conf"
When you're done editing, save and exit.
For more detail: Raspberry pi wifi router prank


