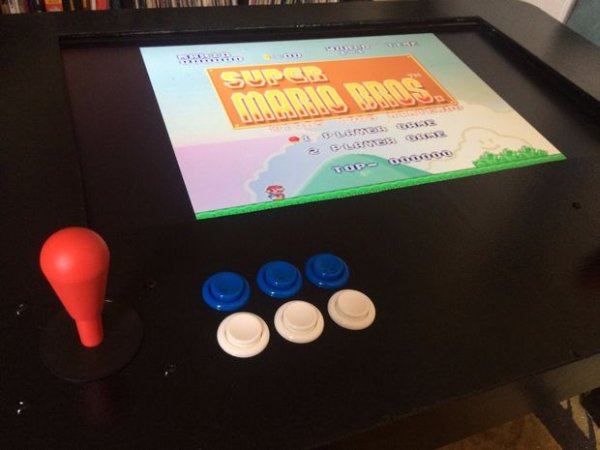
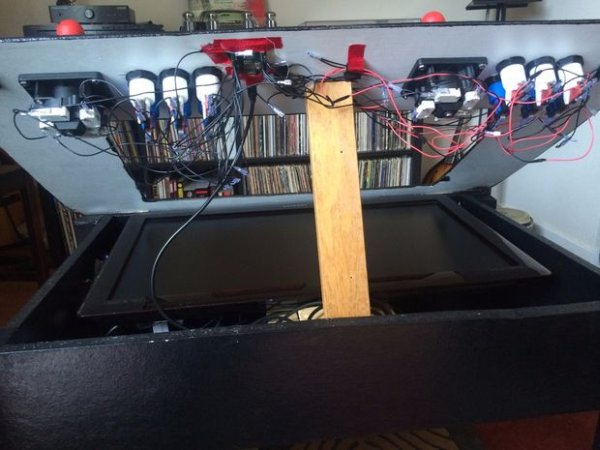
Here is my version of the Raspberry Pi arcade coffee table. I got the idea from other great instructables on here and wanted to share my experience with the build.
The table can play games from multiple video game eras including NES, SNES, Sega, Playstation, and N64 (N64 requires the Rpi 2).
Protip: if you are building 2+ controllers, be sure to install the hidden gem Super Mario War and get ready for heated, relationship-destroying battles among your friends and family. You'll thank me later.
Step 1: Parts
Table
To save some cash, I cut up some old IKEA furniture into the following pieces:
(2x) 34″ x 6″ (apron)
(2x) 21.5″ x 6″ (apron)
(4x) 17″ x 4″ (legs)
(1x) 36″ x 24″ plywood (top)
(1x) 34″ long and (1x) 20″ long (internal monitor casing)
Paint
Screws
Electronics
Raspberry Pi 2 (suggested for better performance, although most emulators run on the RasPi B as well)
LCD Monitor (make sure it is visible when viewed from above. I went with a 27″ screen)
Xin Mo USB Controller
Powered speakers
Hardware
(2x) Arcade Joysticks
(14x) Arcade buttons
HDMI cable
Wires
Power strip
Step 2: Coffee table frame
I built a simple table out of some “wood” from IKEA furniture I was about to toss. I cut the legs from an old table and the apron/sides from an old bookcase. By loosely following the “Build a coffee table” wikiHow, I was able to build a base and frame around the LCD monitor using the scrap IKEA wood. Just make sure the table is big enough to fit your monitor (mine is 27″).
I also built a shelf the width of the table underneath. The shelf is useful to house the speakers, power strip, and loose wires. Leave room above the shelf for an LCD mount and the screen itself.
Step 3: Prime/paint
If you are using pieces from old IKEA furniture like I did, check out this article on the best way to paint the IKEA scraps.
Step 4: Secure the monitor
To hold the monitor in place, I cut a piece of wood the length of the table and secured it at the appropriate height using metal brackets. I then cut holes to allow for the HDMI/power cable to run though the back of the monitor. I also cut a hole for the stem of the monitor to slide into. The shelf I built into the table frame sits below the monitor mount and houses the speakers, power strip, and loose cables.
For more detail: RasPi Two-Player Arcade Coffee Table


