Reliable Projects 1: WatchDog Timers for Raspberry Pi and Arduinos
Summary: In this series of postings we look at how to set up the Raspberry Pi and Arduino internal watchdog timers. We also explain why an external WatchDog Timer, such as the SwitchDoc Labs Dual WatchDog Timer is a better choice in many, but not all, systems.
- Part 2 – How to Set Up the Raspberry Pi Internal WatchDog Timer
- Part 3 – How to Set Up the Arduino Internal WatchDog Timer
- Part 4 -Internal Versus External WatchDog Timers / Issues with Internal Timers
- Part 5 -Adding an External WatchDog Timer to your Project
Introduction to WatchDog Timers
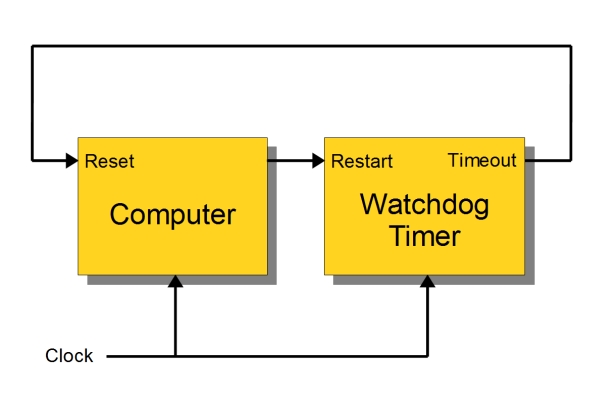
Computers sometimes lose their way. A power glitch, RFI (Radio Frequency Interference), hanging peripherals, or just plain bad programming can cause your small computer to hang causing your application to fail. It happens all the time. How often do you have to reboot your PC? Not very often, but once in while your Mac or PC will freeze making you have to power cycle the computer. Raspberry Pi’s will sometimes freeze because of a task not freeing up sockets or consuming other system resources and from power supply fluctuations. Arduinos sometimes freeze because of brownouts on the power line or a short power interruption or because of running out of system resources such as RAM and/or stack space, which is a very limited resource in an Arduino. Sometimes even programmers (gasp!) make mistakes.

For more detail: Reliable Projects 1 WatchDog Timers for Raspberry Pi and Arduinos


