
In this Project I am going to show you how to make a Remote Weather monitoring system using Raspberry Pi3
I am using PubNub Cloud service for this,Free…which is PubNub is a global Data Stream Network (DSN) and realtime infrastructure-as-a-service (IaaS) company based in San Francisco, California. The company makes products for software and hardware developers to build realtime web, mobile, and Internet of Things(IoT) applications.
PubNub's primary product is a realtime publish/subscribe messaging API built on their global data stream network which is made up of a replicated network of at least 14 data centers located in North America, South America, Europe, and Asia. The network currently serves over 300 million devices and streams more than 750 billion messages per month.
Step 1: Things You Need?
1.Raspberry Pi
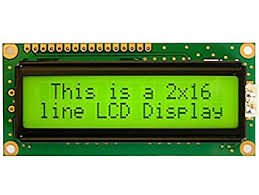
2.LCD 16×2 (I used HD44780 LCD)
3. Temprature Sensor.(I have Used DS18B20 Temperature sensor probe which follows one wire protocol)
4.LED for indication
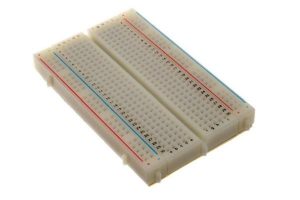
5.Bread Board
6.Jumper Wires (M-M,M-F)
7.An Android Phone and a PubNub account
This Project coding is completely done in Python (If you don't know python don't worry I have included the code),You can also learn Python from my websitewww.embeddedstudy.com it's very easy
You have to install Os on Raspberry pi before you do this project please check my website on how to do so.
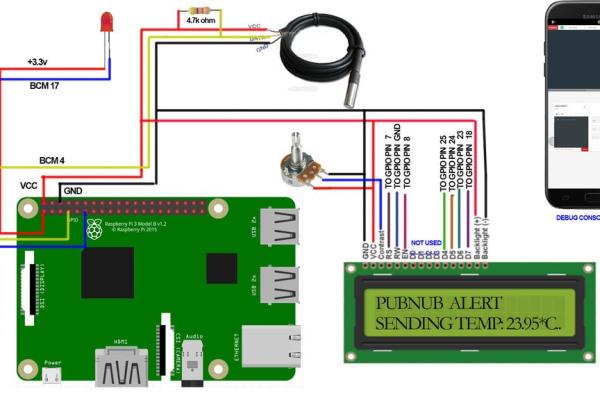
Step 2: Connection Diagram
You Have to connect your raspberry Pi via SSH to your LAPTOP to do coding.after loging in to pi with user name pi and Password:raspberry
to see the Raspberry pi pin diagram visit https://pinout.xyz/
do the connection as shown below connect a 4.7k ohm resistor between the VCC and Data wire of DS18B20 other wise we will not get the output.
Create one directory in raspberry pi and extract these files in to that directory
Click here to download the code!
Before that you need to download and install Adafruit LCD library in order for the LCD to work ,also install
to install this run following commands on Raspberry pi terminal
sudo apt-get update
sudo apt-get install -y python3 python3-pip python-dev
sudo pip3 install rpi.gpio
to install ADAFRUIT LCD LIBRARY
git clone https://github.com/adafruit/Adafruit_Python_CharL…
cd ./Adafruit_Python_CharLCD
sudo python setup.py install