Pumpkin with smart LED strip, PIR motion detector and servo motor to scare even more people. It's wireless and easy to control with Node-RED.
Story
So what do I expect from it? It must be interactive and react to motion, change colours and effects using programmable LEDs and feature something special – an unexpected pumpkin movement. Also, it should be possible to control it from smartphone – e.g. changing a colour or trigger the servo.
I have decided to use BigClown because a lot of things are already pre-programmed for you. The BigClown is also well documented and open-source. In the SDK there is a support for programmable digital LED strips (Neopixel compatible), servo motor, PIR motion detector. All communication is wireless and controlled from BigClown Radio Dongle, which translates all the events and commands from/to MQTT. This open protocol can be connected to any programming language and is supported in Node-RED. And Node-RED is a great tool not only for beginners – it is easy to use and offers a lot community plug-ins. You can also quickly change the behaviour of the pumpkin over the web browser.
Step 1: Prepare Pumpkin
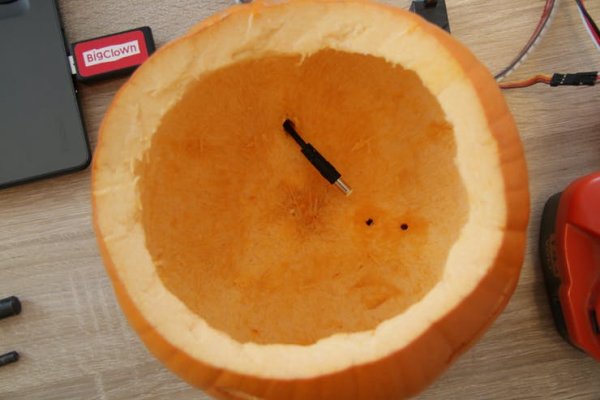
Make top cover big enough, so you can later easily put and connect all things together. The nose round hole could be used for PIR Module sensor. Also make a hole in the back of the pumpkin for the 5V Power Adapter cable.
In the bottom, make two holes where the zip-tie will go through and fix the servo motor on the bottom.
Step 2: Build Hardware
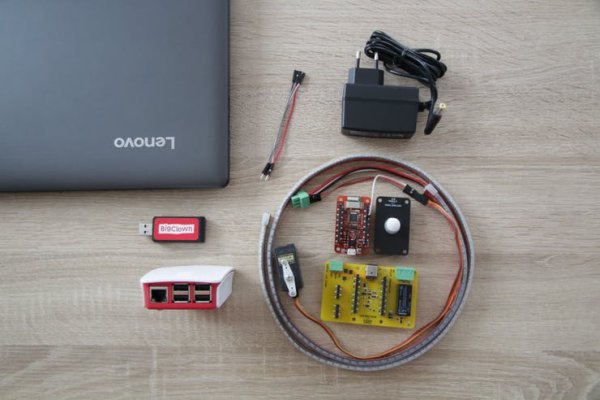
Prepare all the parts on you table. You can use Radio Dongle with any computer or Raspberry Pi.
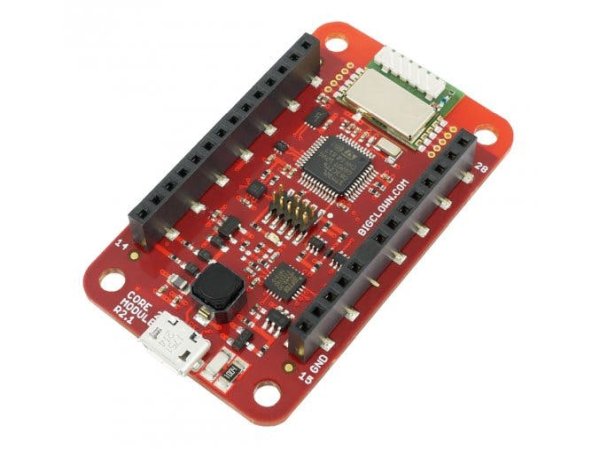
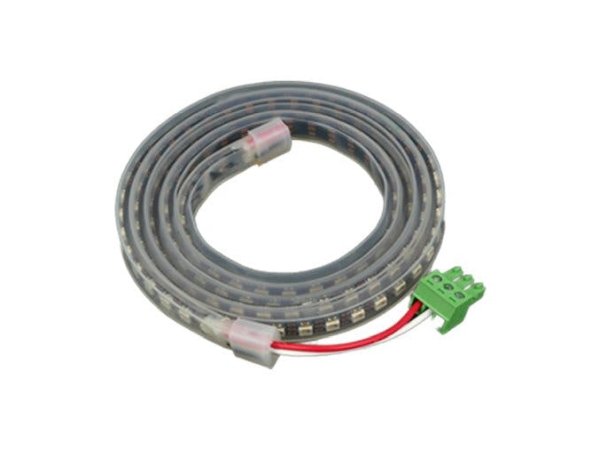
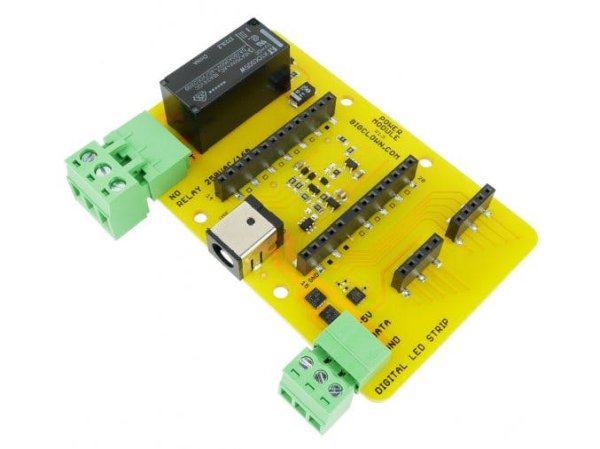
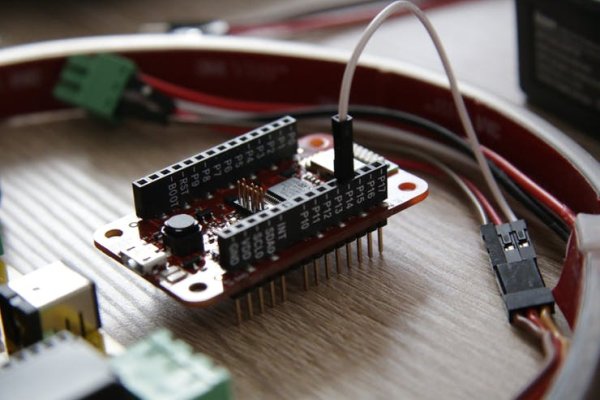
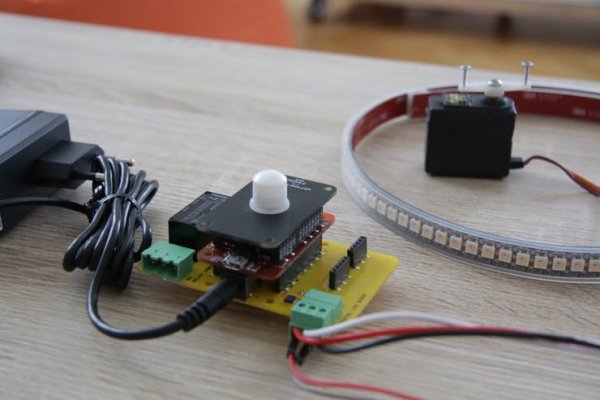
Connect Core Module and Power Module together. Then use 5V Power Adapter which is connected to the Power Module. The LED strip connects to the LED connector on the Power Module.
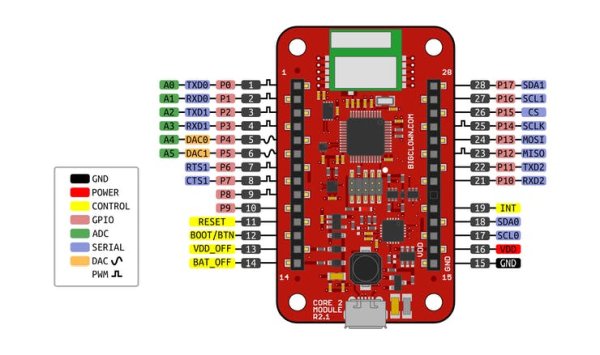
Servo motor can be also connected to the +5V and GND on the LED connector. The servo signal is connected to the P14 pin on the Core Module.
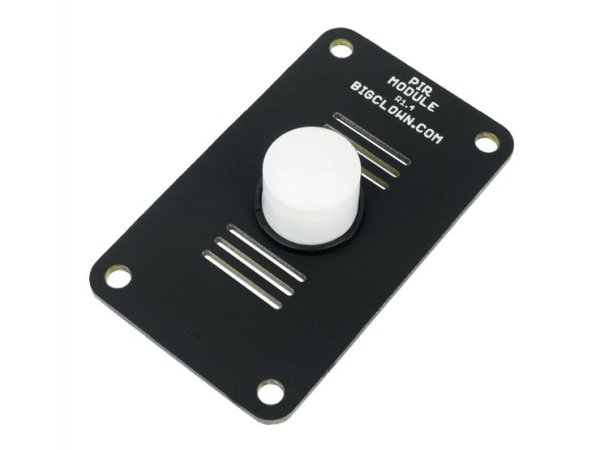
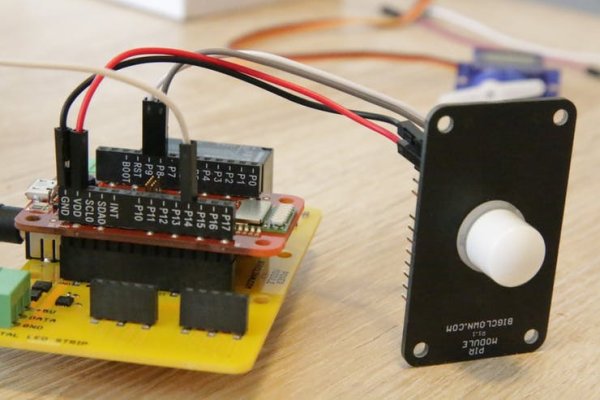
The PIR Module can be stacked on the Core Module, or if the pumpkin eyes are too close then you can connect PIR by 4 wires. Only P8, P9, VDD and GND signals needs to be connected.
Step 3: Flash Firmware
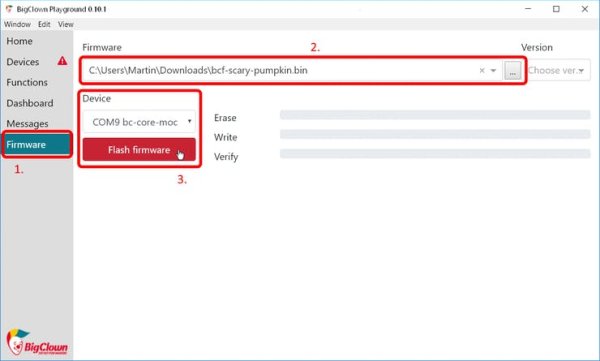
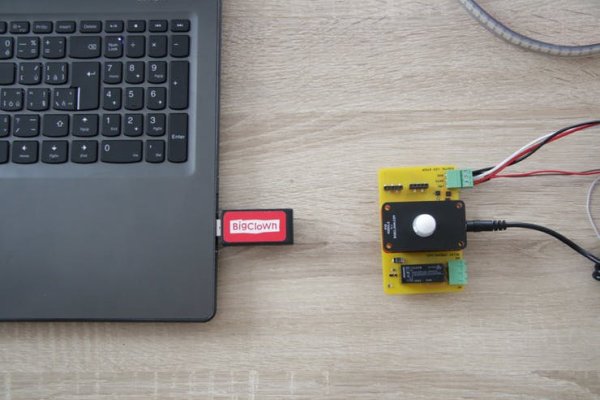
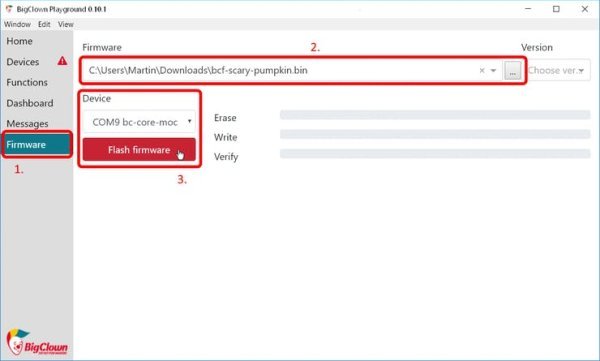
Connect Core Module to your computer and use BigClown Playground to flash the firmware.
BigClown Playground also contains all the other functionality for pairing the wireless Core Module with the Radio Dongle on your computer. BigClown Playground also contains Node-RED with rules what pumpkin has to do when movement is detected. You can later use Raspberry Pi with BigClown Raspbian image that has all the things the BigClown Playground has – it's just running on Raspberry Pi.
Step 4: Pair Node
You have to pair the wireless Core Module with Radio Dongle in your computer.
- Connect Radio Dongle to your computer
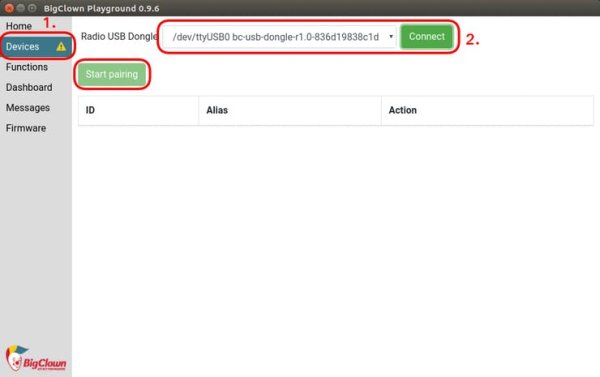
- In BigClown Playground go to Devices tab
- Choose the connected Radio Dongle from the list and click Connect
- Click Start pairing button
- Power up the Core Module by plugging DC Adapter to the Power Module
- The device will appear in the table
- Don't forget to stop apiring by clicking Stop pairing
Step 5: Add Function
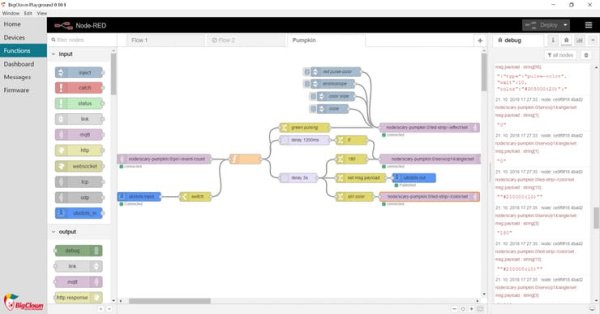
Open Node-RED in the Playground or Raspberry Pi and import the flow from this link in the Menu > Import > Clipboard. Do not forget to hit “Deploy” in the top right corner to apply the changes.
This flow will react to the PIR motion event from the MQTT block on the left. Then the MQTT command for colour effect (led-strip/-/color/set) and servo motor angle (servo/p14/angle/set) is sent.
Step 6: Connect Power
When you connect the Power Adapter and wave your hand in front of the PIR motion detector, the following should happen:
- The Node-RED flow will react to the motion MQTT message.
- The steady colour will change to fading green.
- The servo motor will move.
- After 3 seconds the “delay 3s” block will fire and set the LED strip back to steady colour and the servo motor back to its default angle.


