
This hack will allow you to directly share WiFi from a PC to a Raspberry Pi connected through a LAN Cable without any modification on the Pi
In order to login into the Shell of the Raspberry Pi connected directly to my PC via a LAN Cable, I crafted this tutorial that involved a tedious process of editing the cmdline.txt file of the Raspberry Pi. This hack comes in very handy when there's no access to a Display Screen or no Router. Another advantage of this hack was that the Shell access on the Pi can be achieved without ever having to connect the Pi to a Display Screen/Router.
After the popularity of this hack, I wrote another tutorial that allowed to also Share WiFi from the Windows PC over to the Raspberry Pi. This has been very popular, though sometimes a big pain to get working with Win 8/10.
Last night, I stumbled upon a very easy technique of Sharing WiFi with the Pi without having to edit/modify anything within the Raspberry Pi. I've shared the process below.
0. Tested on Raspberry Pi 2 (Wheezy), Win 7
1. Open up the Network and Sharing Center and select the Change Adapter Setting link. You should see something like this:
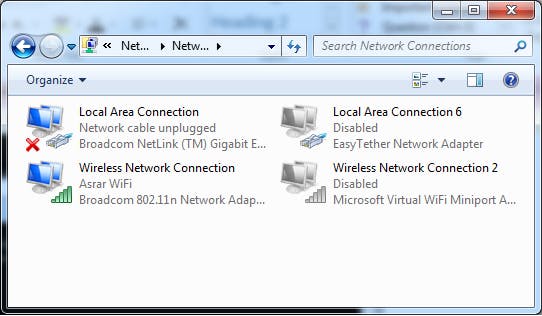
The Local Area Connection is where the Raspberry Pi will eventually be connected to and the Wireless Network Connection is our PC's internal WiFi adapter.
Individually open up the Adapter Properties for both LAN and WiFi:
and make sure that the Obtain IP Automatically radio button is selected in the IPv4 settings:
2. Select the Local Area Connection and the Wireless Network Connection, and while keeping the Mouse pointed on the Wireless Network Connection, right click. You should see an option called Bridge Connections. Hit that and wait for a while. You'll see couple of Bridging prompts.
3. Once it successfully bridges, you should now see a new Network Bridge created and also Bridge showing in the Network adapter:
4. Now, connect one end of a simple LAN/RJ45 Cable to the Ethernet Female port on the Raspberry Pi and the other end to the PC's Ethernet Female port. (Make sure that any existing network settings made on the Pi or Static IP modifications done in the network hosts on the Pi are restored to default settings)
5. Power ON the Raspberry Pi and wait for a minute or two. You should now see the Local Area Connection adapter also showing the Bridged info in the description.
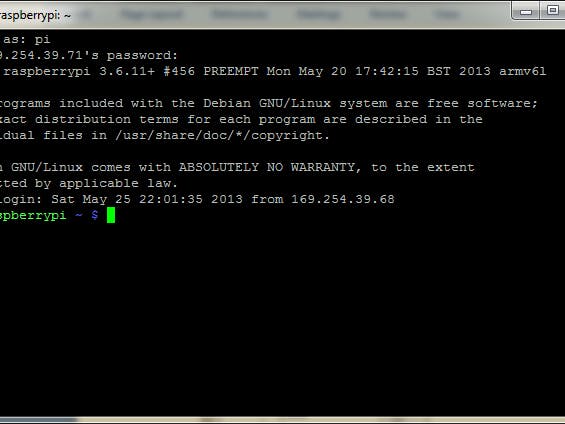
6. Determine the Gateway IP (and dynamic IP ) assigned by the Router to the PC. This will then help us search for the Raspberry Pi's dynamic IP in the same subnet.