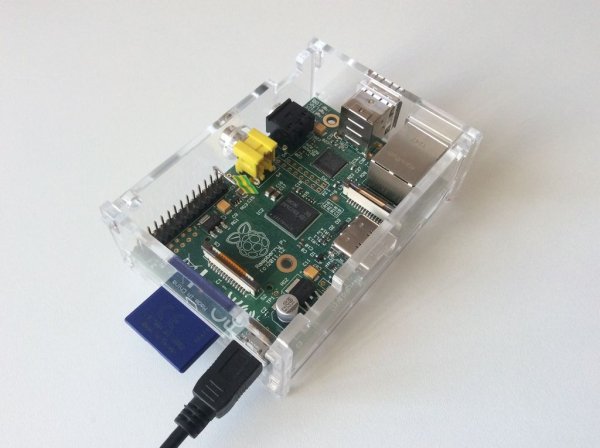
Since the Raspberry Pi foundation decided to leave out an off button to safely shutdown the Raspberry pi, I'll show you a simple method I came up with to build one, so there are no more excuses for yanking the power cable out of your Pi!
This method uses no extra components apart from a piece of wire, so as long as you have a way of connecting two pins together you can get on and make this right away.
This instructable assumes you know the basics of using a Raspberry Pi, i.e. connecting it to a monitor and keyboard / SSH into it and being able to type commands into the terminal.
Soldering is also useful but not totally necessary to make a more useful button.
Step 1: Download the Python script
For this whole instructable I'll assume you're in your home directory, so if you're not there yet enter:
cd
First we want to download the script which will wait for the Pi to detect that the “button” has been closed. Open the Raspberry Pi terminal and enter (all on one line):
wget http://tinyurl.com/off-button-py
(For those of you who want the origional link:
“wget http://www.instructables.com/files/orig/FVM/K0WJ/IA0WRZBF/FVMK0WJIA0WRZBF.py”)
Alternatively, you can download the file attached to the instructable and transfer it to your home directory.
Check to see if the file is there using the command (it uses a lower case L if it's not clear in that font):
ls
You should now see the file name “FVMK0WJIA0WRZBF.py” in your home directory.
This step is optional but it will help neaten your system by changing the file name to something more memorable and making the script a hidden file so it's not immediately visible in your home directory (unless you want it that way).
Enter:
mv FVMK0WJIA0WRZBF.py .off_button.py
Now check to see if the file is hidden by entering the “ls” command again. The file should no longer be visible unless you enter:
ls -al
Now you should see “.off_button.py” with a dot before its name.
Step 3: Customise the script
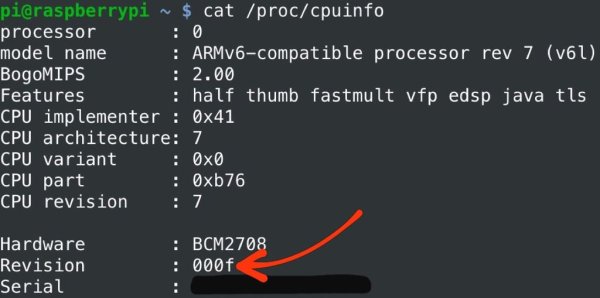
Now you want to check which raspberry pi revision you have so that you can choose which pin you want to connect the button to using this command:
cat /proc/cpuinfo
Near the bottom where it says “Revision”, check the eLinux wiki and compare your number with the ones on that page. Once you know your model and PCB revision, you can select which GPIO pin you want to use from the hobbytronics webpage . Bearing in mind that the switch is activated when the GPIO pin is connected to ground I suggest you use a GPIO pin which is near enough to a ground pin to make a connection.
Then open up the .off_button.py script for editing:
nano .off_button.py
Use the cursor keys to navigate, and replace the variable near the top called, “YOUR_CHOSEN_GPIO_NUMBER_HERE” with the GPIO pin number you just chose. In my case, with a Raspberry pi B revision 2 board I used 7.
Once you've set the pin save and exit the editor:
CTRL + x
y
ENTER
Step 4: Set the script to run at boot-up
Now we want to set up the system so that this script will run at every boot-up. Open the rc.local file with this:
sudo nano /etc/rc.local
Then navigate to the bottom of this file and just before the “exit 0” line which is at the very end, add this:
python /home/pi/.off_button.py
Then exit as before using “CTRL + x” “y” “ENTER”. If any of you are looking to run other scripts at start up and want to add them to run at the end of this file, I found that on my system I had to amend the line so it looked like “python /home/pi/.off_button.py &” and then add the location of the next script on the line bellow. This symbol means the scripts are run at the same time.
For more detail: Simple Raspberry Pi Shutdown Button


