
About this project
PiDoorBell is a smart doorbell powered by RaspBerry Pi model B. PiDoorBell integrates a camera that takes a photo to the person that came to see you. At this point, if you are not at home PiDoorBell connects to the internet and sends you the picture just taken to your smartphone using Pushover's APIs. 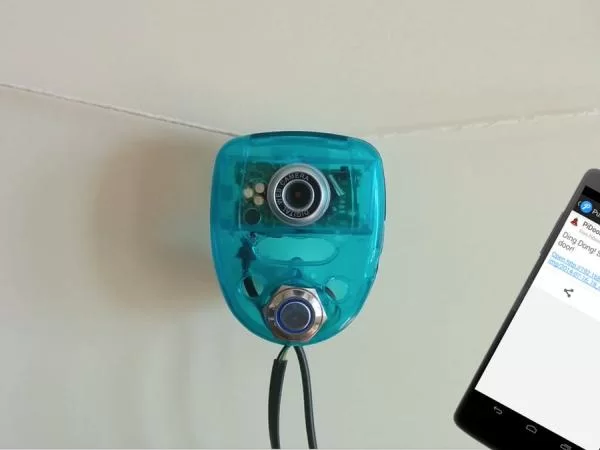
Hardware
We analyze the hardware that we used component by component
Button
We used a metal button with a built in blue led, for a better night-view. You can find it here
Product description:
- Circle LED color: blue
- Screw size: about 16 mm
- Panel diameter: about 17 mm
- Overall length: about 38 mm
- LED voltage: 12 V
- Switch rated value: 3A/250V AC
- Type: latching
- Push button: push it – ON, release – ON, push it again – OFF
- 5 pins: +, -, NO1, NC1, C1
- + : positive terminal
- – : negative terminal
- NO1 : normally open
- NC1 : normally closed
- C1 : common
Speaker
You can use any speaker who has 3,5 mm jack connection.
Camera
We wanted to use the official camera module, but it was broken, so we used a normal USB webcam compatible with Linux.
WiFi dongle
Because we need an internet connection, and we didn't want cables, we used a WiFi dongle. We used a Netgear WG111v2, that is compatible directly with Linux.
Software
On button press, Raspberry starts the Python script which has the task of making different operations.
The part of notifications on your smartphone was made using Pushover APIs. This allows you to send real-time notifications to the Pushover account connected both with PiDoorBell both with the receiving smartphone.
Tutorial
For the software part follow these stpes:
- Register on pushover.net and download the Android or iOS Pushover app from your app store.
- Now log in your Pushover account from pushover.net site.
- Create an application by clicking on “Register your application” and following the instructions
- Now note your User Key and your Application Token (you can view it by clicking on the name of the application created), and replace them in the python script below.
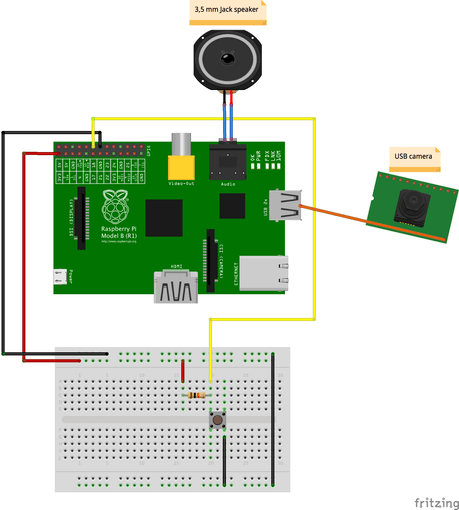
For the hardware part follow these steps:
- Wire all the hardware parts following this image
For more detail: Smart Raspberry Pi DoorBell