
Experience the tactile nature of a vinyl music collection (but without actually owning any vinyl) through Sonos, Spotify and NFC tags
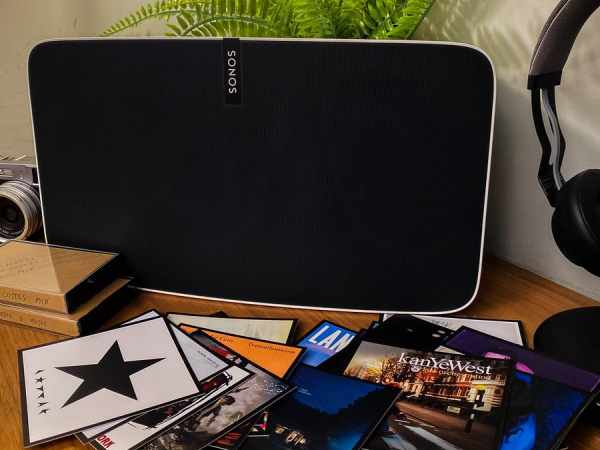
Listening to music on vinyl is great. It's physical and tactile. You listen to a whole album rather than random tracks. You notice when it's over and consciously choose something else. You can build a collection and browse through it rather than having to search for exactly what you want.
It's also expensive and bulky, especially when you consider that any money you spend on vinyl is very likely a duplicate of music that you already have access to through a streaming service you subscribe to.
This project attempts to replicate the tactility and collection-building aspects of vinyl while relying on Spotify to actually deliver the music. Placing a physical object on an NFC reader hooked up to a Raspberry Pi (both of which can be hidden away) will start playing the album associated with that tag.
I will walk you through all the steps – from setting up the Raspberry Pi to encoding the NFC tags. This is my very first Raspberry Pi project and my first Python code, so I taught myself both while developing this. As such, these instructions assume literally zero previous knowledge and talk you through every step.
If you are familiar with how to set up a Raspberry Pi or already have one set up then you can skip quite a few of the early steps and start here.
The total cost for the essential components to build this is approximately £50-60 depending on how much you spend on the NFC reader.
The code is maintained at github: https://github.com/hankhank10/vinylemulator
If you run into difficulties on this the best way to get help is to raise a github issue here (https://github.com/hankhank10/vinylemulator/issues). You can also try posting in the comments below but I am trying to consolidate issues through github wherever possible as it's a more structured way of responding.
I'd love to see what you build!
Step 1: Set up your Raspberry Pi
If you have a setup and running Raspberry Pi then skip to Step 2.
If you don't, then go through my super-simple, no-prior-knowledge-assumed, every-single-step-explained tutorial on how to set one up here. It takes max one hour and assumes zero prior knowledge (promise). See you back here when you're done.
Ok, on to Step 2.
Step 2: Install Node.js and NPM
Connect to your Raspberry Pi command line either through SSH (Terminal / Putty) or VNC.
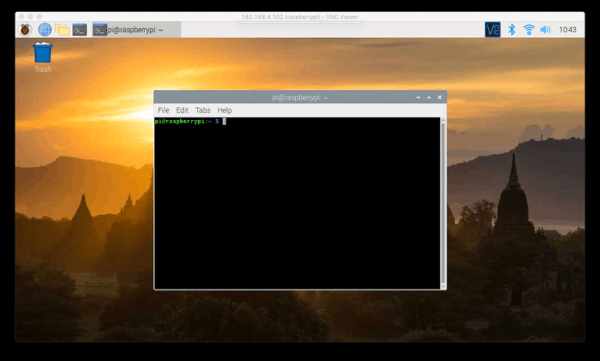
(Top tip: You can copy text from your Mac/PC and paste it to the Raspberry Pi via VNC by pressing CONTROL-V, but if you're trying to paste into the Terminal within VNC then you need to press CONTROL-SHIFT-V)
We are now going to install the dependencies we need.
First job is to check again your software is up to date by typing the following two commands. They might take a while to download and install.
sudo apt updatesudo apt upgradeNext you want to download and install node.js and NPM (don't worry too much about what they are, they are helpful and necessary for our next tasks) by typing the following:
sudo apt-get install nodejs npmIt will ask you a couple of times if you're happy to take up disk space with these – you are so press Y
Step 3: Install the SONOS HTTP API
The basis of the back end for our project is the node-sonos-http-api package created by jishi. You can read all about it here: https://github.com/jishi/node-sonos-http-api
Let's first check that we have “git” installed:
apt install gitThen download the code with the following command entered into the command line on your Raspberry Pi:
git clone https://github.com/jishi/node-sonos-http-api.gitand we will install it with the following commands
cd node-sonos-http-apinpm install --productionWe can then run it with the following command:
npm startOnce that's done we should test that it is working.
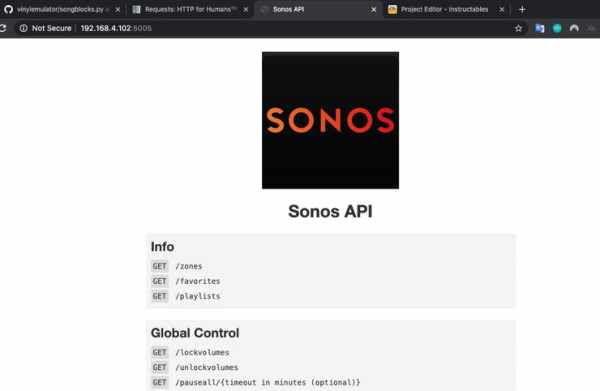
First of all, open the internet browser on our Raspberry Pi and navigate to http://localhost:5005/. A nice interface should open with the Sonos logo and some documentation on how the API works.
Next, let's check that this is working from the wider network by using a browser on another PC or Mac on the same network and navigating to http://[theIPaddressofyourPi]:5005/ and seeing if we get the same result. We should.
Now we will actually make the system do something. Use a browser and navigate to:
http://192.168.4.102:5005/Dining Room/playpauseYou should replace the above IP address with the address of your Raspberry Pi and “Dining Room” with one of the names of your Sonos zones. It should either play or pause (depending on whether music is already playing or not) the music in that room. Obviously something needs to be in the Sonos queue for that to work.
Going forward, I'm going to use the above IP address and Dining Room as the examples throughout this tutorial. Obviously you should replace them with your IP address and your zone name on each occasion.
Step 4: Make the Sonos HTTP API Run Constantly
It's great that we've got the Sonos HTTP API running, but what if it crashes? Or you lose power or need to reboot your Raspberry Pi?
You can see the effect by closing down the terminal window and retrying what we just tried. It won't work because the HTTP API has stopped along with the terminal window.
We actually want this to run constantly and do so from startup each time. We do this with a cool thing called PM2.
In a fresh terminal window, install and run it as follows:
sudo npm install -g pm2pm2 statusNow let's get it to run our Sonos HTTP API:
cd node-sonos-http-apipm2 start npm -- startpm2 startup systemdThis last command generate something which looks a bit like:
sudo env PATH=$PATH:/usr/bin /usr/local/lib/node_modules/pm2/bin/pm2 startup systemd -u pi --hp /home/piCopy what your Pi generates (not the exact text above – yours may be different) and enter it into the command line. This instructs the system to run PM2 on boot every time.
Finally, enter:
pm2 savewhich saves everything down.
Now test whether this has worked by rebooting your Raspberry Pi with the command
sudo rebootHopefully once the Pi reboots it will also start PM2 and in turn the Sonos HTTP API. You can check this by navigating using a browser on the same network to the address we used before and see the Sonos logo and instructions:
http://192.168.4.102:5005/(yours will depend on the IP address)
Step 5: Play Some Spotify
Let's check that the service can access Spotify.
Open a browser and navigate to the following address (obviously replacing with your IP address and room name):
192.168.4.102:5005/Dining Room/spotify/now/spotify:album:2dfTV7CktUEBkZCHiB7VQBYou should hear some John Grant. Enjoy.
Step 6: Find Spotify URIs
Weird, I know, but not everybody likes John Grant. Maybe you want to listen to something else?
You can get the Spotify links from the desktop, web or mobile apps but the Desktop is by far the easiest as it delivers the URI in exactly the format you want so start with that.
In the Spotify desktop app navigate to the album you want to listen to (maybe Lemonade by Beyonce?)
Click on the three little dots next to the heart button.
Go down the menu to Share and choose Copy Spotify URI
Source: Sonos / Spotify Vinyl Emulator