Step 1: Using of Telegram Bot API and RPI GPIO Modules
To write application code I used two modules for NodeJS. One of them is Telegram Bot API module and the other one is Raspberry Pi GPIO module.
Using Telegram Bot API you can create your own bot that can get/send messages to the other people on telegram. With this bot you can make so many interesting applications. Also I used this bot to do this application. You can find more details here about telegram bot API

Step 2: Test Circuit and Running the Application

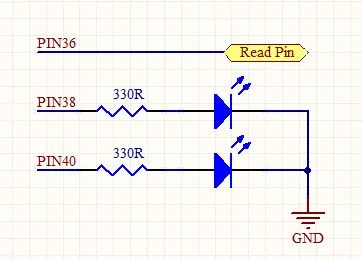
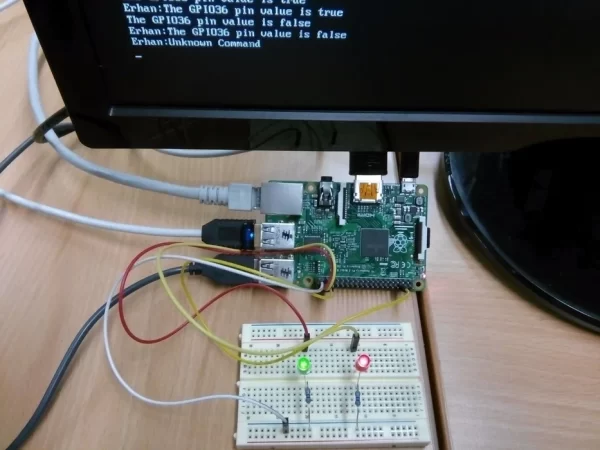
To see application results on the GPIO pins I setup simple test circuit on the bread board. Above you can see the circuit.
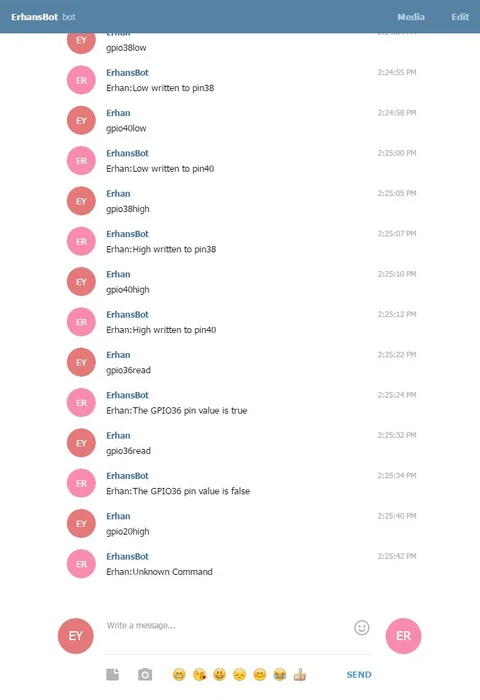
To running application first of course you should install NodeJS and required files and modules. When application start to run it waits for the commands. For this app I defined basic few commands. These are gpio36read, gpio38high, gpio38low, gpio40low, gpio40high. These are also not case sensitive. Easily you can change or add more commands. If you send invalid command app alerts you. Also I added ID control to app. So, no body can't controls or reads pins except you.
I did it with simple a line code which is below. If you want you can cancel it.
if(message.chat.id == “<Your Chat ID>”) { // app code here}


