Step 1: Planning.
The dimensions in the picture are in millimeters.
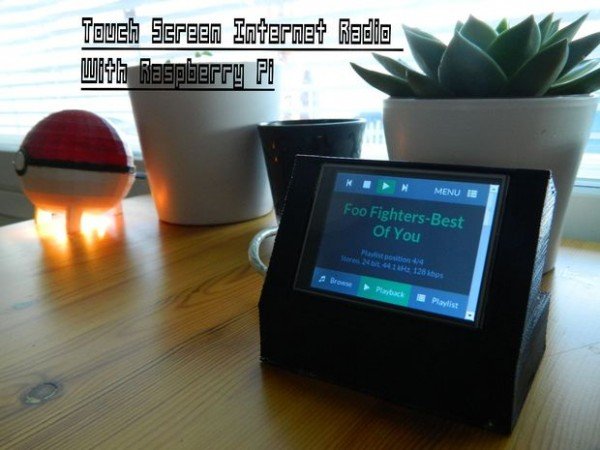
The plan is simple. Make a table top case for the screen and raspberry. I had to make the base of the case 3mm taller than in the plans. I was fooled by the length of the solders under the raspberry.
The 3D model of the case was made with ScetchUp, witch is a free and brilliant software to use.
The project will include the printable file, but if you like and want to support my future projects you can buy the files from HERE. Cost is only 1 dollar and helps me a lot 🙂
Step 2: Printing.
The whole project is printed with Printrbot makers kit.
Simple and small printer does the job well.
Printing time for the whole case was about 2.5 Hour's. With layer height of 0.2mm and speed of 50mm/s. Nozzle size is 0.4mm.
Printed with support .
Step 3: Testing.
Test that the components fit in to case. In my case the parts just snapped in to place.
I had a Adafruit's plug and play image that works with the screen right away in the testing process. You can find the image from Adafruit's site under the PiTfT screen.
Remember to properly fold the cable in the case. If you like i have reserved a place for four buttons under the screen. I didn't have good (suitable) buttons to use in that place.
Step 4: The Rom.
witch means that if you write your raspberry's IP address on your URL bar it will open a page where you can control the Raspberry.
To make the screen work i had to install the drivers to it and make the screen load up in boot. Then i had to install LXDE environment and finally make the raspberry's own internet browser to open up automatically with the Web Ui open.
Look on the next step to see how it is done.
For more detail: Touchscreen Internet Radio, Raspberry


