This may seem like it already exists, but I couldn't find it anywhere.
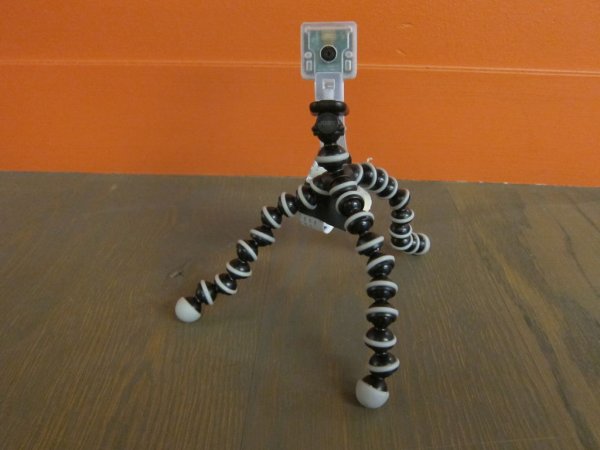
So, I made it myself: a camera mount for the Raspberry Pi that you can easily mount onto any standard tripod.
Step 1: Create the 3D Model
I looked around for an existing tripod camera mount. I couldn't find exactly what I wanted, but this one on Thingiverse, is pretty close.
I imported the enclosure face into 123D Design, then added a simple tripod bottom for it. Yay Creative Commons!
The tripod hole is 5mm, which I will later tap with a tap-and-die kit.
Step 2: 3D Print it
I'm using an Object printer with a VeroClear resin, but any 3D printer will be fine.
What I like about the VeroClear is that you can see the camera power to make sure the camera is indeed working.
If want to be a spy-cam look, you may want to go for black ABS to obstruct the light and also be sleek.
Step 3: Tap the hole
The 5mm hole is just enough material for tapping threads for a standard tripod mount (you'll need a tap-and-die kit).
The threads you want to tap for are 1/4-20.
If you've tapped holes before, this is a cinch. If not, check out this Instructable — you won't need any cutting fluid since you're 3D printing in some sort of plastic or resin. The tapping process is super-quick and can be done in your hand.
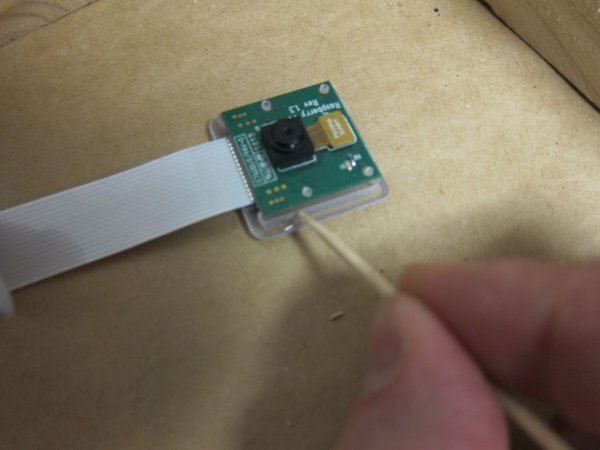
Step 4: Epoxy the back face onto the camera
This is the solution I chose. It's a more permanent one, which is why I like it.
There are other ways, such as:
* a snap-fit design: more work on the 3D modeling side and eventually the material (especially since I'm using resin in my case) will wear out.
* put screws in it: a lot of work and time, but probably the most optimal solution
* use a silicon adhesive or something less strong: my feeling is if you're going to use an adhesive, use one that really works.
For more detail: Tripod Camera Mount for Raspberry Pi


