
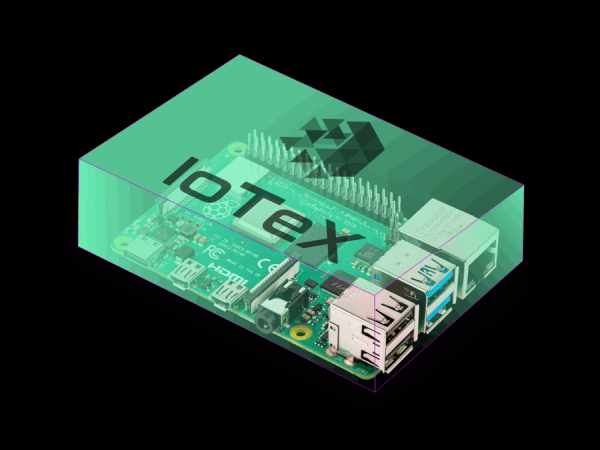
Turn a Raspberry Pi into a Blockchain Gateway for building secure IoT applications.
Although “blockchain” sounds like a very complex matter, because of all that “cryptography”, “game theory”, “p2p networks”, and “distributed” kinds of stuff, it's very simple to use.
Don't get me wrong: Blockchain is indeed one of the most complicated concepts in the IT space, but the “concept” of how to integrate it into your projects is instead pretty simple: once somebody else built the blockchain for you, using it in your project is not that complex after all!
??Also check out how you can integrate blockchain in a SmartLock??
Why would you want to use blockchain in your IoT projects?
So before speaking of the “how”, let's first ask ourselves the “why”: why would you want to integrate a blockchain in your project? The main reason is simple: by using the blockchain you get peace of mind about security, which is probably the first and most important thing you don't want to miss in a real-world Internet of Things architecture. But it's not only about security: immutability of the data stored “on-chain”, traceability of transactions, and smart contracts can really unleash the whole potential of IoT!
How are you going to “integrate a blockchain” in your project?
Basically, you start thinking of security when you want to add Internet-connectivity to your project: either you must open your network to possible attacks, data breaches, or worse (it's IoT!), or you can use a public server as an intermediary for your device status/logic (e.g. google, AWS, etc… that still have security issues, and raise serious privacy concerns).
So think of the blockchain like a server in the cloud, just one that is not own by anyone, exceptionally secure in terms of authentication, that can never be taken down, where you can write data to, execute code on, with the benefit that the data you write, as well as the code executed are immutable and traceable. And the code execution itself is unstoppable.
So everything starts from a “Gateway” that gives you access to the blockchain: while you can find such gateways as a free/paid third-party services in any popular blockchain, the best choice is to configure your gateway: this will provide the best performance and maximize the security.
What you will learn
In this article, you will learn how to turn a Raspberry Pi (or any other compatible ARM board with a 64-bit OS image) into a IoteX Blockchain Gateway to be used as an endpoint in your future blockchain-based IoT projects.
The IoTeX Blockchain features a fast 5-second transaction confirmation time, with instant finality, and is one of the most secure public, permissionless blockchains out there: a perfect fit for any IoT project! In addition, the IoTeX team is working at cool secure hardware sensors that integrate directly with the blockchain allowing for end-to-end trusted data that promise to revolutionize IoT.
1. Download Ubuntu for your ARM board
Before you can install the full node on your ARM board, you need to install an Ubuntu OS image (only 64-bit). Depending on the board you are using, you should download the correct OS image. Some examples are listed below:
1.1 Raspberry Pi 3 / 4
Use the Raspberry Imager tool to download and flash Ubuntu Server on your Raspberry: Download Link
Default login: ubuntu Default password: ubuntu
1.3.Odroid N2
Download the Ubuntu minimal image for the Odroid n2: Download Link
Default login: root Default password: odroid
2. Configure the board
2.1.Download Etcher
For boards other then the Raspberry, like the Odroid N2, you need a tool to flash the image to the raspberry. Etcher is a perfect choiche: Download Link
2.2.Flash the OS image
- Insert your micro sd card in your PC card reader
- Open Raspberry Imager (or Etcher)
- Select the OS image you want to install in Raspberry Imager (or select the downloaded image if you used Etcher)
- Flash it!
2.3.Power on your board
- Connect the board to your router with an ethernet cable
- Insert the Micro SD card in the card reader of the board
- Power on the board by connecting the power supply
2.4.Configure your router
If you don't know how to do that, check out this YouTube Video for an example.
- Access your router configuration page from a browser
- Locate your board among the connected devices
- Configure your router to provide a fixed IP address for your board
- Also, configure the router “Virtual server” port 4689 by redirecting it to your board IP address
3. Configure Ubuntu
3.1.Login in Ubuntu
Please use the IP address you assigned for your board. In the example, it will be 192.168.1.105, while yours could be different.
From your PC, type the following:
For Raspberry boards:
ssh [email protected]: ubuntuFor the Odroid N2 board
ssh [email protected]: odroidIf requested, update your password and login again using the new password.
3.2. Configure a USB hard drive
Using a USB hard drive is recommended to store the blockchain database: adding a USB hard disk would make the raspberry more responsive, and the blockchain sync process & node updates will run much faster.
Create the iotex-var folder in your home directory
cd ~mkdir iotex-varList the current disks
lsblkConnect your hard disk to a USB port, and list the disks again: you should see a new sda disk with one or more partitions (sda1, sda2….) depending on the disk you connected.
Mount the partition (replace `sda1` with the name of your partition) and set it in the IOTEX-HOME environment variable:
sudo mount /dev/sda1 ~/iotex-varcd ~/iotex-varexport IOTEX_HOME=$PWD4. Clone the IoTeXLab iotex-arm scripts
IoTeXLab Delegate team provides some simple scripts to conveniently start, stop and restart the node, in addition to the latest release of the ioctl command line client built for arm64 and arm6l:
cd ~# Make sure git is installed in your Ubuntu imagesudo apt install git# Clone the repositorygit clone https://github.com/IoTeXLab/iotex-arm.gitadd the bin folder to your PATH:
echo PATH="$PATH:$HOME/iotex-arm/bin" >> ~/.profilesource ~/.profilePlease notice that these are unofficial scripts provided by IoTeXLab team, not provided by IoTeX: use them as a starting point for your own scripts.
5. Install the IoTeX full node
IoTeX provides a Docker image for the latest IoTeX node release, specially built for ARM boards and 64-bit OS, that comes in handy for our Raspberry Pi Blockchain Gateway.
4.1.The easy way
The IoTeXLab repository also provides a convenient script that will just perform all the required operations from installing Docker, up to configuring the node for you.
To run it, just type the following (this must be executed only once for the first installation, see the next sections for the update command):
setup_iotex_node4.2.The standard way
Having the Docker image for ARM, you can install the IoTeX full node by simply installing Docker:
curl -sSL https://get.docker.com | shsudo usermod -aG docker $(whoami)and following the official instructions available at IoTeX Bootstrap Repository, just replace the official IoTeX Docker repository tag from iotex/iotex-core:v1.1.2 with the ARM tag iotex/iotex-core:arm64-v1.1.2 (replace the release number with the current release):
docker pull iotex/iotex-core:arm64-v1.1.26. Interact with the node
After the node is downloaded and configured, you can run the following commands:
to start the node
startNodeto show the log from the node
logNodeto kill the currently running node
killNodeThe IoTeXLab repo also includes the latest IoTeX ioctl (unofficial) command line tool but for arm64 to interact with the IoTeX blockchain on a Raspberry Pi:
First configure it to interact with our local node:
ioctl-arm64 config set endpoint localhost:14014 --insecurenow you can use it to query the node or execute actions:
Get basic infos about the blockchain
ioctl-arm64 bc infoList the current consensus delegates
ioctl-arm64 node delegate7. Update the node
IoTeX provides a convenient script that automates the update of the full node: you can run it at any time with the command below:
bash <(curl -s https://raw.githubusercontent.com/iotexproject/iotex-bootstrap/master/scripts/setup_fullnode.sh)