
The Raspberry Pi is an amazing miniature computer that is perfect for experimenting with personal projects, but sometimes the biggest challenge is choosing a project. With this easy to follow guide I will show you how to turn this little mini-computer into a retro arcade. You can relive the joys of early gaming (or experience them for the first time if you never have)! Your Pi will be able to play games from systems such as the Atari 2600, NES, Sega Genesis, and many more.
Estimated Time: 30-45 minutes
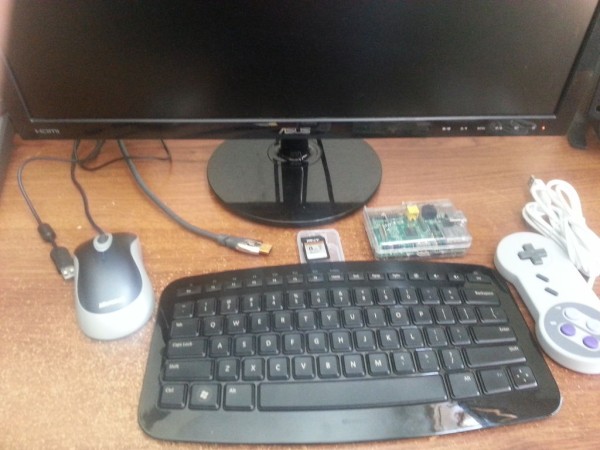
Supplies Needed:
– Raspberry Pi
– TV/Monitor (With HDMI or AV cables)
– SD card (minimum 4 GB)
– SD card slot on your computer
– USB keyboard and mouse (for setup)
– USB Game Controller
– Router
– And a few programs I will be showing you how to get
Step 1: Install Cyberduck
1. Go to cyberduck.io
2. Select the download for your system
3. When it is done downloading, run it to install
Step 2: Download Retro Pie
1. Go to blog.petrockblock.com/retropie/
2. In the top left corner click RetroPie Project with the little down arrow
3. Select Downloads from the drop menu
4. Choose your preferred download method (I recommend the torrent)
Step 3: Install Retro Pie to SD Card
1. Insert your SD card into your computer
2. Format the SD card
3. Extract Retro Pie to the SD card
– For Windows use Win32 Disk Imager
– For Mac use RPi-SD Card Builder
Step 4: Boot Into Retro Pie
1. Insert your SD card (that you set up with Retro Pie) into your Raspberry Pi
2. Make sure the following is connected
– Controller or Keyboard
– HDMI cable to monitor
3. Plug in the power cable to boot the Pi
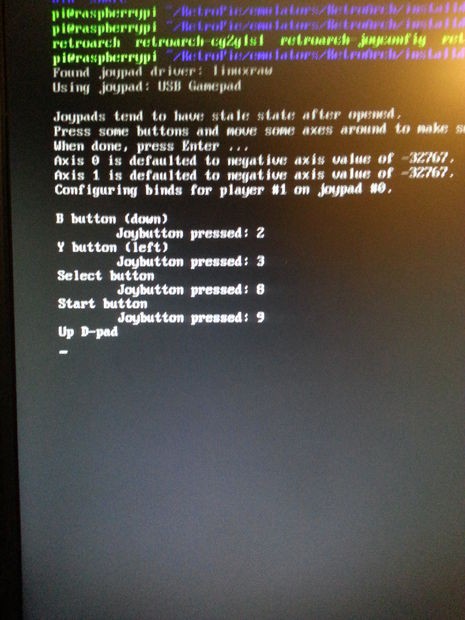
4. On your first boot it will ask you to set up controls for moving through the menu
– Just follow the instructions on screen
– Note: This is only for the menu, we will have to set up controls for the emulators in the next step
For more detail: Turn Your Raspberry Pi Into a Retro Arcade