This instructable will attempt to explain, in simple terms, what a shift register is, and how you can use it with the Raspberry Pi to expand the GPIO port by running eight outputs with just four GPIO ports.
To start with, what is a shift register? Wikipedia has a technical definition of shift registers, but in a nut shell, shift registers let you take serial input (one bit after the other), and output it in parallel.
Let's say, for example, you wanted to output six digital bits from your Raspberry Pi to drive a display based on the HD44780, like this one, but your project had to give up almost all the GPIO to other things, and all you have left is four pins. You can send those six bits one after the other to the shift register using those four pins, which will then appear to the display as six parallel outputs.
For this project, which is a first step towards the above situation, I'm going to run LEDs off each of the eight outputs, just as a proof of concept. The attached video shows the end result of this process. Just a bunch of flashing lights for now, but stay tuned. This is really the second in a series of instructables leading up to my Voiceberry Pi (see the first one here).
Step 1: Wiring up the chip Part 1: Data pins 1-4
I picked up a few shift registers for $0.39 each at Jameco.com. The ones I eneded up getting were SN74HC164N's from Texas Instruments. Not that it really means anything one way or the other, but that's what I ended up getting. The datasheet is available right there at Jameco, and details how to wire up the chip are in there. But here's the pinout:
1: Input A
2: Input B
3: Data 1
4: Data 2
5: Data 3
6: Data 4
7: Ground
8: Clock
9: NOT Clear
10: Data 5
11: Data 6
12: Data 7
13: Data 8
14: Vcc
Unless you get the same chip, your pinout will be different, and you should follow your datasheet.
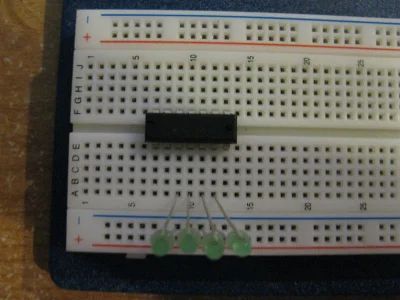
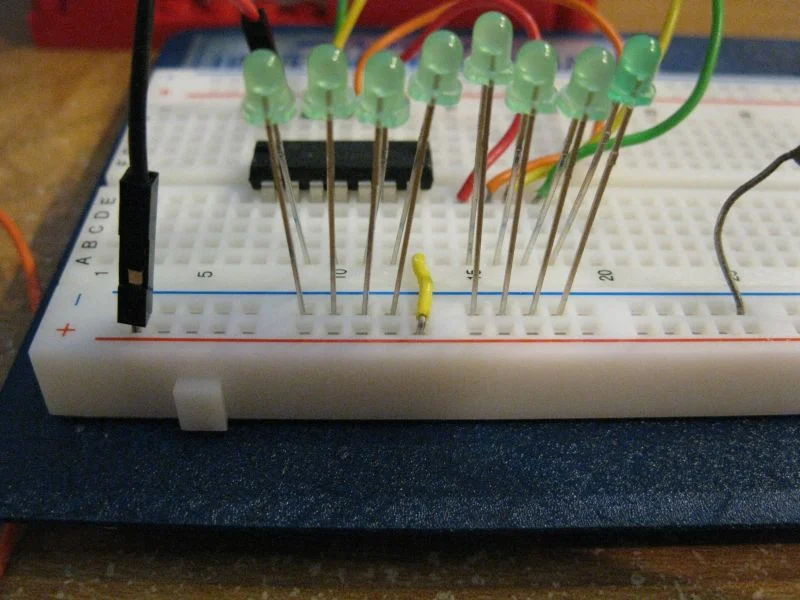
To start with, the chip goes in the bread board, and then four LEDs are linked up from data pins 1-4 to a common lead (not ground, yet).
Step 2: Wiring up the chip Part 2: Data pins 5-8
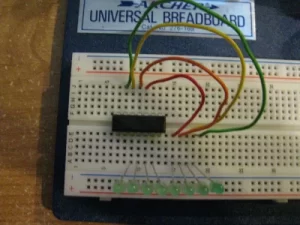
To wire up the next four LEDs, they go into the breadboard right next to the first four, but then wires need to run from the data pins 5-8 to the anode of the LEDs.
Additionally, a limiting resistor has to be inserted between the LEDs' cathodes and what will become ground.
Step 3: Wiring up the chip Part 3: The other pins
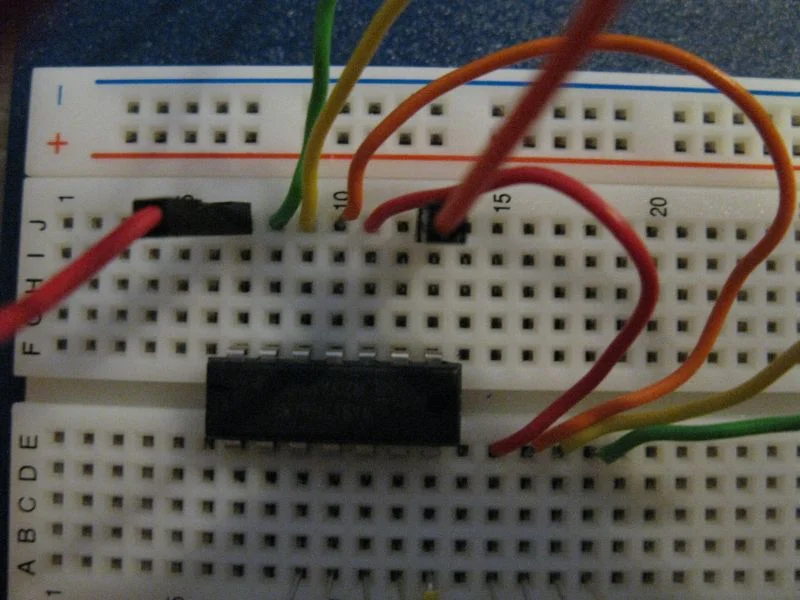
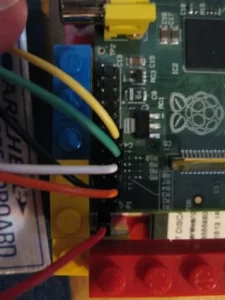
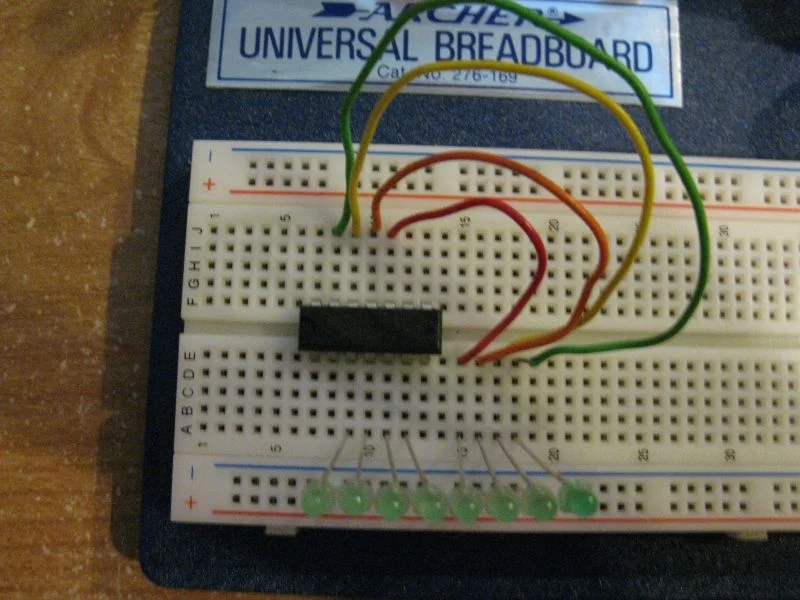
The next wires too hook up are, in order of the pictures:
Vcc: Chip pin 14 to GPIO pin 2
Ground: Chip pin 7 to GPIO pin 6
Clock: Chip pin 8 to GPIO 7
NOT Clear: Chip pin 9 to GPIO 11
Input A: Chip pin 1 to GPIO pin 13
Input B: Chip pin 2 to GPIO pin 15
Note that GPIO 2 and 6 are hard wired as +5V and Ground repsectively, but all other GPIO pin choices were quite arbitrary. I could have used any valid GPIO pin, and chose the ones I chose to keep them close to the ground and 5v pins.
Step 4: Now what? Or I still don't get it!
So you've got it all wired up, but what does it all mean? How does it work, and how to do I make it work? Well, this varies a little from chip to chip, but for the most part it's the same.
NOT Clear is set to low first, to clear the shift register, and then the clock is turned HIGH and LOW.
The input wire can be high or low, depending on what you want to set, and the clock is turned HIGH and LOW.
Each bit to be sent in is set either high or low, and the clock is turned HIGH, then LOW.
Each time you want to send another bit to the register, you set that bit on the input, and then “tick” the clock, by setting it HIGH, then LOW. There is a minimum time the clock must be HIGH, but the timing of the RPi is such that turning it HIGH, then immediately LOW will be more than the minimum time for my chip.
My video shows the LEDs switching back and forth between and ON OFF pattern and and OFF ON pattern. As an example, let's setup the OFF ON pattern.
1) Set NOT Clear LOW, and tick the clock (turn clock HIGH, then LOW). Set NOT Clear HIGH. This clears all outputs.2) Set the INPUT to HIGH, and tick the clock. This sets the first output HIGH
3) Set the INPUT to LOW, and tick the clock. This SHIFTS the outputs one to the right (1 goes to 2, 2 goes to 3, and so on), and
sets the first output to LOW. Our pattern is now LOW HIGH
4) Set the INPUT to HIGH, and tick the clock. This SHIFTS the outputs again, and sets the first output to HIGH. Our pattern is now HIGH LOW HIGH
5) Set the INPUT to LOW, and tick the clock. This SHIFTS the outputs, and sets the first output to LOW, giveing LOW HIGH LOW HIGH
6) Set the INPUT to HIGH, and tick the clock. This SHIFTS the outputs again, and sets the first output to HIGH. Our pattern is now HIGH LOW HIGH LOW HIGH
7) Set the INPUT to LOW, and tick the clock. This SHIFTS the outputs, and sets the first output to LOW, giveing LOW HIGH LOW HIGH LOW HIGH
8) Set the INPUT to HIGH, and tick the clock. This SHIFTS the outputs again, and sets the first output to HIGH. Our pattern is now HIGH LOW HIGH LOW HIGH LOW HIGH
9) Set the INPUT to LOW, and tick the clock. This SHIFTS the outputs, and sets the first output to LOW, giveing LOW HIGH LOW HIGH LOW HIGH LOW HIGH
Step 5: The Code
An important part of the code I'd like to point out is the sleep statement. It seems so unimportant, but it's really not.
After you go through the process in the last step of setting your output, if you go right into clearing and setting your next output, you'll never get to “see” it on your LEDs. It will just flash too quick to see it. So you HAVE to pause the execution of the code for a second to get the LEDs to stay lit long enough for you to see them.
while running==True:
try:
shifter.clear()
shifter.setValue(80)
sleep(1)
shifter.clear()
shifter.setValue(170)
sleep(1)
except KeyboardInterrupt:
running=False
Also, as an aside, notice what I did with the try/except statements. This allows you to exit the code using Control-C, without generating the normal error. A little thing, but I like how it works out.
Also note that this code is object oriented, and can be imported into other projects at a later date. This will allow you to set output easily and quickly with this circuitry.
Step 6: Next Steps and Insights
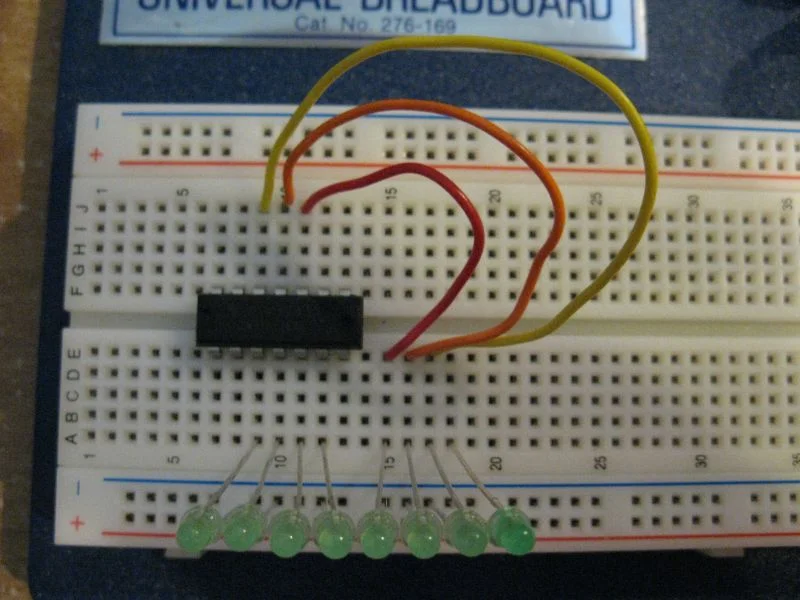
An insight: This chip really has two inputs. Not all chips do, and I've passed over what the second input does. This chip takes an AND on both inputs, and only considers the input HIGH when BOTH Input A and Input B are HIGH. So I just set Input A HIGH the whole time, and kind of ignore it's there.
Another fun task, and I'll only give you hints here, would be to chain two (or more) shift registers together. To do this with these chips, join up their Vccs, grounds and Input As, then hookup Data 8 of the first to Input B of the second. OK, I'll just tell you how it's done, but not detail it step by step.
Stay tuned for the next two instructables–using a display with a shift register, and then, the long awaited, much anticipated, Vocieberry Pi.


