Introduction
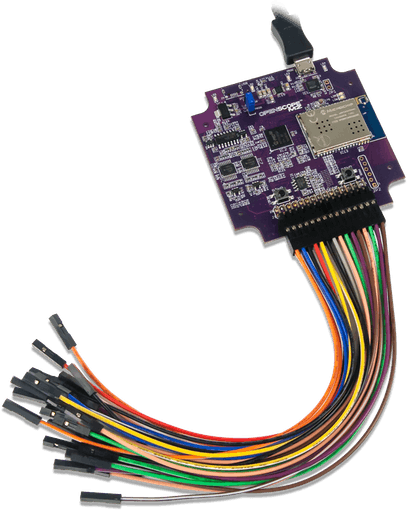
In this tutorial, we will go over how to connect an OpenScope MZ to LabVIEW. To do so, I will be walking you through some example VIs that I made. These examples allow you to access the oscilloscope and Wavegen/DC power supply functions of the OpenScope as well as the GPIO pins and the Logical Analyzer.
Materials
Hardware
Software
NOTE: Installing LabVIEW requires you create an NI account. Your LabVIEW installation and any NI software keys you use will be tied to this account.
Hardware setup
A full OpenScope MZ setup guide can be found here. I will go through a brief overview of the steps found on that page.
Download and install the Digilent Agent.
1) Connect the OpenScope MZ to the computer via USB.
2) Right click the Digilent Agent in the system tray and click Launch WaveForms Live.
3) Add the Digilent Agent and OpenScope MZ to WaveForms Live.
- Click Add A Device.
- Choose Agent.
- Enter the hostname or IP address of the device where the Agent is running and click Add Device.
- Select the COM port associated with the OpenScope MZ from the drop down.
- Click Update Firmware and follow the instructions to update the firmware on the OpenScope MZ.
- Next, Under the Calibration section click Calibrate and follow the steps to calibrate your device.
Finally, connect your device to WiFi by following the steps on this page. Once you have your OpenScope connected to WiFi you are ready to move on to the next steps.
OpenScope MZ Communication Protocol
This page is a reference for the OpenScopes communication protocols. All open scope commands are JSON objects (start with ‘{‘ and with ‘}' or OSJB (in chunk notation). Add JSON command that went sent via terminal puts the device into JSON command mode. Below is an example command that you would use to reset the device.
Read more: Using the OpenScope MZ in LabVIEW


