
Contents
- 1 Setup VNC server on RaspberryPi
- 2 Accessing through VNC
- 3 To Automate the above Process on Boot
Virtual Network Computing (VNC), is a graphical desktop sharing system used to remotely control a computer’s desktop from another computer. It uses Remote Frame Buffer Protocol (RFB). It transmits keyboard strokes and mouse movement from the controller to the remote host and relays back the graphical screen updates from the host, over a network like Ethernet.
Installing a VNC server like TightVNC on Raspberry Pi enables the user to remotely access the desktop of Pi and perform necessary operations. This is particularly useful when the Pi is setup such that it can’t be accessed physically to connect a monitor, keyboard and mouse.
Setup VNC server on RaspberryPi>
- Login to Raspberry Pi (either through SSH or directly)
- Connect it to Internet
- Enter the following command to install TightVNC Server
$ sudo apt-get install tightvncserver
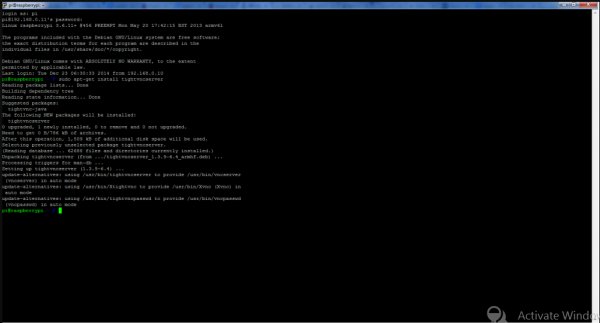
TightVNC install
- Run TightVNC server using following command.
$ tightvncserver
- Enter passwords when prompted

TightVNC run
- Once started you can start a desktop session from command prompt using following command
$ vncserver :0 -geometry 1920×1080 -depth 24
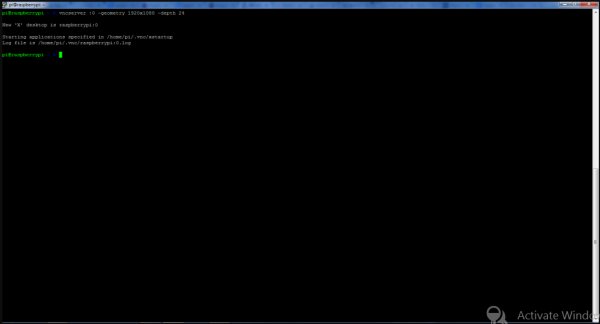
TightVNC start
Note: The resolution given here is 1920×1080. If the fonts appear to be of wrong size add -dpi 96 to the end of the above command.
You can use one of the free VNC Client programs available over internet, here we are using Tight VNC Client.
- Windows users can download the TightVNC client software here.
- Linux users can install the TightVNC client software by using the following command
sudo apt-get install xtightvncviewer
Accessing through VNC
- Open the client program
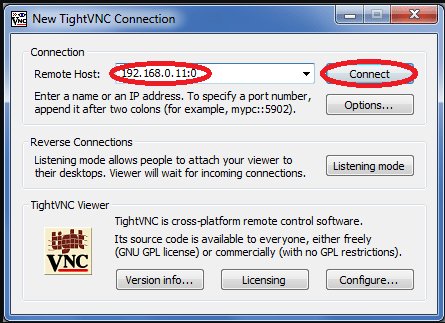
- Enter the IP Address followed by the display number in the format ‘IP Address:disp no’, here the IP Address is 192.168.0.11 and display number is 0. Alternately one can give the port number that is 5900 in the format 192.168.0.11::5900.
- Enter the password
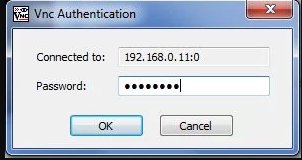
- Now you can view and control the Raspberry Pi desktop remotely on the client.
To Automate the above Process on Boot
It is particularly useful to start VNC server on boot for avoiding the hassle of running above script manually.
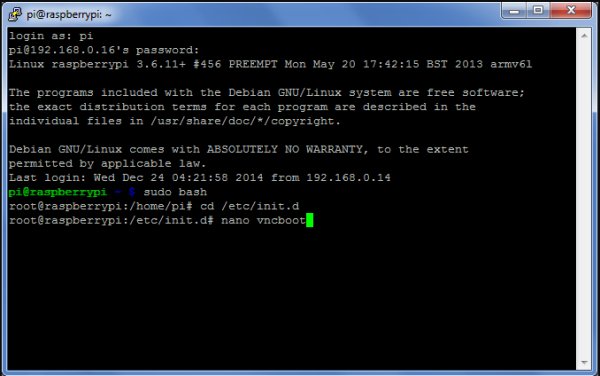
- Change into root user by using following command
sudo bash
- Go to the location /etc/init.d
cd /etc/init.d
- Create a file ‘vncboot’
nano vncboot
TightVNC location
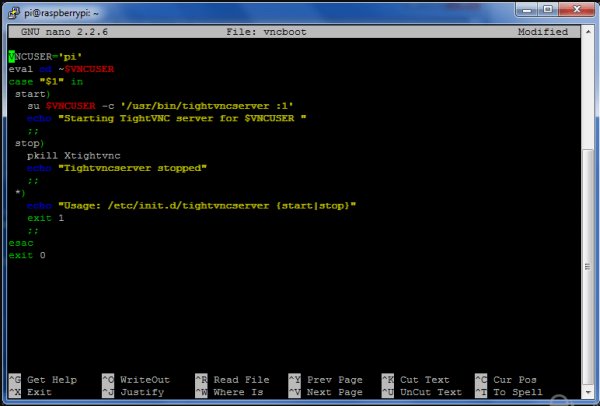
- Enter the following script in the file
VNCUSER='pi'
eval cd ~$VNCUSER
case “$1” in
start)
su $VNCUSER -c ‘/usr/bin/tightvncserver :1'
echo “Starting TightVNC server for $VNCUSER ”
;;
stop)
pkill Xtightvnc
echo “Tightvncserver stopped”
;;
*)
echo “Usage: /etc/init.d/tightvncserver {start|stop}”
exit 1
;;
esac
exit 0
Note : You may change the user pi to any user of your choice.
TightVNC boot script
Read More Information….