
| Hardware components: | ||||||
 |
|
× | 1 | |||
 |
|
× | 1 | |||
|
× | 1 | ||||
|
× | 1 | ||||
 |
|
× | 1 | |||
|
× | 1 | ||||
| Software apps and online services: | ||||||
|
||||||
|
||||||
|
||||||
|
||||||
|
||||||
STORY
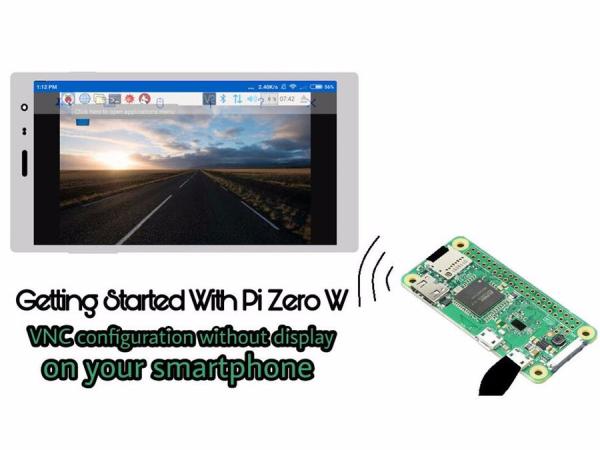
This tutorial is for those who do not have access to a display and want to setup their new Pi Zero W.
Pi Zero W is the latest version of Pi Zero launched on the last birthday of Raspberry Pi. Comparing to the previous version the new model comes with inbuilt Wifi and bluetooth making it truly wireless as the W represents. Pi zero being a stripped down version of the Pi series lacks many things seen on the Raspberry Pi's. They have low power processor and ram, also lacks the no of ports. The lack of a ethernet port makes setting up Pi zero without a display harder and the recent changes in the SSH enabling also make ssh-ing into the Pi tougher. Well this tutorial will guide you to solve these problems.
The first problem many users have reported is that upon starting Pi Zero W up for first time it behaves like dead. Even the SD cards working on other Pi's did not work on Pi zero w. The reason for this is that the Pi zero w only supports the latest version of raspbian. If you use an SD card with old image of raspbian it will behave like dead. Even many sellers are selling Pi zero W kits with SD card containing old raspbian image. The kit that I had bought from Adafruit had an SD card with old NOOBS. So it's good to burn new raspbian image onto your SD card before powering up your Pi zero w.
You can download latest version of raspbian from https://www.raspberrypi.org/downloads/
To burn your image onto your SD card you will need a software called Etcher by Resin.io . Download Etcher from here https://etcher.io/
NOTE: Use at least a 8GB SD card
Using an SD card adapter connect the SD card to your computer
Run the Etcher program
Select the downloaded raspbian file.
Select the connected SD card
Then click on Flash
Let the program do it's work until you get a message showing success. This process can take upto 10min or more depending upon the write speed of your SD card.
Enabling SSH
As per the new versions of raspbian SSH is not enabled by default. We must enable it so we can enable VNC without the help of a display. For enabling SSH we must make some modifications in the files
Now remount the SD card and open Notepad in windows
Save that empty notepad file as SSH.txt in the Boot folder of SD card (the folder sd card opens into).