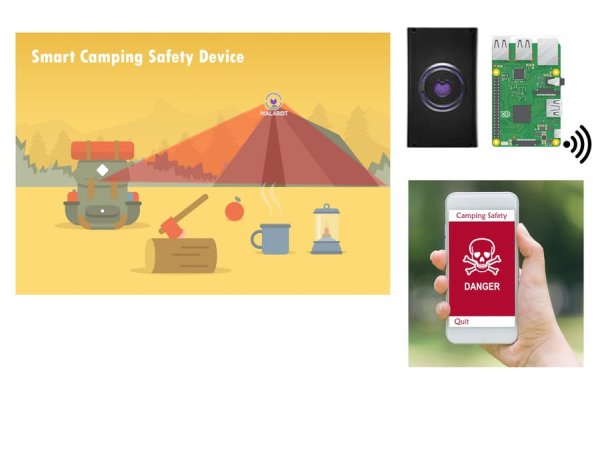
The idea of this project is building a camping safety device based on Walabot and Raspberry Pi.
Story
Getting Started with Walabot
Introduction
See through walls, track objects, monitor breathing patterns, and more using the power of radio frequency with the Walabot!
In this tutorial, we will explore Walabot’s features using the Software Demo Kit (SDK) on Windows and the Application Programming Interface (API) on Linux-based OS for embedded projects.
Required Materials
To follow along with this tutorial, you will need the following materials to get started. You may not need everything though depending on what you have. Add it to your cart, read through the guide, and adjust the cart as necessary:
- Walabot (Starter or Creator or Developer)
- Computer (Windows, Linux) w/ USB Port
For more embedded applications with a Raspberry Pi, you will need the following materials:
- LCD 7″ or Monitor w/ HDMI Cable
Suggested Reading
If you aren’t familiar with the following concepts when using a Raspberry Pi, we recommend checking out these tutorials before continuing.
This tutorial will show you how to communicate with your serial devices using a variety of terminal emulator applications.
How to upload images to an SD card for Raspberry Pi, PCDuino, or your favorite Single Board Computer.
Hardware Overview
Features
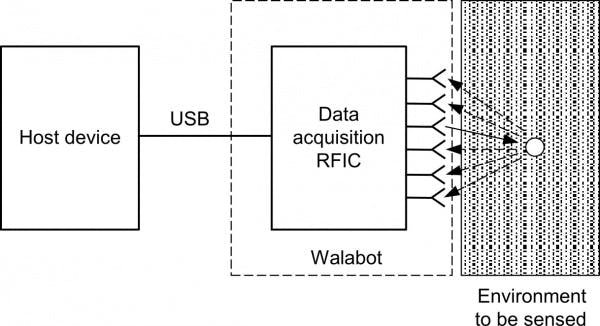
The Walabot utilizes radio frequency technology to sense the environment. An image of the environment is reconstructed using an array of linearly polarized broadband antennas to transmit, receive, and record signals. The data is processed and sent through a USB cable to a host device. The host device can be your computer, single board computer, or even a smartphone!
Depending on the Walabot model, here are a few possible applications:
- In-Room Imaging
- Object Detection, Location, and Tracking
- Motion Sensing (i.e. Breathing Patterns, Gestures)
- Speed Measurement
- In-Wall Imaging
- Dialectric Properties of Materials
Starter vs Developer
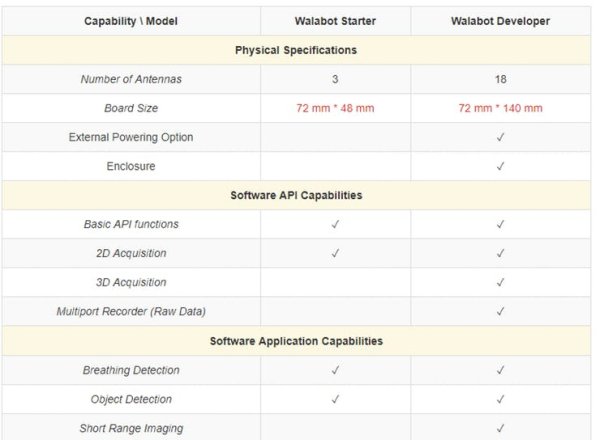
There are three models of the Walabot. For the scope of the tutorial, we will be using the starter and developer to begin. The starter uses 3x antennas as opposed to 18x antennas to detect the environment. The starter is capable of basic range measurements and monitoring breathing patterns. Due to the amount of antennas it has available, it will not be able to sense objects behind a material. The starter also does not come with an enclosure.
The developer has a higher resolution with the 18x antennas. It's capable of the applications listed earlier. However, the developer can consume more power depending on the configuration and it requires a little bit more time to process the data. Below is a comparison taken from the datasheet.
Antennas
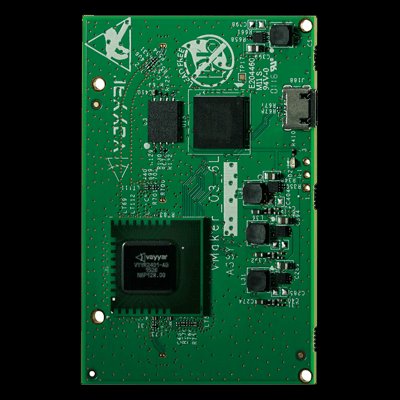
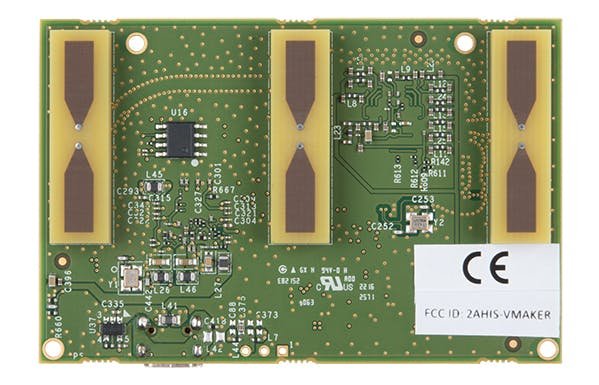
The side with the antennas should be facing out to sense the environment. The image below shows the Walabot Starter’s 3x antennas.
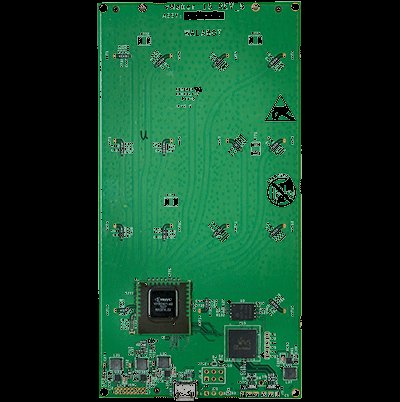
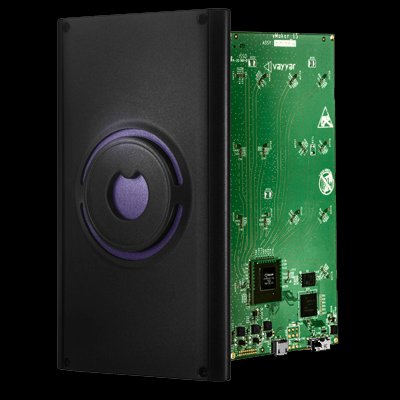
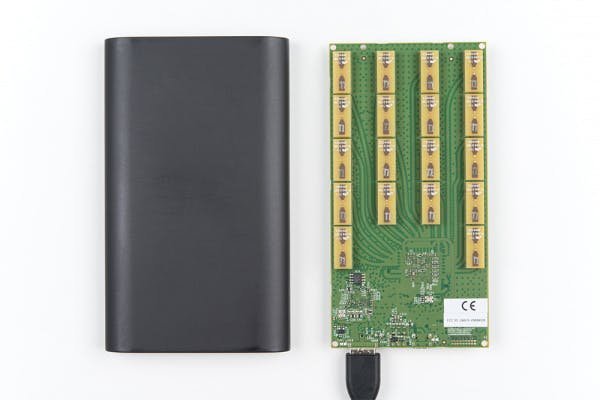
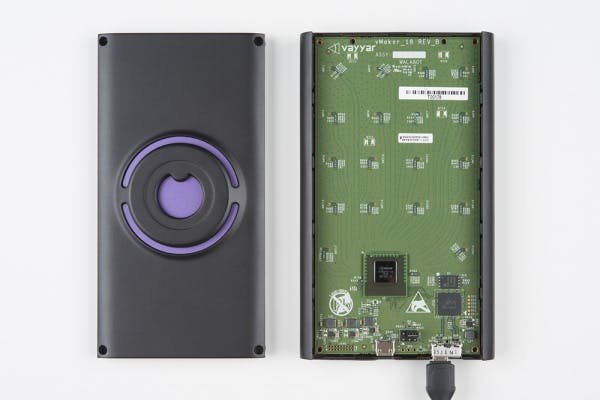
The image below shows the Walabot Developer’s 18x antennas populated on the board. Make sure the flat side of the enclosure is facing out to sense the environment.
Power Consumption
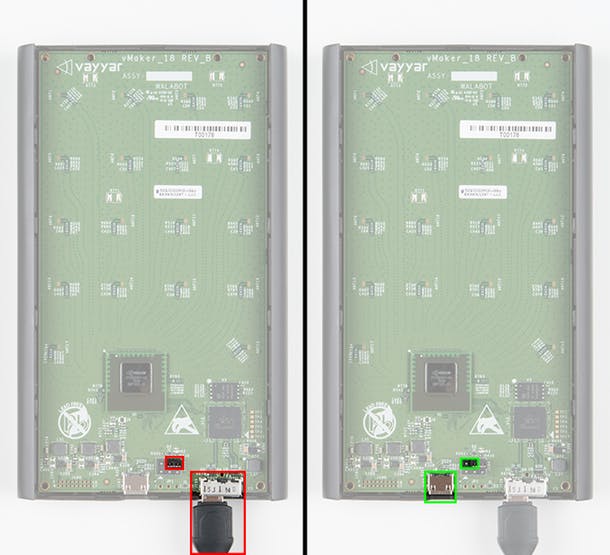
The Walabot requires a 5V (+/-10%) power supply. The board can be powered using a USB port. Depending on the application and operation profile, the Walabot may consume up to 0.4A to 0.9A. You may need an additional power source for the Walabot Developer. If necessary, open the Walabot enclosure with a Phillips precision screw driver.
Highlighted in red is the default jumper position for data transfer and powering the Walabot. To power the board with an external power supply, move the jumper to the left side and connect an additional power source to the USB port highlighted in green. The USB connector is only for power so you would still need a USB cable connected on the right connector.
Hardware Assembly
Walabot Starter
Note: The micro-B cable included with the Walabot Starter is an OTG cable. You will need to an additional cable to connect the device to a computer for development.
If are using a USB cable that is not included with the Walabot, make sure that the data lines are connected when using the cable with the Walabot! Certain cables are designed to be charging cables, so there might not be any data lines connected in the USB cable.
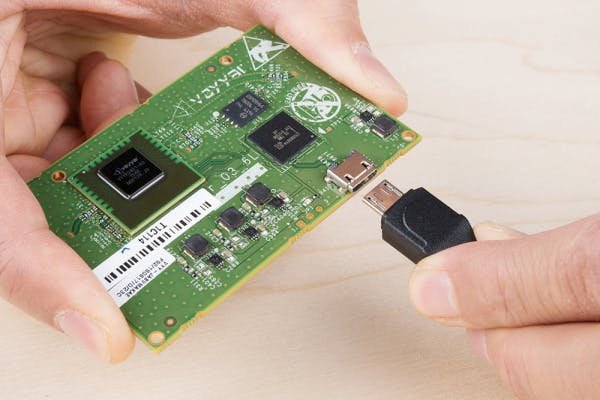
To connect the Walabot Starter, you will need to align the “D” shape of the micro-B USB cable with the port.
Once the cable is connected to the Walabot, connect the other end to a computer's USB port.
Walabot Developer
Note: If are using a USB cable that is not included with the Walabot, make sure that the data lines are connected when using the cable with the Walabot! Certain cables are designed to be charging cables, so there might not be any data lines connected in the USB cable.
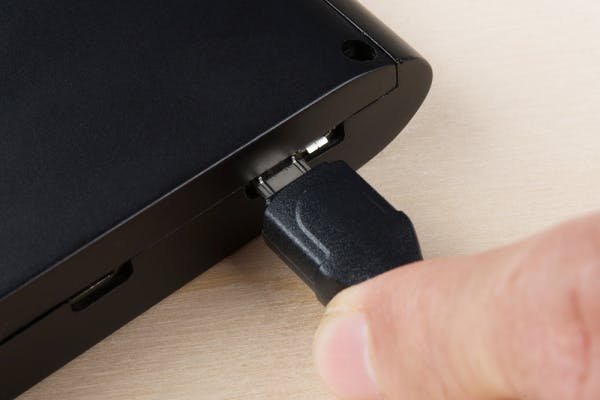
To connect the Walabot Developer, insert the USB cable's micro-B end to the Walabot's USB port. You can use a separate micro-B USB 2.0 cable or the included micro-B USB 3.0 cable. By default, there is a jumper that uses the port closest to the edge of the Walabot.
Connecting with a separate micro-B USB 2.0 cable.Connecting with the included micro-B USB 3.0 cable.
If you decide to use a separate micro-B USB 2.0 cable to your computer, you will be aligning it with the “D” shape of the micro-B USB 3.0 connector as shown in the image below.
Once the cable is connected to the Walabot, connect the other end to a computer's USB port.
Mounting
You may want to mount the board during testing. Grab some electrical tape or mount the Walabot Starter to a box using standoffs. The Walabot Developer includes a magnetic disk that is able to stick to a surface such as a robot, smartphone, or wall. With the magnetic mount, it is able to attach and detach easily from the surface. In the examples provided, the starter and developer were mounted on a red box or resting on a table for testing.
Software Installation (Linux)
Walabot API Library
Note: Make sure that you have Python version 2 or 3 installed. Raspberry Pi should have it installed already. To verify, open a serial terminal and type python -V in the command line. Pressing the Enter key should notify you if Python is installed. If Python is not currently installed, head over to Python's download page.
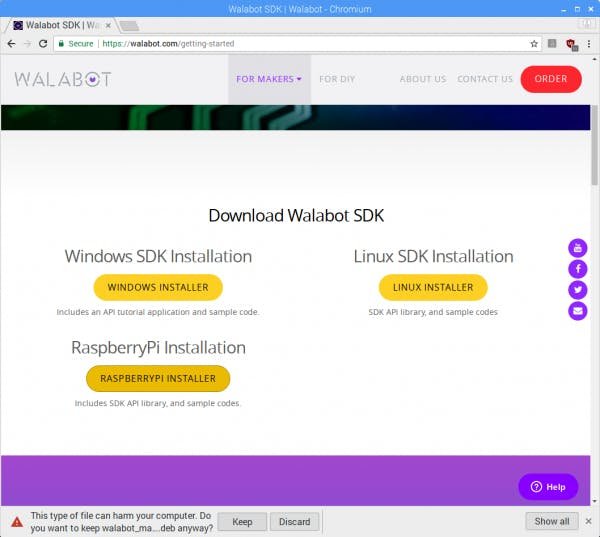
The process to install the Walabot API for Linux and Raspberry Pi are the same. The only difference is the package to download. Head over to Walabot’s site to download the package.
https://walabot.com/getting-started
Scroll down the page and click on the package for your distribution. For the scope of this tutorial, we will choose the package for Raspberry Pi.
Once downloaded, you may get the following warning:
This type of file can harm your computer. Do you want to keep “walabot_maker_1.0.34_raspberry_arm32.deb” anyway?
Click on the “Keep” button to confirm the download.
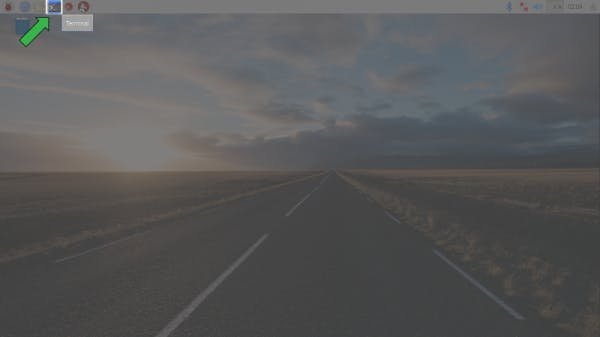
Open a command line as indicated by the green arrow and highlighted icon in the image below.
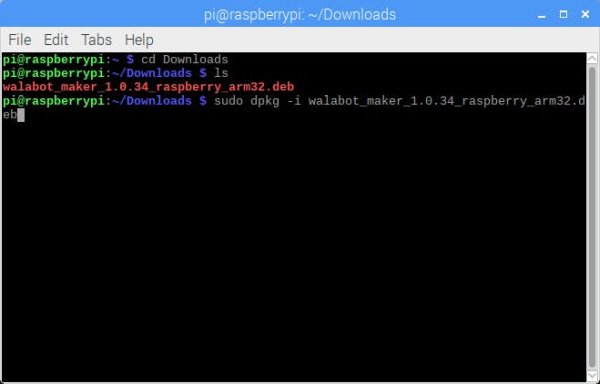
Head to the location where the package was downloaded. Most likely this was placed in the “Downloads” folder. Type this command and hit the “Enter key.”
cd Downloads
Note: This tutorial was written with the “walabot_maker_1.0.34_raspberry_arm32.deb” package. You may need to adjust the package name depending when on the package that was downloaded.”
To view the contents, feel free to type this command:
ls
In the command line, type this command based on the *.deb package that was downloaded:
sudo dpkg –i walabot_maker_1.0.34_raspberry_arm32.deb
Once the command is ready and matches the downloaded package, hit the “Enter” key.
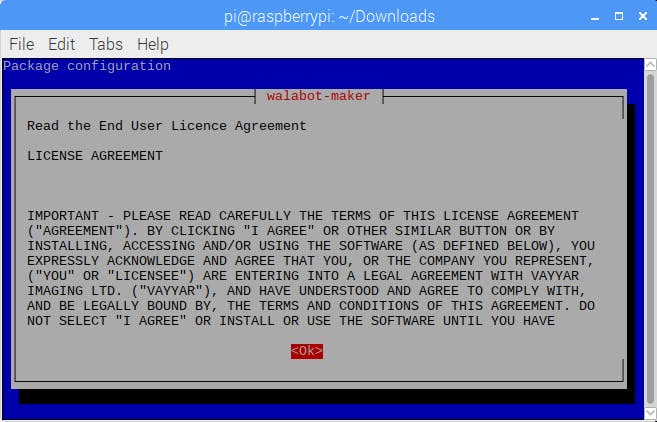
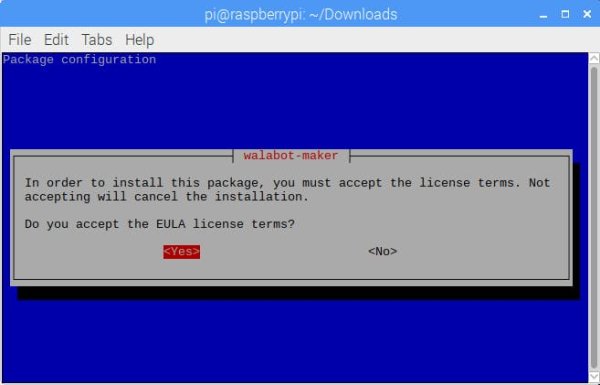
While installing, you may be prompted with an End User License Agreement. Read through it, press the “→” button on your keyboard, and hit “Enter.”
You will be prompted again with another question. Read through the brief message, navigate to “<Yes>”, and hit “Enter.”
The following paths and files will be installed in these locations:
- /usr/lib/libWalabotAPI.so – The Walabot library.
- /usr/include/WalabotAPI.h – The Walabot library header file.
- /var/lib/walabot/… – The Walabot database and configuration files. Give this path to Walabot_SetSettingsFolder.
- /usr/share/doc/walabot/… – Example code, license, and README.
- /etc/udev/rules.d/… – Special udev rule for Walabot device, so it could be accessed without root privileges.
For more information about the Walabot API Library, head over to Walabot’s documentation. http://api.walabot.com
Example API
Let's try out the examples in Python! The examples enable the user to utilize the sensor data for embedded projects. There a few methods of running the examples. Since we still have the command line open, we’ll open the Python example through the terminal. Navigate to the examples using this command:
cd /usr/share/doc/walabot/examples/python
Typing this command will list the three examples in that path:
ls
Connect the Walabot to the USB port to start testing the Walabot examples.
Target Detection w/ SensorApp.py
To run the SensorApp.py example, type this command once you are in the directory.
python SensorApp.py
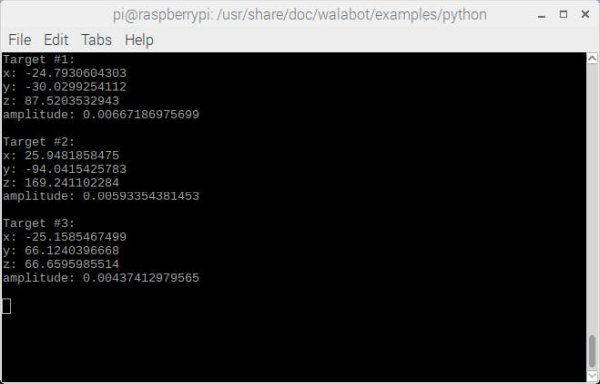
Again, make sure there are no moving objects in front of the sensor when the program begins. The SensorApp.py is just like the target detection example that was demonstrated in the SDK for Windows. The sensor data will be output in the terminal as shown below.
Try moving your hand in front of the sensor to get a feel for the sensor values. Type Ctrl+c in the command line to stop the program.
Breathing w/ BreathingApp.py
To run the BreathingApp.py example, type this command:
python BreathingApp.py
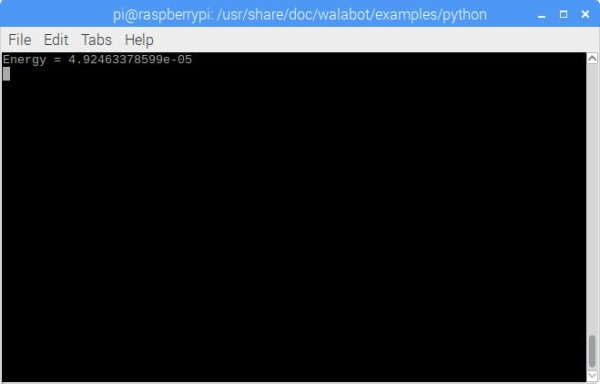
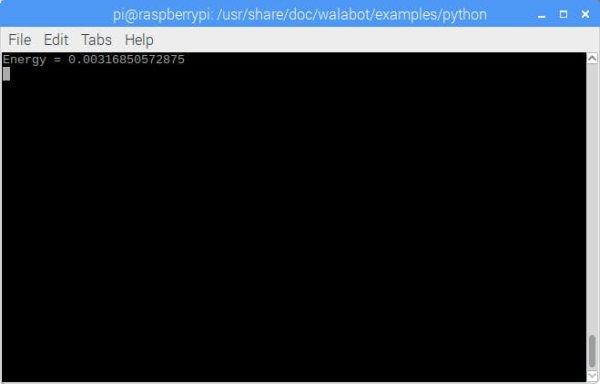
This is just like the breathing example that was demonstrated in the SDK for Windows. With nothing in front of the Walabot, the output should be a very small value.
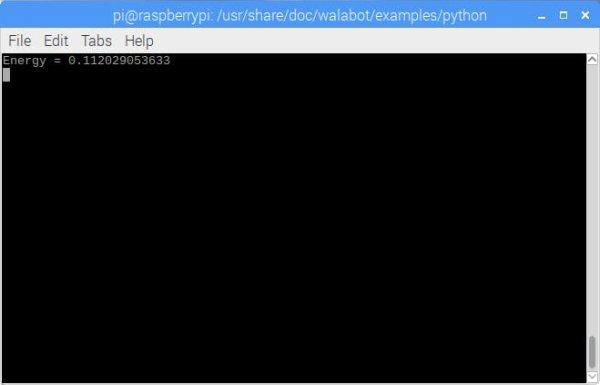
Stand in front of the Walablot and take a deep breath in. As you inhale, the value may look like the output below. The value may be different depending on how far you are from the Walalbot.
As you exhale, the value should decrease. The output may look similar to the output below.
Type Ctrl+c in the command line to stop the program.
Detecting Objects Behind Materials w/ InWallApp.py
Note: Due to the limitations of the Walabot Starter, it is not able view objects behind walls.
To run the InWallApp.py example, type this command:
python InWallApp.py
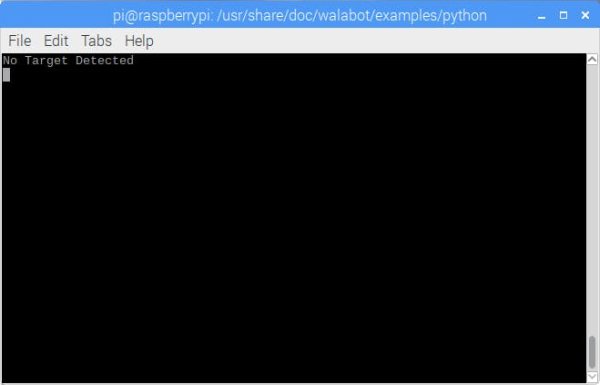
Again, move the Walabot slowly a circular motion on a flat surface once the program begins. Here’s what the output may look like when there are no objects behind a wall or table.
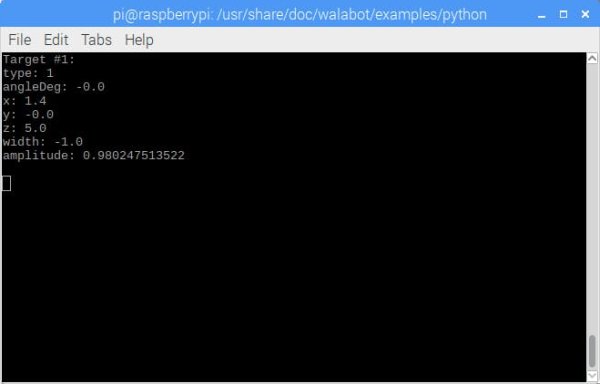
Here’s what the output may look like when there is a metal pipe behind the surface.
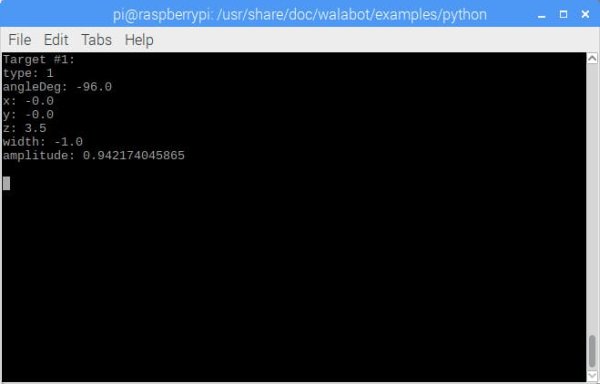
Rotating the Walabot, here’s what the output may look like with the metal pipe behind the surface.


