
The Raspberry Pi is an interesting, versatile and powerful low cost computer that can be used for various applications. I have one dedicated as an entertainment center running OpenELEC.
It was quite easy to set the system up, integrate it into my network and hook it up to the TV. Everything works flawlessly as intended but then there was the question where to place the Pi..
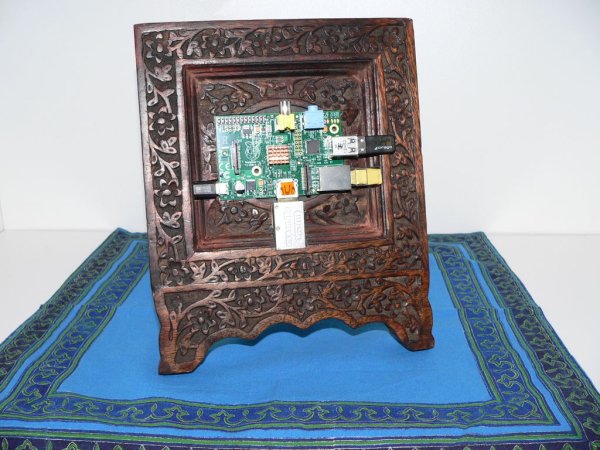
Hiding it behind the TV or elsewhere would be really easy due to the small dimensions. But having set up the system myself (..and being proud of this accomplishment) I decided to showcase the Pi rather than hiding it.
The tools I used:
Dremel tool with a small router bit
Step 1:
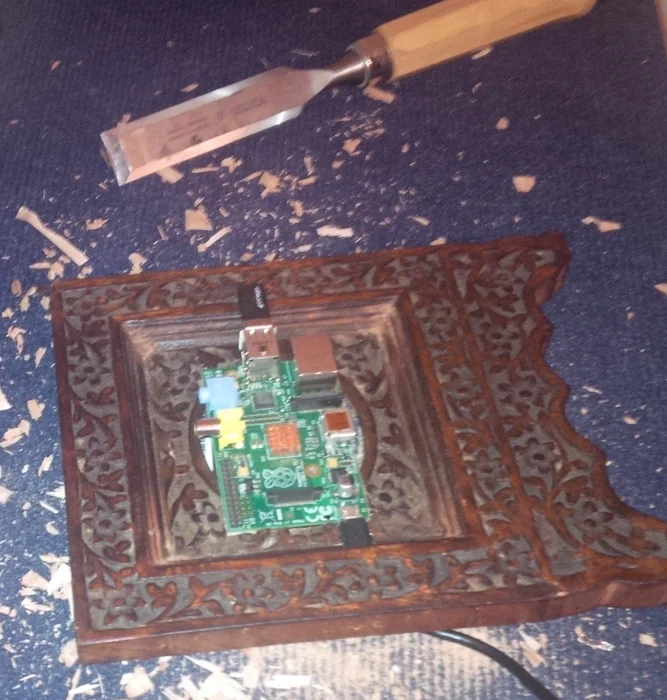
First I placed the Pi on the picture frame and traced the outside edges with a pencil.
I wanted the circuit board to be flush with the lowest part of the ornaments.
Using different chisels, I cleared the area and made sure the Pi had a snug fit.
Step 2:
There are three cables connected to the Pi:
Network cable
HDMI cable
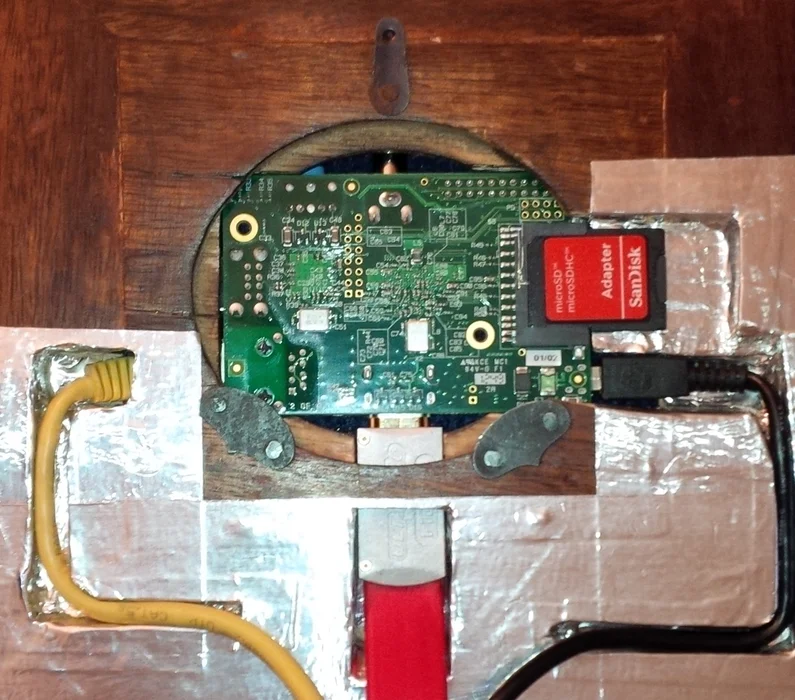
So the next step was to draw the cable paths as well as the required clearance for the SD card onto the back of the picture frame. I used the Dremel tool to cut the cable channels and then the chisels to clear the pocket for the SD card. Once all the cutting was done and the cables fit in I covered the grooves and pockets with aluminum tape.
Step 3:
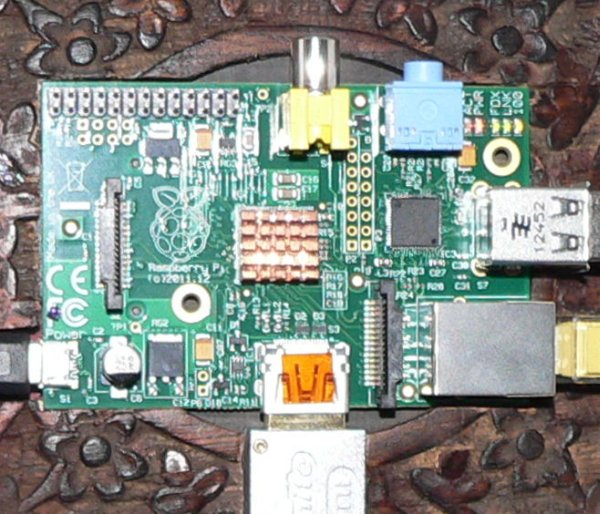
At this point the frame was pretty much finished but placing the Pi inside the frame was a little tricky as I had to connect the plugs to it before pushing it into place.
.. a very tight fit.
Step 4:
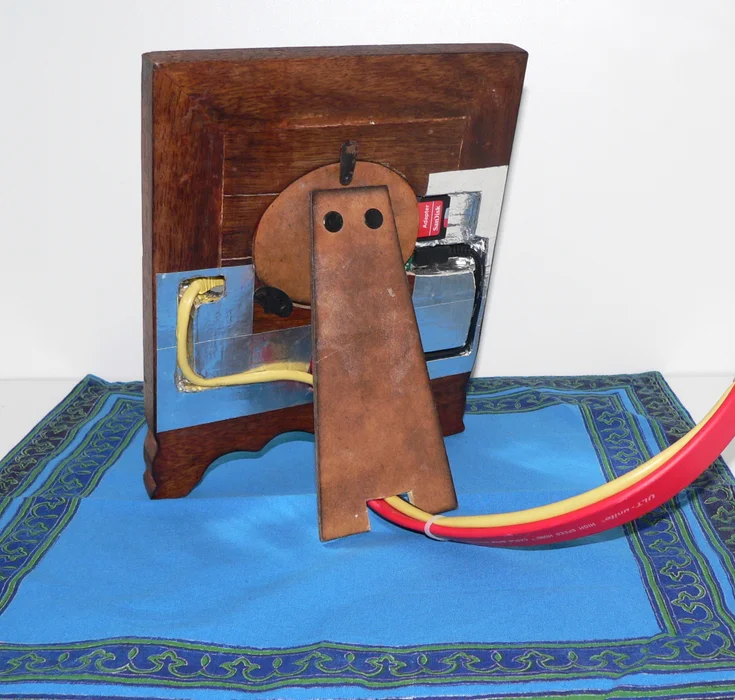
Finally I cut an opening into the stand of the picture frame to guide the cables through.
There you go.. this is how I built my PiFrame