
|
||||||||||||||||||||||||||||||||||||||||||||||||||


STORY
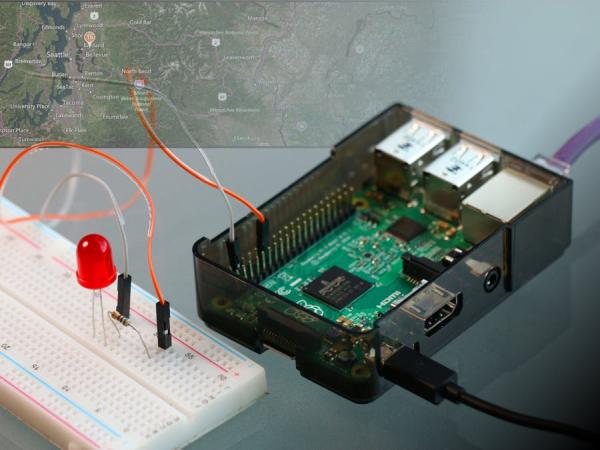
In this project you will use the Adafruit Starter Pack for Windows 10 IoT Core on Raspberry Pi 2 components to create a project that blinks a LED based on the response from a Web API call.
Hardware setup
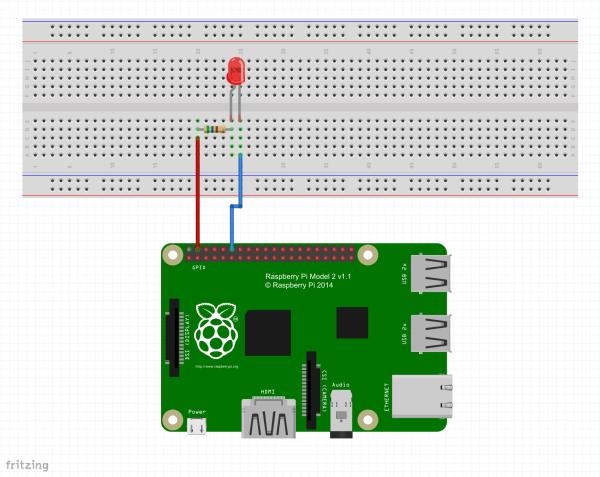
Connect the Raspberry Pi2 to the breadboard and the other components as per the Fritzing diagram at the bottom of the page.
Note: The LED pin has changed from the previous Blinky example from GPIO 5 to GPIO 18.
Code
MainPage.cs
You can download the code starting project from https://github.com/ms-iot/adafruitsample and we will lead you through the addition of the code needed to talk to the web service and get your pin on the map. What map?
Open up “Lesson_201\StartSolution\Lesson_201.sln“ and open the MainPage.xaml.cs file.
We have filled in a few methods as a starting point for you in this solution. If you want to jump ahead you can find a solution with all the code completed at: “Lesson_201\FullSolution\Lesson_201.sln”
Add the following lines at the top of the MainPage class. These define what pin on the Pi2 you will use to control the LED and a reference to the InternetLed class which you will be adding shortly.
 public sealed partial class MainPage : Page
    {
        // which GPIO pin do we want to use to control the LED light
        const int GPIOToUse = 18;

        // The class which wraps our LED.
        InternetLed internetLed;

        public MainPage()
Now add code in the OnNavigatedTo method which will:
- Create a new InternetLed object
- Make a web API call to put our pin on the maker map
- Initialize the object
- Call the webapi to get our delay value.
- Loop 100 times with the returned delay, blinking the led each pass.
If you do not want to add a pin onto the map, remove MakePinWebAPICall();
// This method will be called by the application framework when the page is first loaded.
protected override async void OnNavigatedTo(NavigationEventArgs navArgs)
{
    Debug.WriteLine("MainPage::OnNavigatedTo");

    MakePinWebAPICall();

    try
    {
        // Create a new InternetLed object
        internetLed = new InternetLed(GPIOToUse);

        // Initialize it for use
        internetLed.InitalizeLed();

        // Now have it make the web API call and get the led blink delay
        int blinkDelay = await internetLed.GetBlinkDelayFromWeb();

        for (int i = 0; i < 100; i++)
        {
            internetLed.Blink();
            await Task.Delay(blinkDelay);
        }

    }
    catch (Exception e)
    {
        Debug.WriteLine(e.Message);
    }
}
InternetLed.cs
Now you will add a new class file in which most of the work will actually be performed.
From the main menu select Project -> Add Class…
The Add New Item dialog will open and default to Visual C# Class.
Enter InternetLed.cs for the file name and click Add
The class file will be created and opened for you.
Update using's
You will need replace the using's section at the top of the file so the code can reference the GPIO device, web interfaces and the system diagnostics.
Read More: World Map of Makers