Hello!
This is my first instructable project, so it won’t be as professional as others!
We are using DS18B20 temperature sensor to get the temperature of your room.
Enjoy!
Step 1: Supply
You will need:
The sensor itself DS18B20
http://www.ebay.com/itm/Waterproof-Digital-Thermal…
Resistor (I’m using 4,7k Ohm)
Because of the picture is blurry the color codes are: yellow,violet,red,gold
Jumper wires
You can find the resistor and the jumper wires online, or in your local electronics store.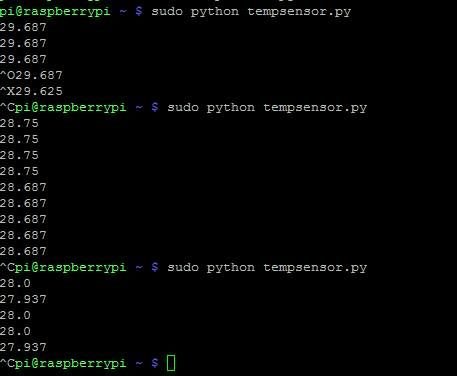
Step 2: Wire it UP!
The wiring is very simple.
I got the drawn picture from https://learn.adafruit.com/downloads/pdf/adafruits…
Connect the 3.3V (red) from the sensor to the 3.3V rail on your raspberry pi
Connect the GND(black) to the GND rail on your raspberry pi
Connect the Data(yellow) to a pin on the raspberry pi
Connect your resistor with the 3.3v and the Data as shown in the drawn picture
!!!!WARNING!!!!
IT MUST BE ON THE PIN 7 – GPIO04(GPIO_GCLK)
THE BEGINNING OF THE RESISTOR MUST BE ON THE 3.3V (yellow front)
Step 3: Now the coding! Without it the sensor is just a piece of wire.
Turn on your raspberry pi and let’s begin.
First step:
First we need to config a file.
Do that by typing: sudo nano /boot/config.txt
This file let’s you config your booting.
Here you search for dtoverlay
When you have found it just correct it to: dtoverlay=w1-gpio
Type sudo reboot, to reboot your device
Second step:
Type:
sudo modprobe w1-gpio && sudo modprobe w1_therm
ls -l /sys/bus/w1/devices/
cat /sys/bus/w1/devices/28-000006dfa76c/w1_slave
For more detail: Read temperature with DS18B20 | Raspberry Pi 2