Overview
The design of my device revolves around making it easy to replenish products you need without even knowing it is happening. My approach is centered on one fact -all replenishable products have weight. Therefore, this device can work with any product. The ability to manufacture one device that can work with any product is extremely important. The Amazon Dash button is a good example of this concept. The Dash button works with any product no matter what it is. The only problem is that you have to remember to press it in order to replenish it. In order to get around this problem you place the Dash button in the same location as the product that needs to be replenished so you do not forget to order more. My concept takes it to the next step. Leave the product on the sensor and the sensor will take care of monitoring, updating Amazon with your product’s state, and initiating the replenishment process without you having to think about it. By the time you run out of a product you already have a new one at your doorstep.
This is my first time connecting sensors and wires to prototyping boards. This is also my first time soldering anything. Finally, this is also my first time using a CAD tool and 3D printing my design. With that in mind, my methods are probably archaic or outright wrong. The amount of time it takes you to do this project maybe much lower.
Hardware
- Raspberry Pi 3 Model B: This the component responsible for communicating with Amazon DRS. It updates Amazon with the device status and lets Amazon know how much product remains. The Raspberry Pi’s main task is to call the replenish API when it it time to reorder more product.
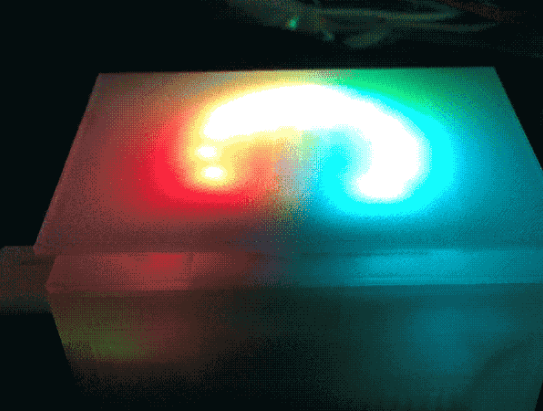
- Arduino MKR1000: The Arduino is responsible reading pressure data from the FSR and sending it to the Raspberry Pi through USB. It also lights up the Neopixel ring when it notices that there is nothing on it. It does this to alert the user to put the product back on the scale so it can keep on monitoring it.
- FSR: This measures the pressure placed on the top plate on the device.
- Adafruit Neopixel ring: This LED ring is used to light up the top plate in order to alert the user to put the product back on the scale to continue monitoring it.
- 3D printer: I used a Monoprice MP Select Mini 3D printer to print out the case.
- Other materials: Wires and 10K ohm resistor to complete circuit design. Putty in order to place pressure on the FSR. Generic tape to help hold components in place.
The reason I decided to use both an Arduino MKR1000 and a Raspberry Pi 3 is because I am much more familiar with developing code in .NET than in C. If I had more time I would have been able to write all the code in C on the Arduino making the overall design much more compact.
Design
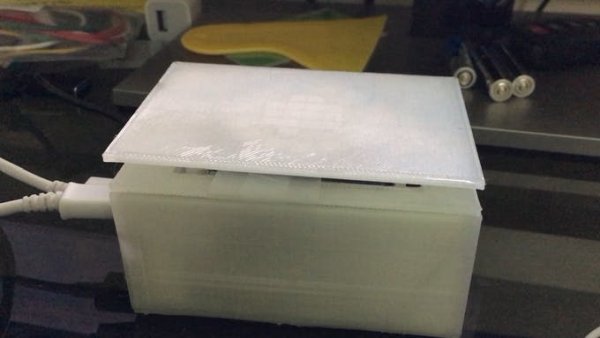
The case consists of three main 3D printed parts:
- Top plate is where the product sits and puts pressure on the FSR.
- Middle plate holds the FSR, Neopixel ring, wiring, and Arduino MKR1000.
- Bottom case holds the Raspberry Pi 3.
The case is made of transparent PLA in order for the LED’s to shine through.
Read More: Amazon DRS Weight Sensor


