Story
How to build cheap and easy data dashboards for your startup
Ever since we moved to our shiny new offices in Holborn we longed to have zero-maintenance always-on dashboards showing interesting stats on every aspect of the company.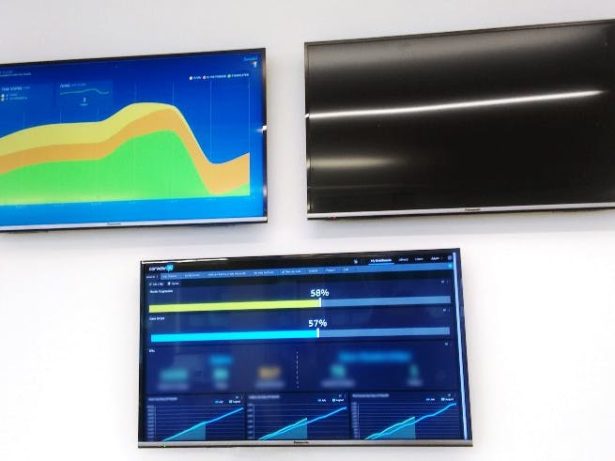
Initially we tried a spare Mac Mini, which was a disappointment — it took up lots of space and it felt wasteful to use more of such expensive devices to cover for our 6+ large screens. After trying out several solutions (including small android devices) we settled with Raspberry Pis which work delightfully and are easy to conceal.
Before we start, please note that I use a Macbook at work so my examples will be focused on MacOS users.
Kickstart
Let’s begin with a boxed Raspberry Pi, USB and Ethernet cables, and an SD card:
Let’s ensure that our machine has Homebrew, Nmap, Git, and Ansible installed:
$ /usr/bin/ruby -e "$(curl -fsSL https://raw.githubusercontent.com/Homebrew/install/master/install)"
$ brew install nmap
$ brew install git
$ brew install ansible
Next, we’ll want to install Raspbian Linux on the MicroSD card:
- Insert the MicroSD card into our computer, using an adapter if necessary.
- Download the Raspbian image: https://downloads.raspberrypi.org/raspbian_latest
- Install the image using these instructions: https://www.raspberrypi.org/documentation/installation/installing-images/mac.md
When our SD card is ready, we can put the Pi device together:
- Insert the MicroSD card with Raspbian installed into the Pi.
- Connect the Pi to a power source.
- Connect the Pi to and internet-enabled ethernet network, which must be accessible also from our computer.
In my case, I connect the Pi straight to my Macbook via ethernet and then I enable Internet Sharing:
We’ll need to know the device’s IP address, you can use nmap to find it out, for example when I connect it straight to my Macbook I can use this command:
$ nmap -sn 192.168.2.1/24
Starting Nmap 6.47 ( http://nmap.org ) at 2016-08-09 11:30 BST
Nmap scan report for 192.168.2.1
Host is up (0.0012s latency).
Nmap scan report for 192.168.2.2
Host is up (0.00079s latency).
Nmap done: 256 IP addresses (2 hosts up) scanned in 3.07 seconds
Let’s write down the Pi’s IP address (in this case 192.168.2.2), we’ll need it very soon.
Provisioning
As mentioned before, here at carwow we have many TVs mounted on walls and we want to be able to set-up multiple dashboards quickly, so I wrote an Ansible script to configure new devices (and upgrade them when necessary).
The beauty of this solution is that we won’t need to control our Pi with Screen, Keyboard and Mouse, the provisioning will be done remotely by the main computer.
First we’ll need to download the Ansible playbook via Git:
$ git clone https://github.com/carwow/rpi-dashboard-ansible
$ cd rpi-dashboard-ansible
We’ll make copies of the wpa_supplicant.conf and hosts files from the examples provided:
$ cp wpa_supplicant.conf.example wpa_supplicant.conf
$ cp hosts.example hosts
The hosts file needs to be edited to have the ip address we found previously with Nmap, in my case:
192.168.2.2
Next we’ll edit these lines in wpa_supplicant.conf to include our wifi network credentials
ssid="your_wifi_sid"
psk="your_wifi_password"
Finally we’ll run the ansible-playbook command to provision the new device. Pay attention to the hostname you’re setting on your device, in this case I’m using rpi-dashboard-main, you can customise it to your will. If you won’t set a hostname variable then it will stick to the default value which is raspberry.
$ ansible-playbook playbook.yml -i hosts --ask-pass --sudo -c paramiko --extra-vars “hostname=rpi-dashboard-main”
That’s it! Once Ansible has finished running its scripts, the device will reboot and we’ll be ready to test it out using RealVNC’s Viewer, which can be downloaded here:
https://www.realvnc.com/download/vnc/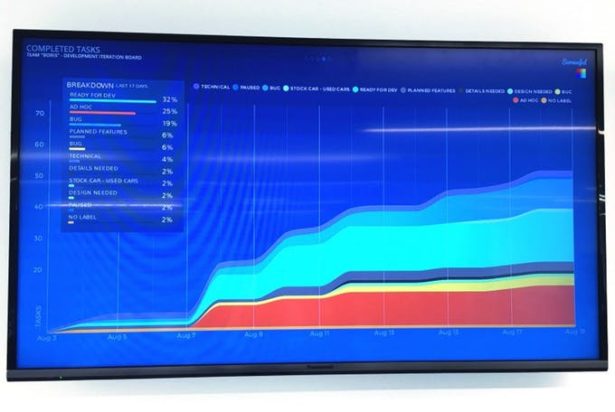
Dashboard setup
Now we’re ready to set up the dashboard.
I will use Screenful for my example, you can use whatever you want (could be Newrelic, Heroku, etc…). It’s a neat service that creates dashboards out of a Trello account so that you can monitor progress of your iterations. I will elaborate how to get good looking and effective dashboards in the future, for now let’s stick to something simple and pre-made.
For more detail: How to build cheap and easy data dashboards for your startup