Part 1: The Hardware & Driver
Some time back, I joked that the Raspberry Pi’s GPIO port really stood for Game Port IO… So to make that joke come true, I present a way of interfacing the NES Joysticks to the Raspberry Pi.
First you need the joystick/controller unit, and a quick trip to the Plymouth Market where I’d had a tip that there was a stall selling retro gaming gear and I returned with a pair of them for under a tenner. Bargain!
 Note the weird 7-pin connector. You can buy sockets for this off eBay and if you currently own an old console, then you may wish to pursue this approach, but as I don’t own a console (and am unlikely to ever own one!) I decided to chop the connector off…
(Yes, sorry – if you’re a retro gaming enthusiast, I know you can now buy matching sockets for them, but I really didn’t want to go to the added expense, and I did leave a long enough tail on the plug so that I could re-connect it should I ever have the need…)
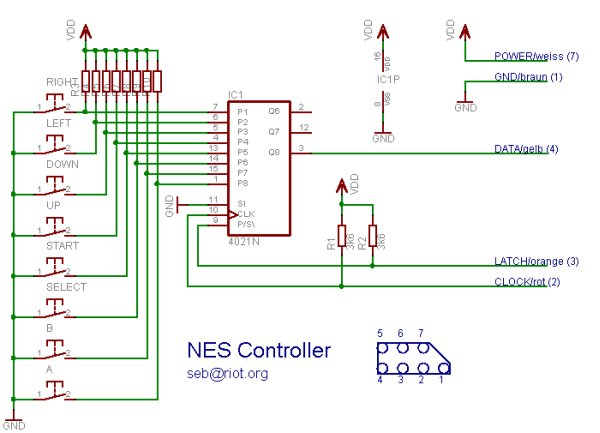
Inside, I found 5 wires… 5 wires and 8 buttons. Curious, but some googling later and I found this diagram:
And if you don’t read German, the colours on the diagram are (from the top down), White, Brown, Yellow, Orange and Red.
So what’s inside is a 4021N CMOS shift register. This has the task of sampling 8 buttons and then makes the data available via a serial interface controlled by 2 pins – a latch and a clock. The way it’s wired up requires one latch pulse and 7 clock pulses to get all 8 data bits out, but this is easily accomplished in software.
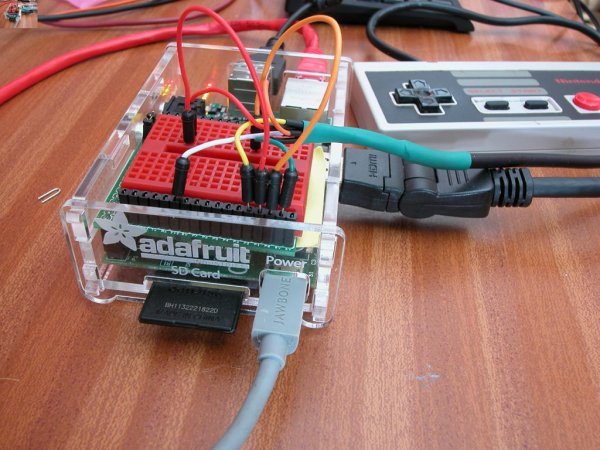
Some wire trimming, soldering and heat shrinking later and I end up with a pair of joysticks with pins on the endsi
I took 5 short male/male breadboard patch leads, chopped them in half and soldered & heat-shrunk them on. I’d no brown patch leads, so I used green here. I’m using an Adafruit Cobler breakout just because it was next to me and already plugged into a Pi, but when I first developed it, I used the cute little Piio protoboard from DTRONIXS:
For more detail: NES Controller on the Raspberry Pi