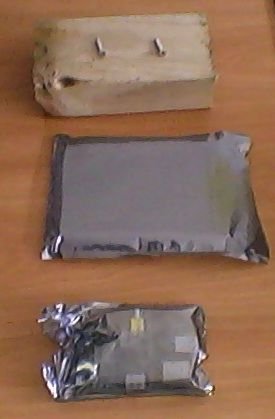
Step 1: Parts
I used a block of 4×2 construction timber, left over from a painting job, some 25mm x 8g screws, left over from a gate numbering job, some anti-static bags cadged from a computer shop, and a Raspberry PI B.
Anti-static bags come in three sizes, in order from small to large: memory, disk and motherboard; I ended up using one of each.
Step 2:
Step 3:
Make a fence of screws, through the anti-static bag, into the timber, around the Raspberry PI, with at least one on each edge, avoiding the places where you need to plug things in.
(Slightly unrelated, when you’re plugging in the SD card, turn the board over, to check that it’s all the way in, because the insertion force is quite high.)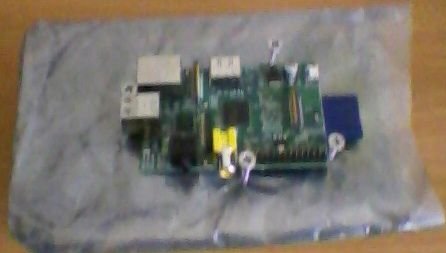
Step 4:
If you need to transport the PI, you could protect it with a strip of memory-sized anti-static bag and hold it in place with a rubber band, then wrap it in a motherboard-sized anti-static bag. I have tested this a lot less than I’ve tested the rest of this plan.
For more detail: Minimal RaspberryPI base