Hello! Welcome to another Instructable from NextFab. In this Instructable we will be showing you how to construct your very own PiHub. What is a PiHub you ask? The PiHub is a free standing, desktop information center that uses a simple LCD screen and 5 button Interface to give time, weather, and some fun number trivia and famous quotes. The PiHub is easily customizable and with some Python knowledge, a user can go into the code and switch out and reorder functions to their hearts’ content and take advantage of the plethora of APIs available online from such sites like https://www.programmableweb.com/apis and google.
This project is a great stepping off point for a wealth of connected projects so relax, have fun, and learn something while building our PiHub.
Step 1: Materials and Setting up the Pi
For this project you will need
– Raspberry Pi #any iteration will work, we use the Raspberry Pi 2 B
– Adafruit Blue&White 16×2 LCD+Keypad Kit for Raspberry Pi #found here http://www.adafruit.com/products/1115
– Ethernet Cable
– MicroSD card of at least 8 gb
– Wireless Adapter (optional) # this is a nice little one from Adafruit http://www.adafruit.com/products/814
At this time and if you haven’t already, you should download and install NOOBs onto the SD card for the Pi. The folks at Raspberry Pi have put together a guide for this very purpose https://www.raspberrypi.org/documentation/installa…
You will also need to download some additional software that isn’t already on the Pi. To access the APIs this project uses Unirest and Pywapi along with some additional internal libraries. Documentation for these programs is below
Unirest https://www.npmjs.com/package/unirest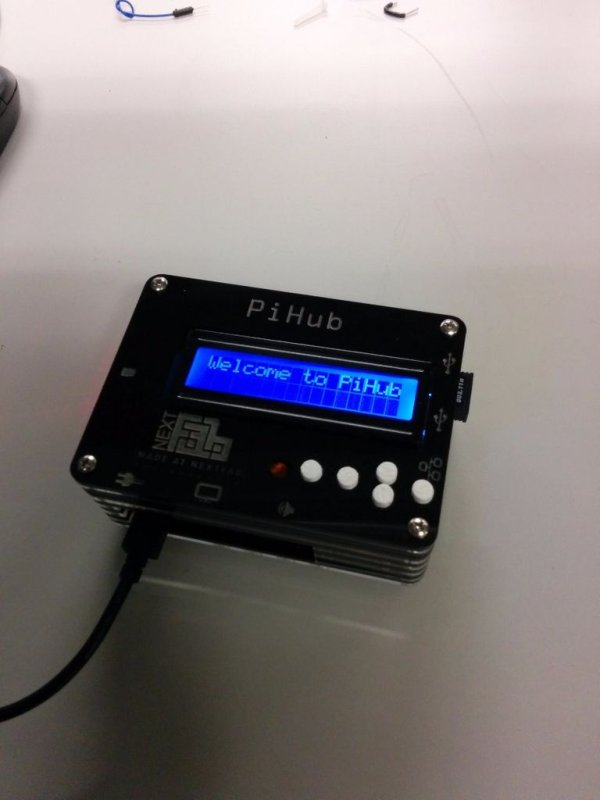
Pywapi https://code.google.com/p/python-weather-api/
Both sites give great code examples and detailed instructions on how to download them, but in a nut shell you’re going to want to type in the following commands into the command line
sudo apt-get update
sudo apt-get upgrade
sudo apt-get install python-pip
pip install unirest
The best way to install Pywapi is via the Pi’s GUI (command is startx) and web browser and download the tar file from the site. For those unfamiliar with unpacking tars there’s a lot of great resources online. This wikihow article gives a good step by step with plenty of images to work from http://www.wikihow.com/Extract-Tar-Files-in-Linux
Step 2: Setting up the LCD Plate
Adafruit’s LCD plate is a really great tool and it takes a lot of the hardware work out of a project. As with any of Adafruit’s in house products they provide full documentation on construction and installation and that can be found here https://learn.adafruit.com/adafruit-16×2-character…
You will need to prepare the Pi to use I2C by typing into the command line sudo raspi-config and go to “advanced options” and scroll down to “I2C” and hit yes for all options. Then you’re going to want to install the LCD screen’s library by plugging these commands into the line
sudo apt-get update
sudo apt-get install build-essential python-dev python-smbus python-pip git
sudo pip install RPi.GPIO
git clone https://github.com/adafruit/Adafruit_Python_CharL…
cd Adafruit_Python_CharLCD
sudo python setup.py install
then test the library by typing in the commands
cd examples
sudo python char_lcd_plate.py
Step 3: Coding
Once the foot work with setting the Pi up is done, you should be able to open IDLE and copy the code or download it. You will also need to go through the code and place in your own API keys that can be acquired through the following sites
https://quotescover.com/ #quote generator
http://timezonedb.com/api #time API
The trivia and weather APIs do not require keys but if you’re interested in checking out the site, the trivia site is
To run the python script, you’re going to need to run it from the command line by typing in the command
sudo python piHub.py
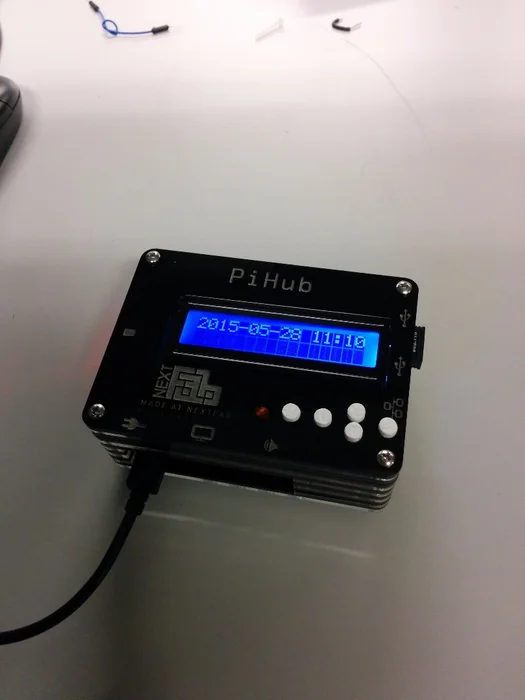
Each button on the shield triggers another app. The Top Button is “UP” button is the trivia app, the “DOWN” button is the quote app, the “LEFT” button is the current time, and the “RIGHT” button is the current weather. In the Trivia and Quote apps, the “SELECT” button scrolls the text.
If it works and you just want a cool thing to practice with your Pi, then you’re all set! You have your very own PiHub. You can stop here or you can go on and learn how to make it run “without a head” for a sleek, free standing desktop model.
Step 4: Setting Static IP and running the Pi via SSH
We knew you couldn’t resist. The following steps are optional and require much more work using the Linux Command Line and additional hardware. First thing’s first, while the Pi is plugged into a monitor and ethernet, you’re going to want to put in the WLAN adapter. The drivers for the adapter that was mentioned in step one should install directly and be ready to use out of box. Additionally you’re going to want to set the Pi’s IP address as static to set the SSH (Secure Shell) network. The Raspberry Pi folks offer a pretty good guide on how to use SSH here
https://www.raspberrypi.org/documentation/remote-a…
The one thing with using SSH is it doesn’t offer access to the Pi’s GUI, but fortunately the same group also have a nifty guide on creating a VNC (Visual Network Computing) network
https://www.raspberrypi.org/documentation/remote-a…
For either of these you’re going to want to check on the IP address of which computer you’re attaching the Pi to. If it is a static IP address you’re going to want to set your IP address on the pi to match the first 6 digits of it. If it’s dynamic, then you’re going to want to have the first 3 digits as 169 then type out the rest of it accordingly. The IP we have for the Pi running the PiHub is 169.254.195.30 , feel free to use it as it shouldn’t interfere with anything (since it’s just a local network) and it’s been tested and used quite a bit for both SSH and VNC. The folks over at The Pi Hut have a pretty good guide on how to set up the static IP
http://thepihut.com/blogs/raspberry-pi-tutorials/1…
and once again, Adafruit has a great guide on how to set up your Pi to connect to a WIFI address
https://learn.adafruit.com/adafruits-raspberry-pi-…
Step 5: Running PiHub at Start Up
For the last step we’re going to take the Pi and write a shell script to run the PiHub at start. The following commands are an edited version of the Raspberry Pi’s group on how to set up a VNC but tailored to the PiHub script. You’re first going to want to log into the command line as root by typing
sudo su
then navigate to the directory /etc/init.d/ by typing
cd /etc/init.d/
Here you’re going to create a new file that matches the Shell Script image by typing
nano pihub
copy the file and save as pihub, you can additionally download the shell script file attached and place it manually into the directory but it’s a safer bet to do it the long way through the command line. After the file is written you are going to type
chmod 755 pihub
and then enable the boot sequence
update-rc.d /etc/init.d/pihub defaults
if you get the following error “update-rc.d: error: unable to read /etc/init.d//etc/init.d/vncboot” then type in the command
update-rc.d pihub defaults
reboot your Raspberry Pi and the program should begin at start up.
Step 6: Taking It Further
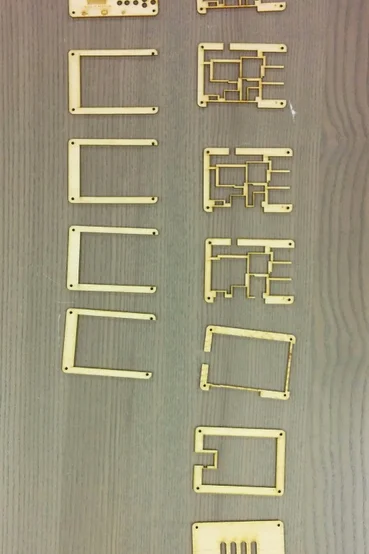
You can take this project anywhere from here. Feel free to experiment with other APIs, shell scripts, or going in and improving the Python Code to make it run smoother. You can also create an enclosure for it to make it look really nice. If you have access to a laser cutter, attached are to Illustrator Files created just for this project, or even better, and if you’re in the Philadelphia area, come on down and visit the shop, take a tour, and become a member and learn and use OUR laser cutters! Also is attached two buttons .stl files ready to 3D print.
To put together you will need to lay the pieces in order from bottom (piece with three holes) to top (“PiHub” piece). After putting them in order from 1 to 6 (file labelled “black” is odd numbers, file labelled “clear” is even numbers, these were the files we used with the finished PiHub that’s shown in the photos) with numbers lined up, place the screen on and then place the remaining spacer pieces on top of that, there will be 4 in all. Place printed buttons in the holes (you will need to print 2 of the “Button2” models and 3 of the “Button” models) and carefully place it on top of the stack. Screw together with 4/40 x 1 3/4 screws.
We hope you enjoyed the Instructable. For more information on NextFab visit http://www.nextfab.com/ and sign up for a tour at http://nextfab.com/locations/flagship/tours . Have fun and happy building.
Source: PiHub