
In this guide, I will demonstrate how to utilize a Raspberry Pi 3 as an alternative to Chromecast. It is important to note that this approach is not an exact replica of Chromecast and has certain limitations. While it does not offer support for the cast button, it allows for streaming of YouTube videos, as well as local audio and video files, directly from an Android application on your smartphone. It is worth mentioning that this application is specifically designed for Android devices.

So, actually what is Chromecast?
Chromecast, developed by Google, is a streaming media adapter that enables users to enjoy online content such as videos and music on their digital televisions. This adapter takes the form of a dongle that is plugged into the TV's HDMI port, while a cable connects it to a USB port for power. Through a dedicated mobile app, users can effectively transform their smartphones, tablets, laptops, or desktop computers into remote controls for the TV. Once the streaming begins, there is no need to keep the app open, allowing the device to be used for other purposes simultaneously. Chromecast supports an expanding array of sources for content streaming, including popular platforms like Netflix, Hulu Plus, YouTube, Google Play music and movies, as well as the Chrome browser.
Step 1: Hardware Required
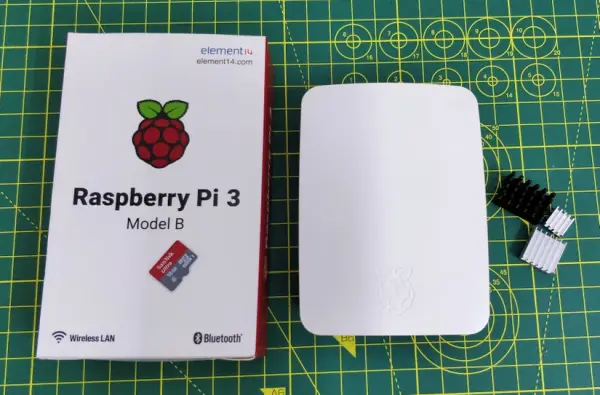
To set up a Raspberry Pi 3 (all models are compatible, but some may require a USB WiFi dongle), you will need the following components:
- Raspberry Pi Case
- Heatsinks for Raspberry Pi
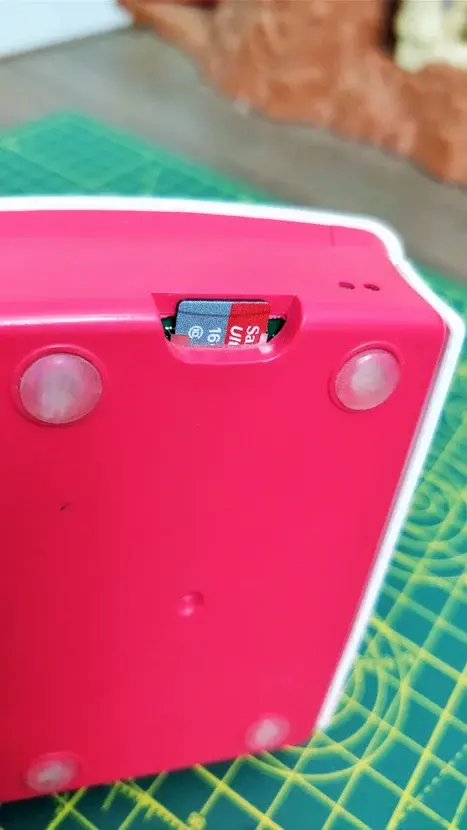
- Micro SD card for storage
- Micro USB charger and cable
- HDMI cable
- SD card reader to load Raspbian onto the SD card
- Mouse and keyboard
Ensure you have these items ready for the Raspberry Pi 3 setup.
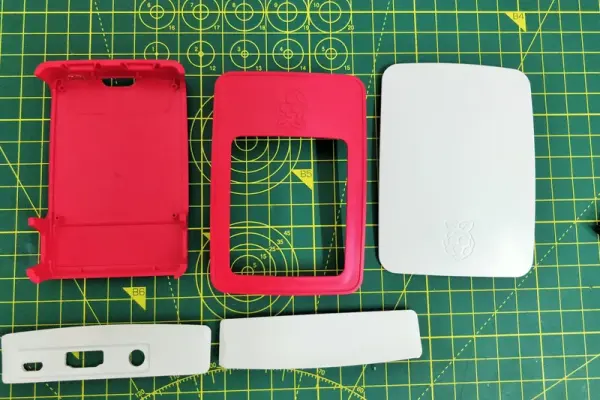
Step 2: Assembling the Case and Adding Heatsink to the Board
While a heatsink is not strictly necessary, it is advisable to use one when watching full 1080p videos for an extended period as it helps prevent the CPU from getting excessively warm. Adding a heatsink is a recommended measure in such cases.
The case I have used is designed to be user-friendly and straightforward to assemble.
Step 3: Download and Install Raspbian Onto SD Card
To proceed, begin by downloading the Raspbian operating system for the Raspberry Pi from the provided link.
Next, diligently follow the instructions provided in the link for installing Raspbian onto the SD card. The instructions cater to both Mac and Windows operating systems.
Step 4: Getting Started
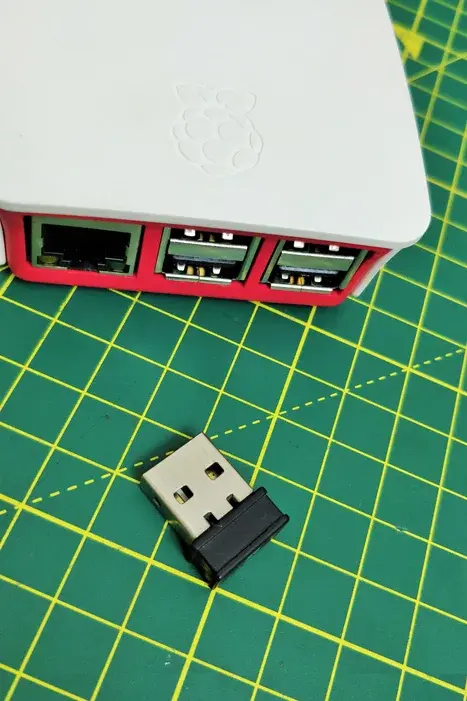
Start by plugging in the dongle for the mouse and keyboard. Then, provide power to the Raspberry Pi by connecting the micro USB cable. Additionally, connect the HDMI cable to a screen or display.
Once the Raspberry Pi has finished booting up, proceed to connect it to a WiFi network.
Step 5: Enable SSH
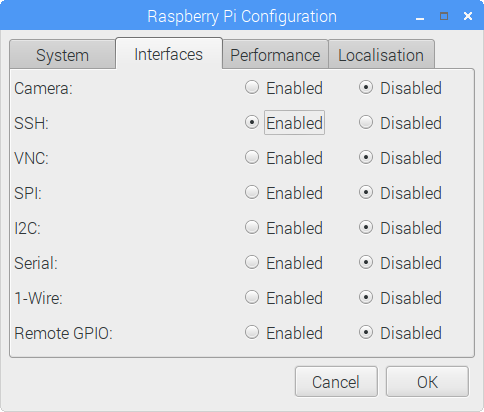
To enable SSH on your Raspberry Pi, follow these steps:
- Navigate to “Preferences” on the Raspberry Pi.
- Select “Raspberry Pi Configurations” from the menu.
- Click on the “Interfaces” tab.
- Look for the option to enable SSH and select it.
- Save the changes.
By following these steps, you will have successfully enabled SSH on your Raspberry Pi.
Step 6: Essential for Software
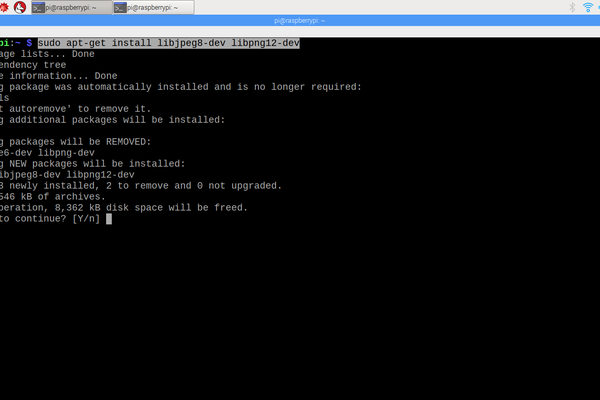
To proceed, we need to acquire the necessary software for compiling omxiv.
To open the Terminal in Raspbian, click on the black terminal icon located on the top bar of the desktop.
Type,
$ sudo apt-get install libjpeg8-dev libpng12-dev
Step 7: Download and Compile the OMXIV for Casting
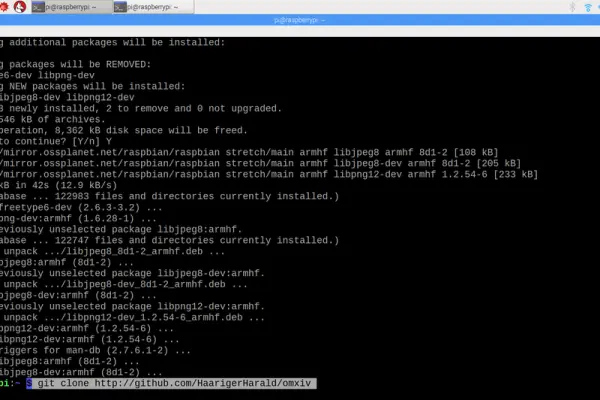
In terminal and type these commands in to download and compile the software, one by one
$ git clone https://github.com/HaarigerHarald/omxiv
$ cd omxiv $ make ilclient $ make -j4 $ sudo make install
Step 8: Download Raspicast on Android
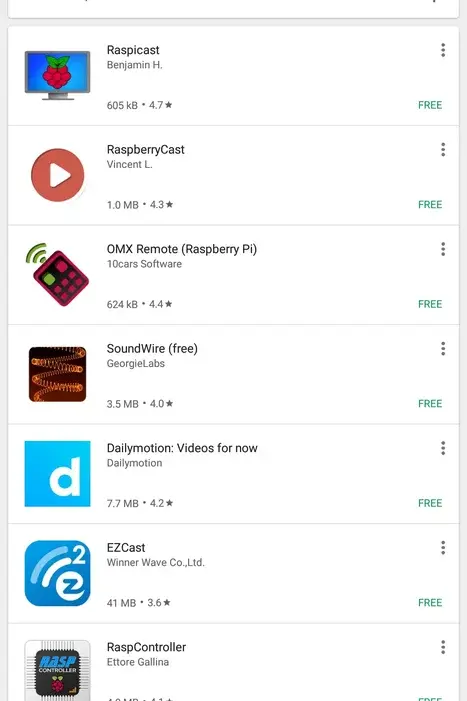
Download and install Raspicast from Playstore. Download
Step 9: Retrieve Your IP Address of Your PI
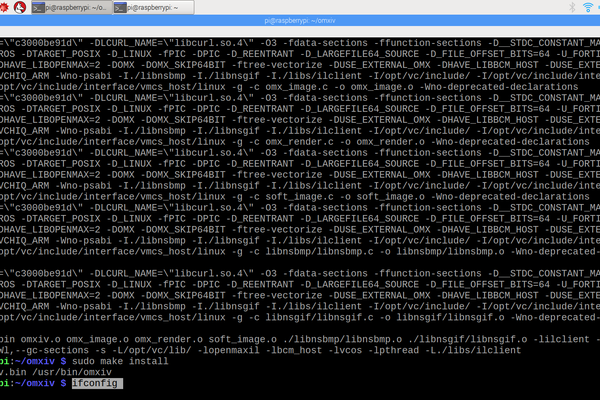
Once you have successfully compiled everything, you will need to determine your Raspberry Pi's IP address in order to connect to it over the network. To do this, follow these steps:
- Open the Terminal by clicking on the black terminal icon in the top bar of the Raspbian desktop.
- Type the command “ifconfig” in the Terminal.
- Look for the wireless IP address (“inet addr”) under “wlan0”. It should appear similar to 192.168.43.252. Take note of this IP address. Please note that the actual address may differ from 192.168.43.252; there will be a different address under “wlan0” for your Pi.
- Ensure that both your Raspberry Pi and your phone are connected to the same WiFi network.
By following these steps, you will be able to identify the IP address of your Raspberry Pi and confirm that your Pi and phone are connected to the same WiFi network.
$ ifconfig
Step 10: Casting Your Content to Raspberry Pi
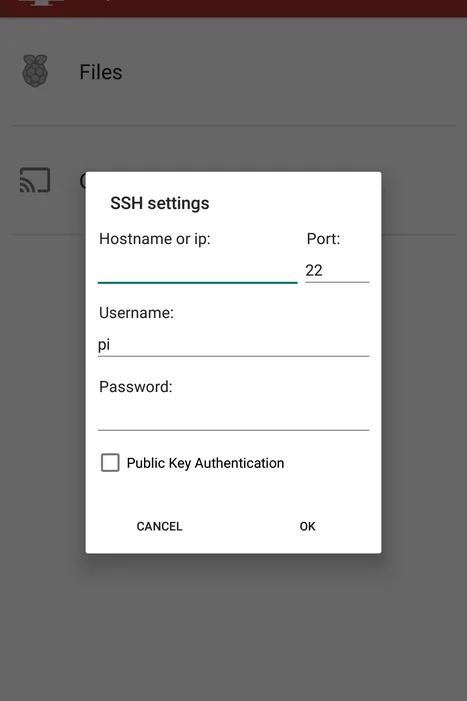
Once you have completed the download process, open the software you have obtained. In the software interface, locate and click on the three dots positioned at the top-right corner. A prompt will appear, asking for a Hostname or IP address. At this point, enter the IP address you obtained earlier, along with the username and password for your Raspberry Pi.
The default username for the Raspberry Pi is typically “pi”. Leave the port setting as 22, the default value.
With the setup complete, you can now open the YouTube app on your device. Select a video you wish to cast, and tap on the share icon. Look for “raspicast” among the options presented.
In addition to casting YouTube videos, you can also use the software to cast pictures, music, and videos that are directly stored on your device to the desired destination.